Evening folks,
Today is part of a 2 part DIY series (PPF and Mud Flaps).
If you happen to have a hobby vinyl cutter sitting around and a computer you already have all the tools you need to make your own PPF.

Finding the right thickness and brand for a good price requires more patience and research.
I settled this time for 10 mils 3M Llumar vs trying to source the factory 13 mils (can always double stack later).
Llumar 10 Mil Clear Paint Protection Bulk Film Roll 6 inches X 84 inches https://www.amazon.com/dp/B07D4R7BM...abc_X19SZ24C4MQGCHEVVXK2?_encoding=UTF8&psc=1
$15 US got me 6” by 84” (152mm by 2.1m).
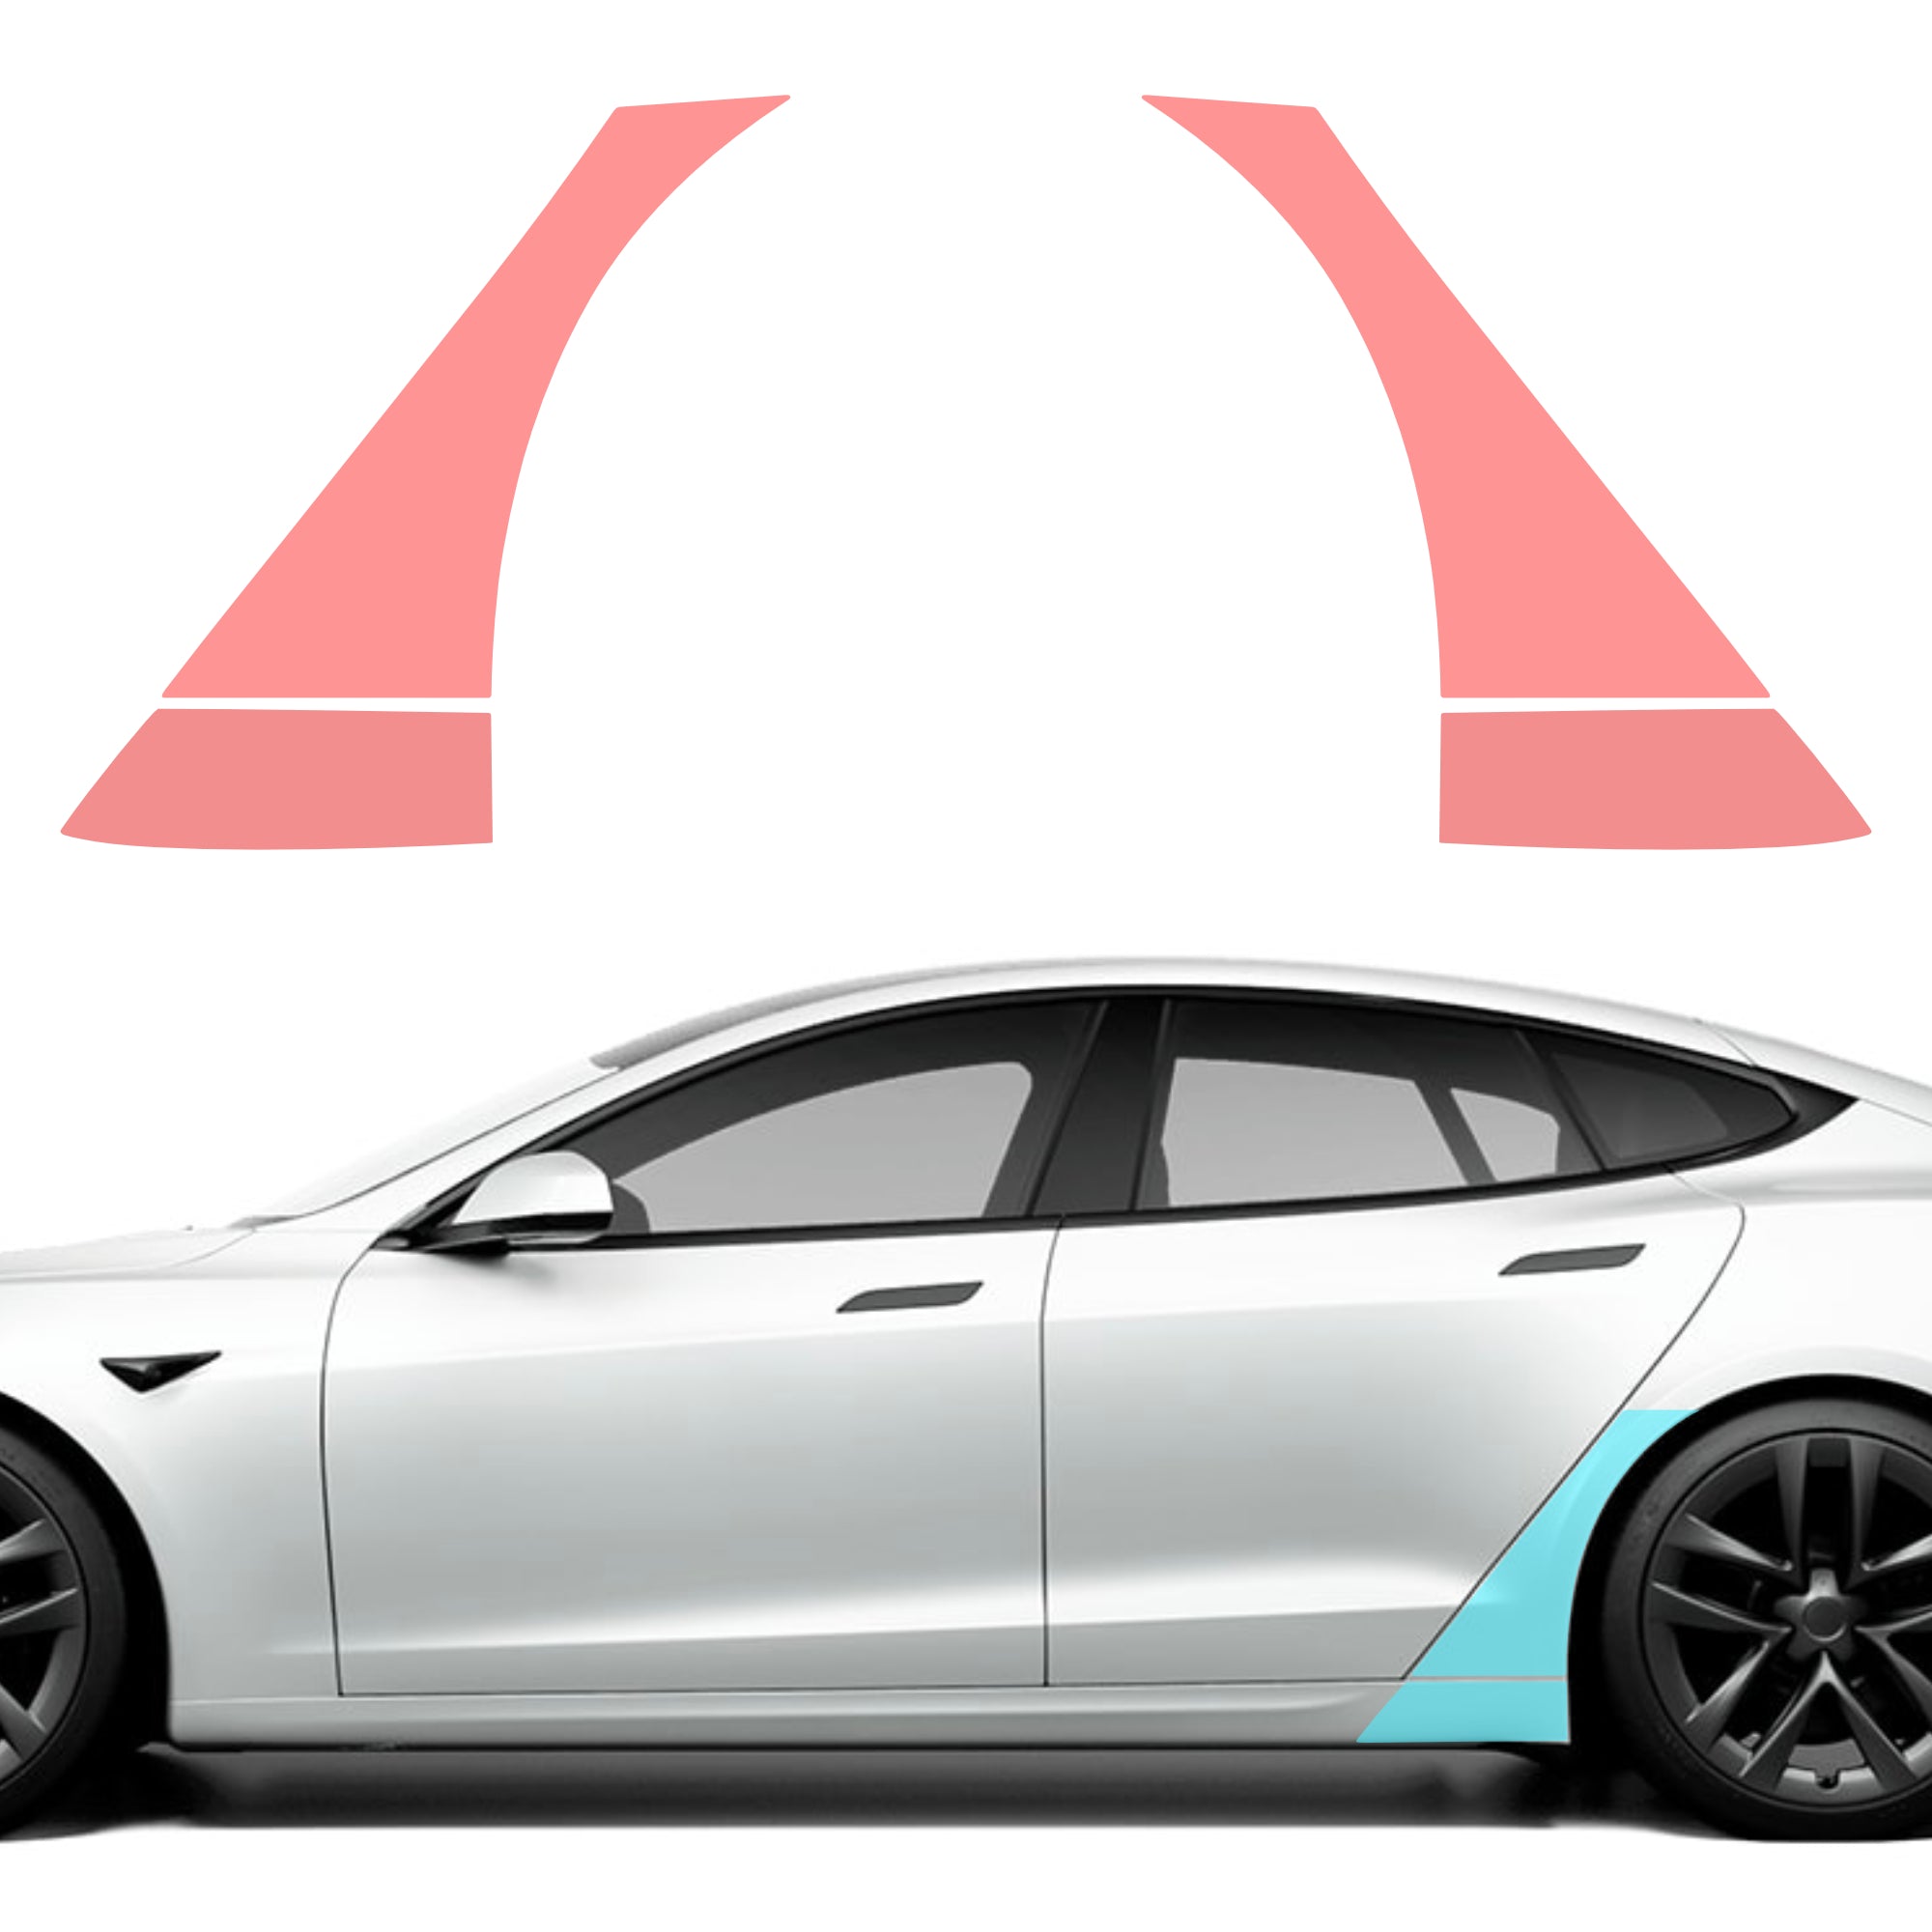
My goal is to create my own rocker panel PPF to serve as a backup for if a mud flap fails to capture some spray later.
The first step is to measure the area you wish to cover, I used twine to capture contours and a protractor to record a few angles, I then cut a rough template from a sheet of paper with sissors and test fit:

It looks rough but it will give you a rough idea.
Next using the dimensions recorded I sketched out a design in Fusion 360 (not the ideal choice but you can use whatever you want).

And finally using your printer cut out some test templates with whatever spare material you wish. I used paper

Now for the fun part, the real print:

To install I just used a bottle filled with water and a few drops of baby shampoo (gentle eyes) and a felt tipped squeegee that came with a phone screen protector install kit.
Installation is pretty simple, just first prep the area by removing any soft waxes or detailer…
Then soak the area in the baby shampoo solution and soak both sides of the PPF as well, place it in place and then position and squeegee. (Lots of YouTube videos on how to do this part)
Anyways here is the finished product:


(Factory top, mine bottom)

It’s not 100%, I could have done better with placement and stretching the contours so it would all line up perfectly, but it cost me $14 and an afternoon of my time to learn… will keep practicing.

Today is part of a 2 part DIY series (PPF and Mud Flaps).
If you happen to have a hobby vinyl cutter sitting around and a computer you already have all the tools you need to make your own PPF.
Finding the right thickness and brand for a good price requires more patience and research.
I settled this time for 10 mils 3M Llumar vs trying to source the factory 13 mils (can always double stack later).
Llumar 10 Mil Clear Paint Protection Bulk Film Roll 6 inches X 84 inches https://www.amazon.com/dp/B07D4R7BM...abc_X19SZ24C4MQGCHEVVXK2?_encoding=UTF8&psc=1
$15 US got me 6” by 84” (152mm by 2.1m).
My goal is to create my own rocker panel PPF to serve as a backup for if a mud flap fails to capture some spray later.
The first step is to measure the area you wish to cover, I used twine to capture contours and a protractor to record a few angles, I then cut a rough template from a sheet of paper with sissors and test fit:
It looks rough but it will give you a rough idea.
Next using the dimensions recorded I sketched out a design in Fusion 360 (not the ideal choice but you can use whatever you want).
And finally using your printer cut out some test templates with whatever spare material you wish. I used paper
Now for the fun part, the real print:
To install I just used a bottle filled with water and a few drops of baby shampoo (gentle eyes) and a felt tipped squeegee that came with a phone screen protector install kit.
Installation is pretty simple, just first prep the area by removing any soft waxes or detailer…
Then soak the area in the baby shampoo solution and soak both sides of the PPF as well, place it in place and then position and squeegee. (Lots of YouTube videos on how to do this part)
Anyways here is the finished product:
(Factory top, mine bottom)
It’s not 100%, I could have done better with placement and stretching the contours so it would all line up perfectly, but it cost me $14 and an afternoon of my time to learn… will keep practicing.