Welcome to Tesla Motors Club
Discuss Tesla's Model S, Model 3, Model X, Model Y, Cybertruck, Roadster and More.
Register

Kenriko Chrome Delete Kit: Show off your tips and pictures here

This site may earn commission on affiliate links.
Just got the chrome delete kit in the mail and opened it with my kid

KID: Is that the kit for your Tesla?

ME: Yep!

KID: What does it do?

Me: It covers up all the silver bits and makes them look black

KID: ...

KID: No seriously, what does it do?

ME: That's what it does!

KID: But ... your car is already black. This will make it blacker?

ME: Yeah! Why don't you believe me?

KID: Why would you want to do that??

KID: Seriously, just tell me what this is for!
 
  • Funny
Reactions: SoCalMom
Just got the chrome delete kit in the mail and opened it with my kid

KID: Is that the kit for your Tesla?

ME: Yep!

KID: What does it do?

Me: It covers up all the silver bits and makes them look black

KID: ...

KID: No seriously, what does it do?

ME: That's what it does!

KID: But ... your car is already black. This will make it blacker?

ME: Yeah! Why don't you believe me?

KID: Why would you want to do that??

KID: Seriously, just tell me what this is for!

Well it's settled you must play this song full blast while installing it.

 
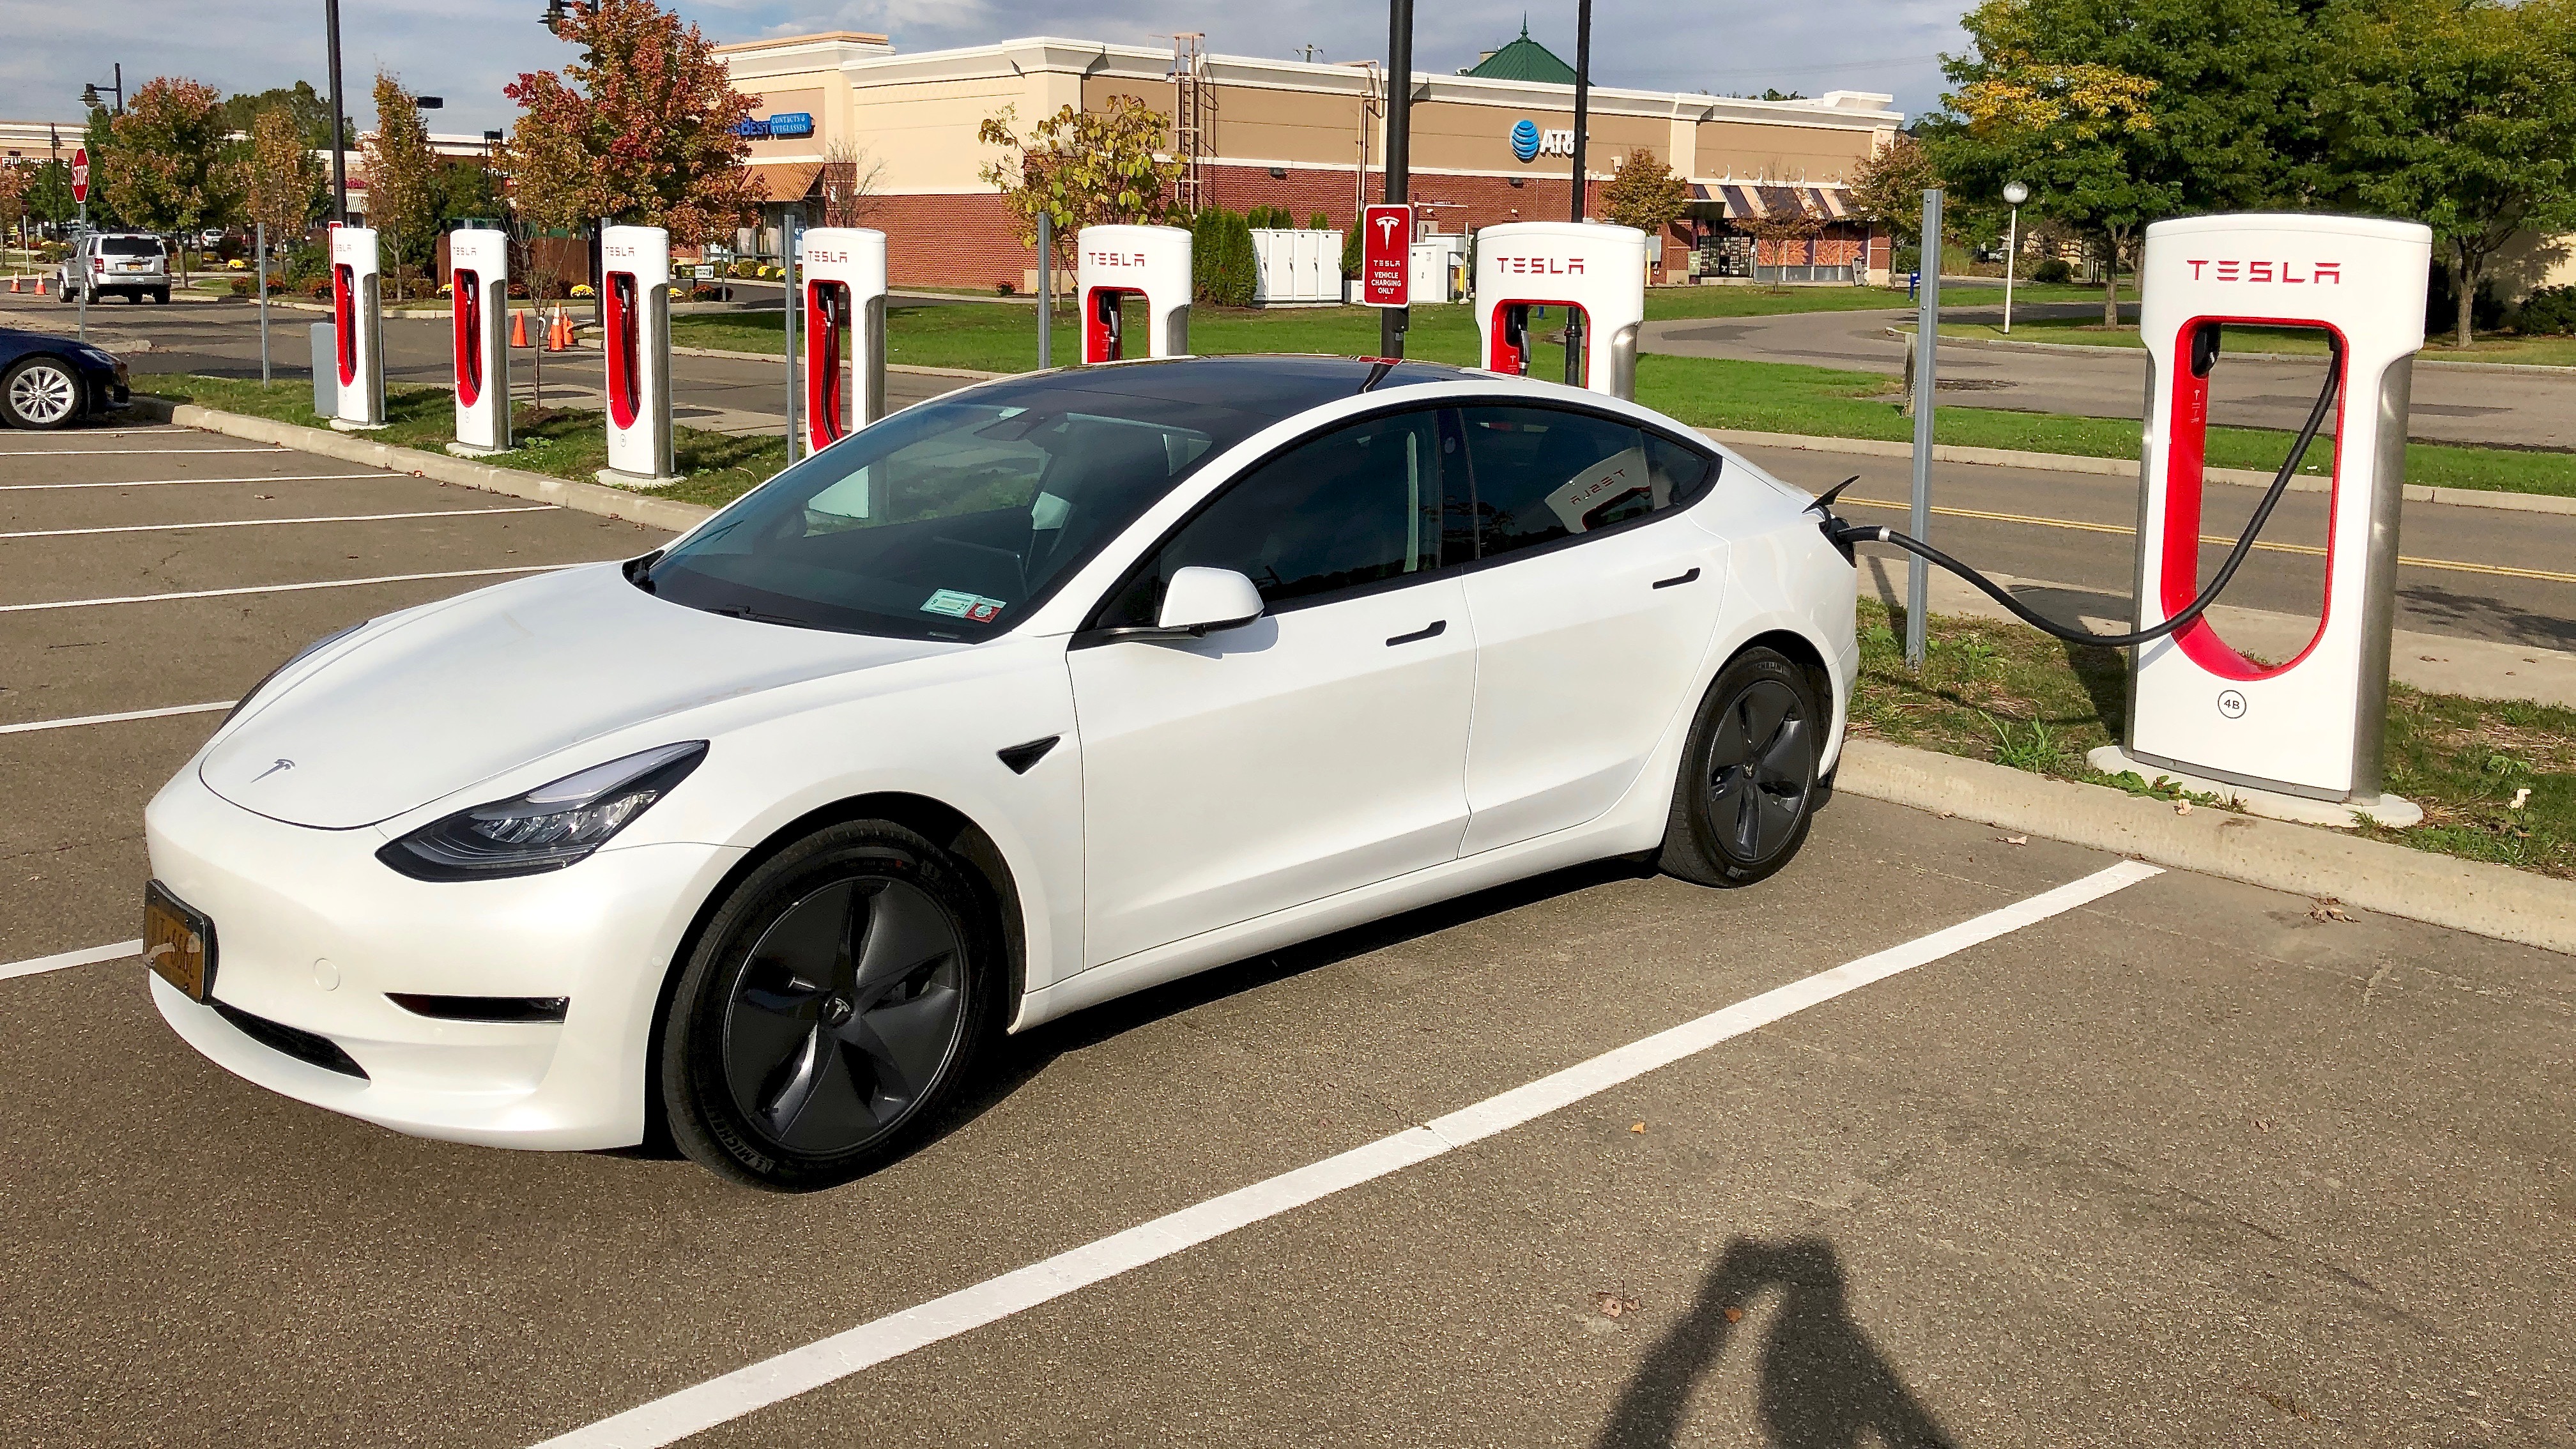
Quick shot of the satin trim! There are a definitely a few parts that were more difficult (T3 window trim and top of the mirrors) but I think for the most part it was pretty straight forward! I'm absolutely loving the look of the blackout trim and it makes such a huge difference. I was parked near another white Model 3 with tint w/o the blackout trim and I think the price point is absolutely worth it. I've cleaned it several times by now and I don't have any worries about parts of them coming off or anything like that.
 
  • Like
Reactions: SoCalMom
I've had the kit for over 6 weeks but it's been too hot or I haven't had time to start until today. First I cleaned and clay barred all the trim. Then I got started with driver side T1.

I completely botched it. I was partially in the sun at 65 degrees and thought it would still work. I ended up over stretching the piece because I kept having to pull it back up to fix alignment. Unfortunately I had to trash the driver T1 piece.

I almost decided to just give up and not even attempt the rest. But I waited till I could get the car completely in the shade and moved on to driver T2. I went much slower being careful not too overstretch. It went on fairly well.

Moved on to T3. I used the method mentioned earlier in the thread and started at the back corner point. It also went on fairly well. I was on a roll.

On to the long T4. I'm guessing I was way too careful not to overstretch the T4 because I ended up with about a quarter inch gap between where T4 and T3 are supposed to meet.

As a stop gap, I cut a piece off the T1 piece that I had to trash and filled in the gap. I applied a little heat from the heat gun to try to smooth it out. I guess it could be worse.
IMG_20191012_124841.jpg IMG_20191012_125057.jpg IMG_20191012_125057.jpg IMG_20191012_125057.jpg

The passenger side door trim install went without a hitch after learning from all of my mistakes on the driver side.

I also installed the camera housing pieces. These took some time with quite a bit of stretching and manipulation with shots of heat here and there. They turned out pretty well.

I'm saving the door handles and mirrors for another day.

@Kenriko How can I go about getting a replacement for drivers side T1 in satin black? I'm currently driving around with all the door trim deleted except drivers T1.
 
I've had the kit for over 6 weeks but it's been too hot or I haven't had time to start until today. First I cleaned and clay barred all the trim. Then I got started with driver side T1.

I completely botched it. I was partially in the sun at 65 degrees and thought it would still work. I ended up over stretching the piece because I kept having to pull it back up to fix alignment. Unfortunately I had to trash the driver T1 piece.

I almost decided to just give up and not even attempt the rest. But I waited till I could get the car completely in the shade and moved on to driver T2. I went much slower being careful not too overstretch. It went on fairly well.

Moved on to T3. I used the method mentioned earlier in the thread and started at the back corner point. It also went on fairly well. I was on a roll.

On to the long T4. I'm guessing I was way too careful not to overstretch the T4 because I ended up with about a quarter inch gap between where T4 and T3 are supposed to meet.

As a stop gap, I cut a piece off the T1 piece that I had to trash and filled in the gap. I applied a little heat from the heat gun to try to smooth it out. I guess it could be worse.
View attachment 465394 View attachment 465395 View attachment 465395 View attachment 465395

The passenger side door trim install went without a hitch after learning from all of my mistakes on the driver side.

I also installed the camera housing pieces. These took some time with quite a bit of stretching and manipulation with shots of heat here and there. They turned out pretty well.

I'm saving the door handles and mirrors for another day.

@Kenriko How can I go about getting a replacement for drivers side T1 in satin black? I'm currently driving around with all the door trim deleted except drivers T1.

If you get towards the end and find that you’re short..you can just pull it up and stretch it a bit. It’s easier to stretch towards the end of the piece than it is to deal with it if it’s over stretched.
 
Does someone know the length and width dimensions for the door handle template in cricut? Trying to line up the 1/2" box didn't work out the first time.
I just measured the door handle wrap I have from my chrome delete kit. The length is 21cm. Which is about 8.27 inches. Once you get the length set, I think the other measurements should scale correctly.

I cut a set of door handle wraps using his template on the Cricut. This was before I bought the chrome delete kit. I had to do trial and error with the size. We ended up not using the ones I made because the blue vinyl did not match the car. I would love to see your results.

I've had the kit for a while now, but we had a super busy September. We were able to get the handles wrapped 2 weeks ago. I have some fingers/bunching on the small tip of one of the handles, I haven't really tried to smooth it out yet. Other than that they look really good. I have a small injury on my pointer finger so that prevented us from working on it last weekend.
 
Has anyone tried this without a heat gun? Or maybe just a blowdryer?
Kenriko has said that some blowdryers may not get hot enough. I bought a heat gun just for this project. I had it set to 200 degrees and to me, I feel like my hairdryer can get just as hot or even hotter. But this is all super un-scientific...I was just waving my hand around in front of it. Also I haven't done the hardest parts yet. I've only done the door handles and door trim so far. So I haven't needed too much heat yet.

I just finished passenger side T1, T2, T3, T4 today. I felt like T3 was the easiest. For T1 and T2 (the lower door trims) there is no room for me to tuck under. It looks perfect if you are standing up, but if you kneel down and look at the under side closely you can see the untucked parts. I will try and go back with a razor blade to clean it up some other time. When I do the driver side, I'll have a better idea of how to align the top/bottom position. I also had a hard time with the ends of T1 and T2. I couldn't get it to cover the ends smoothly. On each end I have a small crease. It's not too bad.

For T3 I started aligning from the inside corner of the "V". I peeled the backing off of just the "V" part and cut that small piece of backing off. I aligned the inside corner first and then did the bottom part (aligning the top of the vinyl so that it exactly covers the chrome since there is no room to tuck). Then I moved onto the top part, again aligning it along the inside edge. The small piece at the inside of the V kept pulling up...kind of like a mini-hammock since I probably didn't press down on that inside corner hard enough when I first aligned everything. I heated it up with the heat gun and pressed it down for a minute. That seemed to fix it. T3 looks perfect to me.

For T4, I wanted to make sure I had enough room to tuck into the top, so I just aligned against the bottom edge of the chrome. But I think that left too much material on the top. urgh. And then I just noticed that along the top, some parts are tucked behind the rubber gasket...and maybe a few spots are actually tucked behind the chrome. However, for some reason it still looks really good (and I'm really picky about most things). I will look at it again in the morning. I think I can still fix it if I really want to.

I am being super nit picky. In person it looks really good so far!!
 
Ok. I figured it out. I forgot a piece of advice I wanted to mention earlier. Before you start each section, do a dry run with whatever tool you'll be using for tucking the edges in. Use your tool and pretend you are tucking in your wrap. Note how easy/hard it is to push the tip of your tool in behind the chrome. Note how much overhang you think you can tuck away. Do this for the entire length of the piece you will be wrapping. Then plan your spacing accordingly.

I went back to page 1 of this thread. N54TT had a great picture of how his orange plastic blade fits into the space between the chrome and the rubber part. Well my blade doesn't fit the same way on T4. Some parts are so tight that there is no way I can wedge it in enough for it to stand on it's own like that. It literally doesn't budge at all. But on the entire top edge of T3, my orange blade fits exactly the same way as N54TT's picture.

This is why some parts of my T4 are tucked behind the rubber gasket and some are behind the chrome. The sections where I cannot even pry the chrome part out a tiny bit, those are the ones where the vinyl got tucked behind the gasket. And since the chrome is so tightly connected to the rubber, you can't really see a difference (the vinyl fits smoothly and tightly over it so it looks seamless).
 
Finally got around to doing this project! I got the satin black kit. I opted to leave the door handles uncovered because I didn't love the idea of touching the wraps every day, and I actually like the pop of chrome on the doors. I also picked up red T logos for the cameras from Etsy. It probably took me around 6 hours.

I did all my learning on the passenger side and have slight tears in the pass T3 and T4 pieces. I will probably be requesting some 1-ups soon ...

IMG_1899.jpeg
IMG_1900.jpeg
 
  • Love
Reactions: SoCalMom
I broke down and bought a set. I was trying to keep the chrome for the longest time but it seems like the more 3s that are in my area the more I need to separate my myself from the stock world.

also stupid question...is a 1up an extra piece?
 
Last edited: