Hi all, just got my M3 LR AWD today, soooo excited and happy. Little things here and there that needs to be address but not a deal breaker. I was lucky with my delivery.
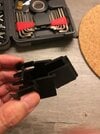
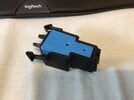
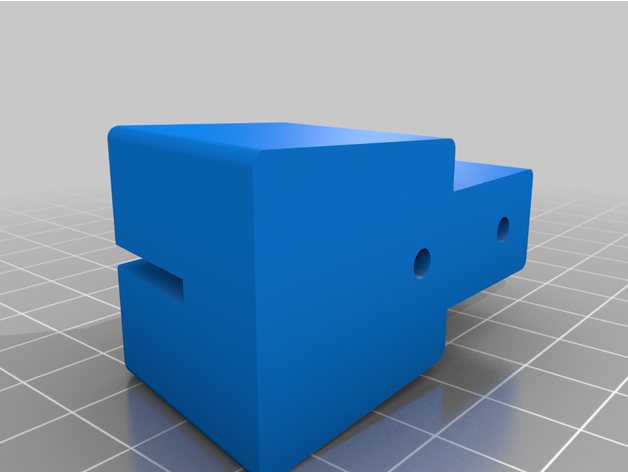
Anywho, I started inspecting everything, opening, closing, taking this off, taking that off, etc. I removed and tried to put the maintenance panel back in the frunk, but I noticed it wasn't clipping correctly all the way. Did some research and found that the frunk clip reinforcement is poorly designed and breaks easily. I could of just asked for another one at the Tesla SC, but it will still leave me in the same situation later on when it breaks again. Need a more permanent solution.
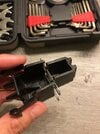
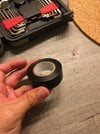
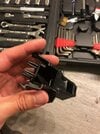
All you need are five items, 4 paper clips and electrical tape. See pictures below, I'm sure others have run into this issue. Not the prettiest but it gets the job done and it's hidden under the panel anyways. Installed the frunk clip reinforcements back, and poof it works like a charm.
Cheers.
Anywho, I started inspecting everything, opening, closing, taking this off, taking that off, etc. I removed and tried to put the maintenance panel back in the frunk, but I noticed it wasn't clipping correctly all the way. Did some research and found that the frunk clip reinforcement is poorly designed and breaks easily. I could of just asked for another one at the Tesla SC, but it will still leave me in the same situation later on when it breaks again. Need a more permanent solution.
All you need are five items, 4 paper clips and electrical tape. See pictures below, I'm sure others have run into this issue. Not the prettiest but it gets the job done and it's hidden under the panel anyways. Installed the frunk clip reinforcements back, and poof it works like a charm.
Cheers.