


Yeah, I’ve been eyeing the one from Aroham (with the perforated metal trim) since it came out a few months ago or so.For me.....it's between these two options...I like one because it replaces the center dash with a touch screen, and the other is quite nice as well, but both are the real deal full replacements one of them actually replaces the metal with perforated dash... been eying these for a while:
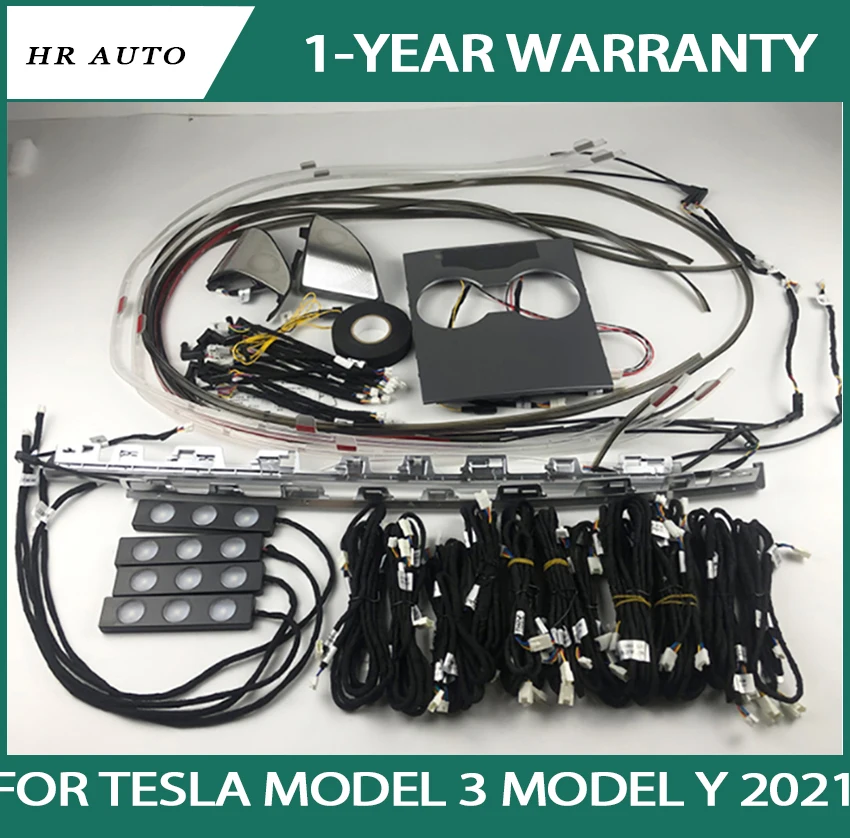
640.0US $ 20% OFF|App control inter car Light Center pillar horn cover app control Decorate inter Ambient lamp fit for Tesla Model 3 model Y 2021|Decorative Lamp| - AliExpress
Smarter Shopping, Better Living! Aliexpress.comwww.aliexpress.com

430.0US $ 50% OFF|Aroham Laser Engraved Hollow Out Atmosphere Light For Tesla Model 3 Model Y 2021 2022 Led Speaker Cover Saddle Lamp - Decorative Lamps & Strips - AliExpress
Smarter Shopping, Better Living! Aliexpress.comwww.aliexpress.com
The perforated aluminum design looks pretty sweet… at least on paper. My concerns (& what’s holding me back from buying) are actual fitment when installed and the fact that these more complete kits require A LOT more of your existing trim/panels to be removed. For example, to install the dashboard light, I think you have to grind away and remove the existing OEM horizontal aluminum piece from your dashboard and then attach/glue the new perforated aluminum trim piece to your dashboard. I could be wrong, though…
I think you should go for it, so we can see how one of these complete kits fits/looks like on a real user/vehicle!!


