Worked with Ernie at Sound Innovations to get sound deadening for my 2023 MYLR7 and also to install the RPM Tesla noise reduction kit. I'm impressed with the end result (less so the kit) and would recommend sound deadening at Sound Innovations to anyone on the fence.
- Noticeably less outside noise from other cars etc.
- Reduced road noise, especially in the back
- All door rattles gone, and doors close with a satisfying *thud*
- Wind noise still mostly there, but it wasn't too bad to begin with
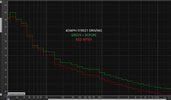
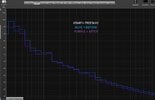
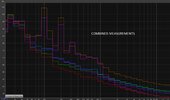
- Measured to be roughly ~6db avg difference both at 45mph and 65mph. Note that traffic was a little heavier in the later readings -- either way I can tell the difference.
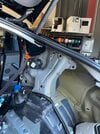
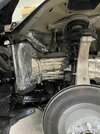
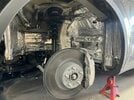
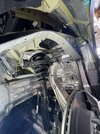
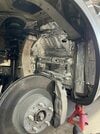
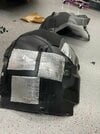
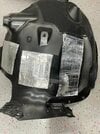
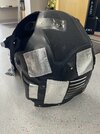
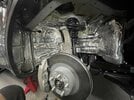
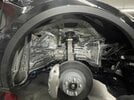
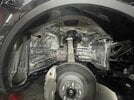
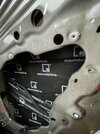
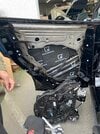
- 4 doors 2 stage sound deadening - they took out the window and motor assembly to properly line the exterior (see pictures)
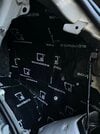
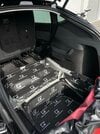
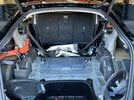
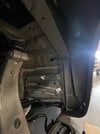
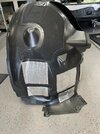
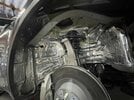
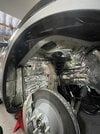
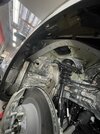
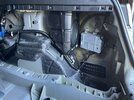
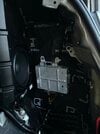
- Trunk area full coverage sound deadening - they took out all of the trunk and sub-trunk panels and lined the exposed metal surfaces coming up to the side panels. We chose to focus on this area in addition to the doors because the forward section of the cabin already has the battery to help absorb road noise, but the trunk does not.
- RPM Tesla Noise Reduction Kit gen 2 on 4 doors, trunk and frunk. Helps keep the dust out, nicely absorbs any slams from the slightly heavier doors. Possibly helps with noise too (didn't do separate testing, but based on noise difference at rest I'd wager this kit helps only a little). Seals are a good material, but adhesive was poor on many of the pieces. Used additional thin 3M double-sided tape to fix areas that were not sticking, but it may fail after a short while
- All in all ~25-30lbs of material added (not sure impact on range), in exchange for a more comfortable interior experience and more satisfying door thud
- Install took 2.5 days, and readings were taken roughly the same time in the morning before/after.
- Unfortunately there was a little heavier traffic on the highway the second day.
- Took the car over wake up lines to simulate bumps and a louder sound profile
- Missed getting photos of the front doors, but similar to the back
Attachments
-
 left_trunk_after.JPEG456.7 KB · Views: 2,339
 -
 right_trunk_before.JPEG551.9 KB · Views: 824
 -
 right_trunk_after.JPEG283.6 KB · Views: 820
 -
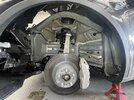
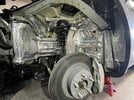
 rear_right_before.JPEG545.2 KB · Views: 829
 -
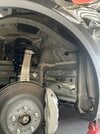
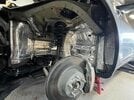
 rear_right_after.JPEG734.6 KB · Views: 834
 -
 rear_left_after.JPEG642.6 KB · Views: 847
 -
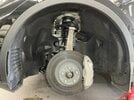
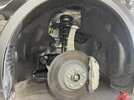
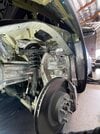
 left_wheelwell_before.JPEG572 KB · Views: 804
 -
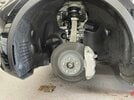
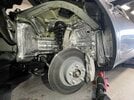
 left_wheelwell_after.JPEG463.5 KB · Views: 800
 -
 left_trunk_before.JPEG573.5 KB · Views: 814