I sourced all of the parts to retrofit the 2016 Model S (or X) center console into a 2012 or later Model S. I wanted to have the factory look and primarily wanted the 2nd row cupholders and USB ports. I also wanted the full side panels that covered the entire console (1055163-03 and 1055164-03). To do this install, you will need to know how to solder to add the rear USB ports.
The overall cost is around $700, not including labor. If you have all the parts, it should take you 2-3 hours (including the modifications I listed near the end). A full MX or MS console are occasionally listed on eBay for $650-750, but they typically don't have the rear usb ports nor the full side panels.
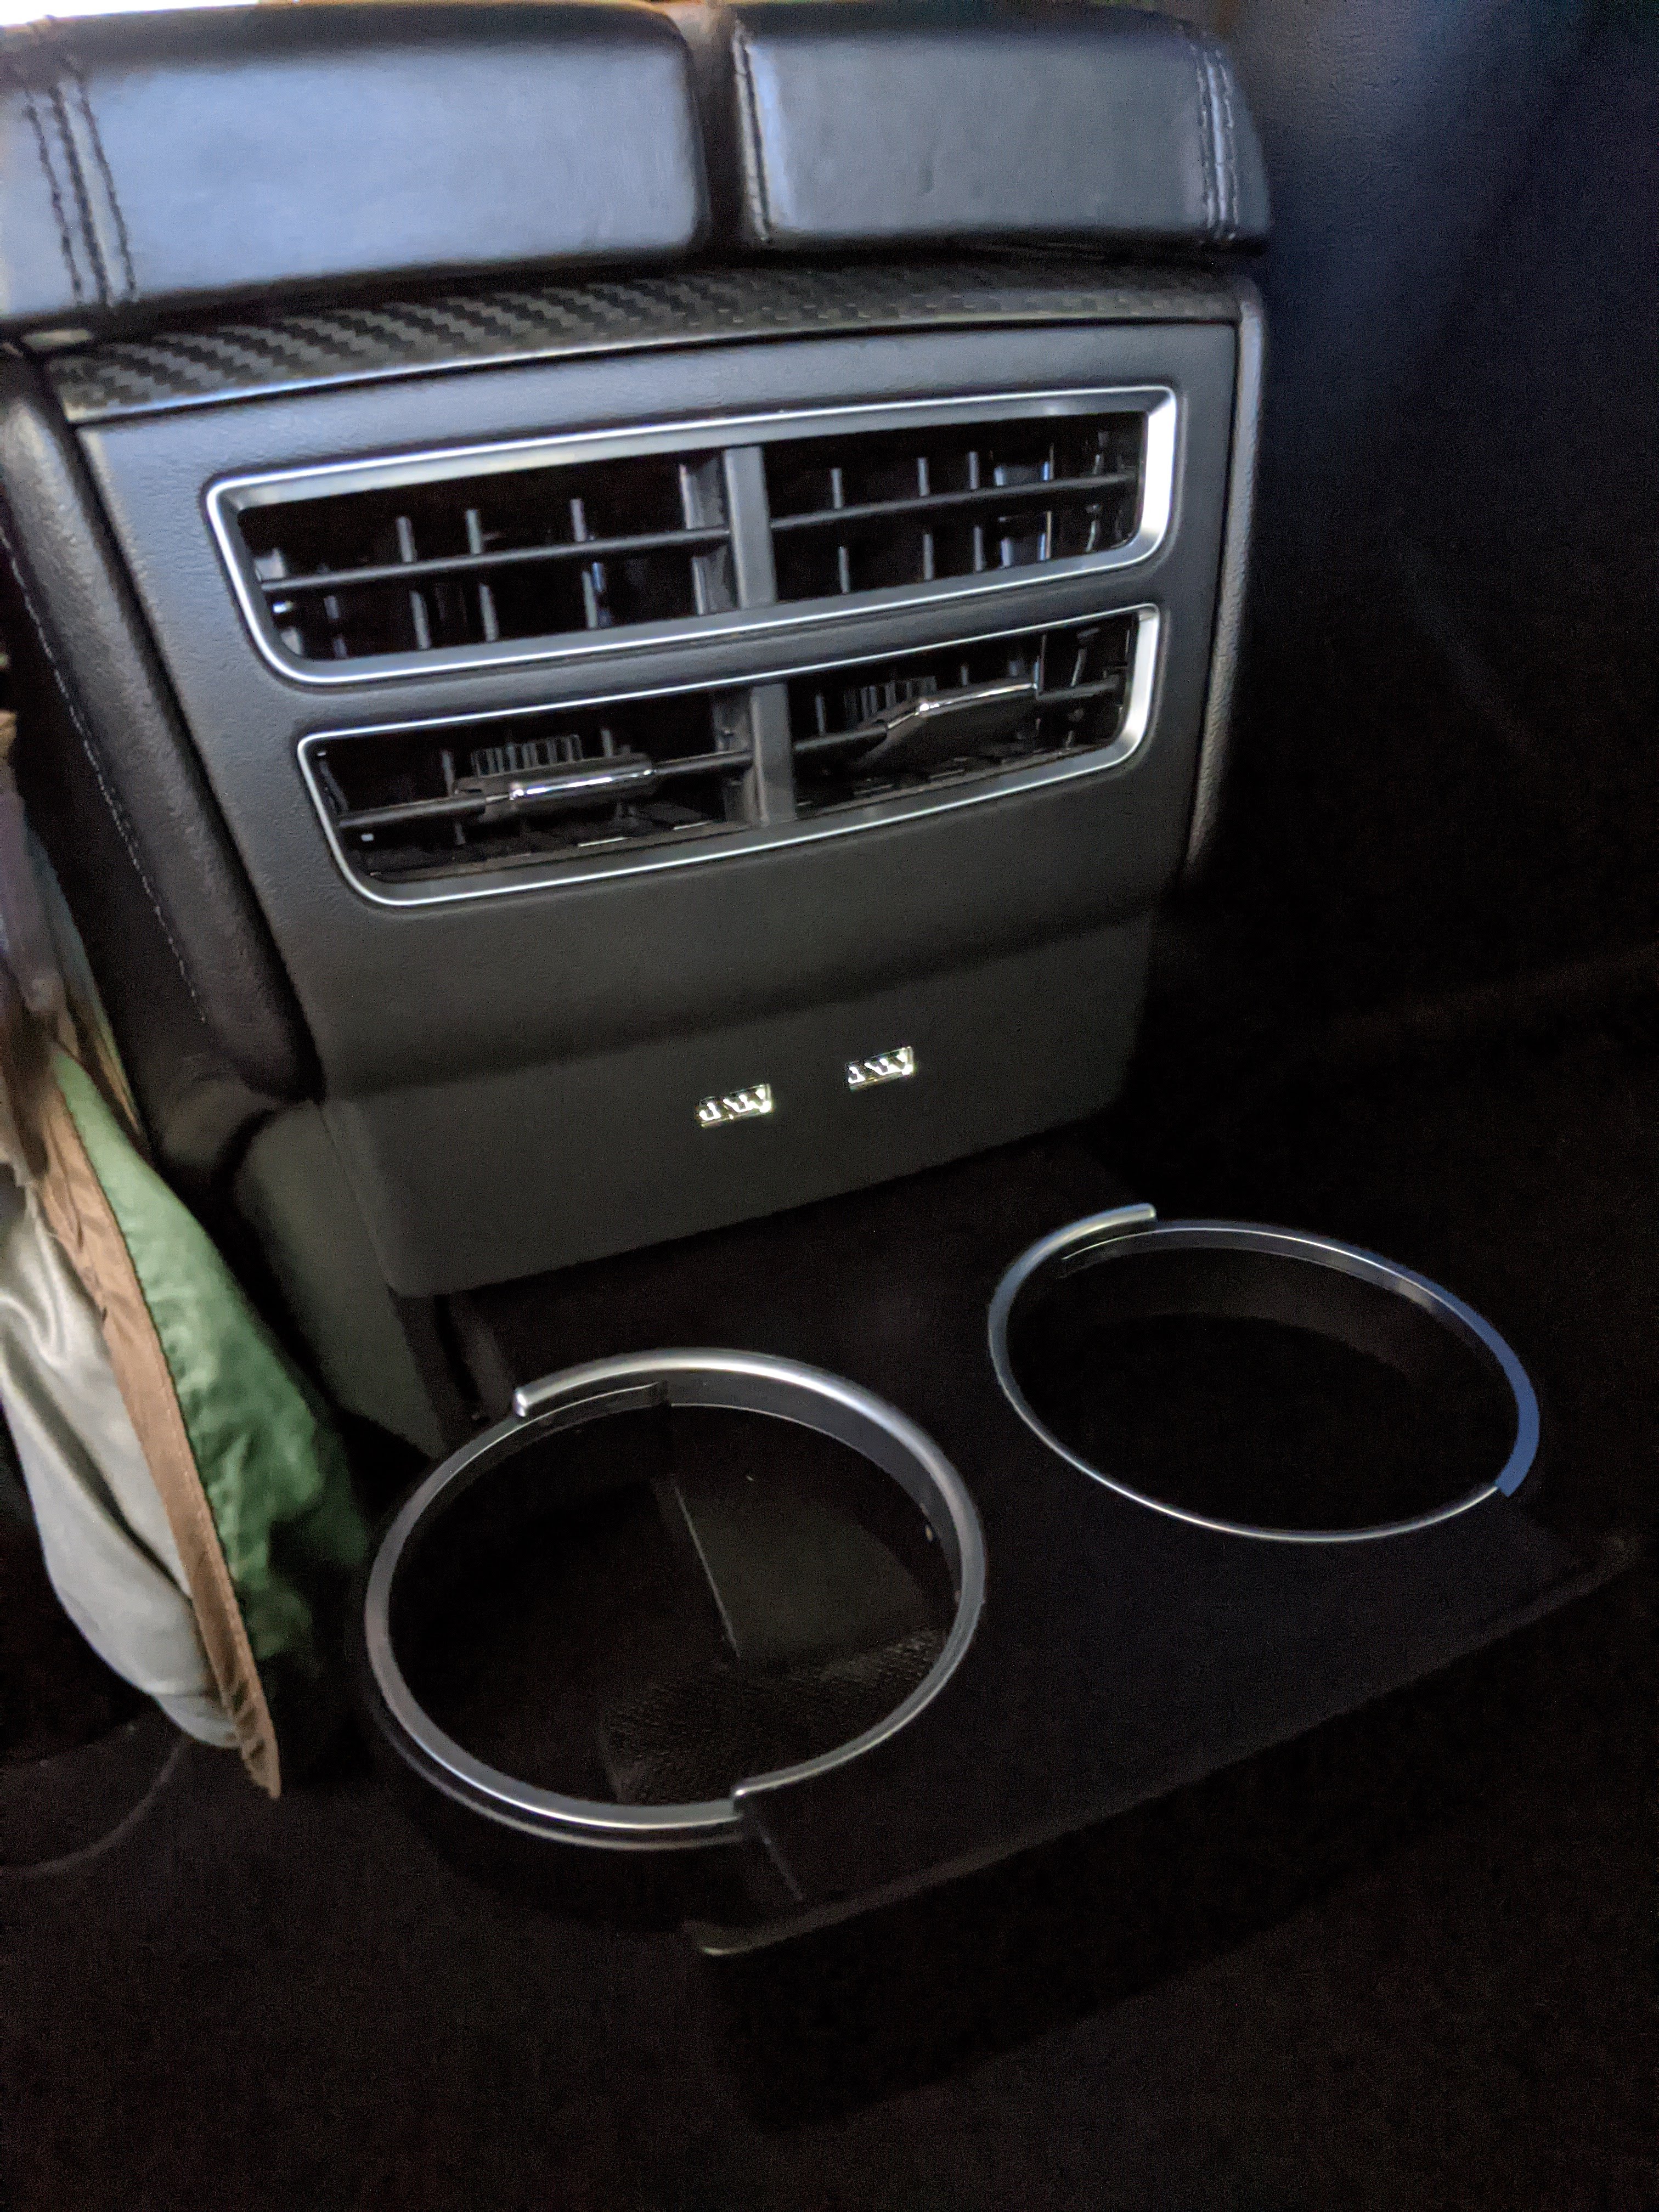
The $1,250 you pay for the Tesla center console does not provide rear USB ports. If you just want to add the rear USB ports, then follow instructions in this post and order the parts in bold below. You will have to completely remove the console to perform this upgrade. Use this PDF to help with disassembly/assembly. This will cost about $200.
This diagram on Tesla's electronic parts catalog gives you an exploded list of the parts. Pick Model S, then 15 - Interior, then 1519-Center Console, then Center Tunnel Trim (on or after Aug 31, 2016). You should be able to use your Tesla login to gain access.
This PDF gives you the assembly steps, minus the USB ports. The only missing step is that there are screws that hold the USB ports and 12V trim panel to the console. These are accessed from behind. I also did not remove the armrest in step 12 because I used the installed console. You will need to remove the armrests and trim.
Tools needed:
1058088-11-A - SLIDING LID, CARBON FIBER - $75
1058088-21-A - SLIDING LID, CARBON [FIBER] GRAPH
1058088-22-A - SLIDING LID, LINEAR DARK ASH GRAPH
1058088-12-A - SLIDING LID, LINEAR DARK ASH [SILVER]
1058088-23-A - SLIDING LID, OAK GRAPH
1058088-06-A - SLIDING LID, MAMMOTH
1058088-19-A - SLIDING LID, FIG ASH BURL GRAPH
1058088-09-B - SLIDING LID, FIG ASH BURL [SILVER]
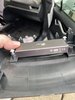
The rear bracket (1057331) will require longer flange bolts M6x1.0x30MM to secure it to the floor. You can purchase these from Home Depot for about $1 for 2 bolts. I also purchased M6x1.0x25MM bolts to secure the center console to the floor. I ordered these from Tesla since the bolt heads didn't sit down into the CCI inset holes, but haven't received them yet.
1007116-00-A NUT PSH M4.2
I had to make 2 modifications to improve the fit:
The overall cost is around $700, not including labor. If you have all the parts, it should take you 2-3 hours (including the modifications I listed near the end). A full MX or MS console are occasionally listed on eBay for $650-750, but they typically don't have the rear usb ports nor the full side panels.
The $1,250 you pay for the Tesla center console does not provide rear USB ports. If you just want to add the rear USB ports, then follow instructions in this post and order the parts in bold below. You will have to completely remove the console to perform this upgrade. Use this PDF to help with disassembly/assembly. This will cost about $200.
This diagram on Tesla's electronic parts catalog gives you an exploded list of the parts. Pick Model S, then 15 - Interior, then 1519-Center Console, then Center Tunnel Trim (on or after Aug 31, 2016). You should be able to use your Tesla login to gain access.
This PDF gives you the assembly steps, minus the USB ports. The only missing step is that there are screws that hold the USB ports and 12V trim panel to the console. These are accessed from behind. I also did not remove the armrest in step 12 because I used the installed console. You will need to remove the armrests and trim.
Tools needed:
- A metric socket set
- Ratcheting screw driver with an extension
- Torx and Philips head bits
- Trim tool to remove trim panels
- Soldering iron, solder and flux
- Heat shrink tubes (or electrical tape)
- Dremel (for console floor and insert mods) - cutting wheel(s) and cylinder sanding tool
- 1055149-00-E PREMIUM CONSOLE SUBASY - $90 (note this is just the inset, no side panels and no lid)
- 1058082-00-C DIVIDER, PREMIUM CONSOLE - $38 (for 4)
- 1055163-03-C ASY, PANEL, PREM, LH, PVC B, BLK/BLK - $75
- 1055164-03-C ASY, PANEL, PREM, RH, PVC B, BLK/BLK - $75 (bought the pair for $150)
- 1057331-00-E CENTER CONSOLE BRACKET - $105 (none available right now)
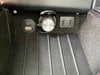
- 1086670-00-B ASY, SECOND ROW CUP HOLDER - $74
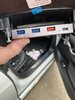
- 1047537-00-C CABLE, USB, LIGHTED, SECOND ROW $77
- 1080669-00-A Cables - $33
- 1064504-00-A - ASY, CONSOLE BACK PANEL, CUP HOLDER - $10
- 1064501-00-B - ASY, VENT BEZEL , CUP HOLDER - $33
- 1086690-00-A - CUP HOLDER DOOR - $17
- 1058083-00-B - MAT, FRONT, PREMIUM CONSOLE - $11 (this is optional, just cleans up the bottom of your console)
- 1014049-00-B - SCREW T20 ST4.2X20 W WASHER 4.0 0.55 - $2 (you will need at least 2-3 of these to attach the USB converter (1032431) to the new rear panel (1064504))
- 1007116-00-A - SQ EDGE CLIP, 4.2, 11x12.5, STL,ZN - $2 (you can reuse the u-clips from the side panels you are removing)
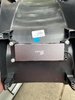
- 1032431-00-E - Wiring harness - $60. You are only buying this harness for the connection that matches up to the USB converter (1047537-00-C). I searched all over for this part and finally found it was made specifically for Tesla. The wiring harness connections differ at the front, so you can't replace it. See this post from @KaptinPlanet on how to splice this connector into your existing wiring harness.
- 1058084-00-C - I believe this is the mat that goes in the folding/rotating phone connection section (that hides the 12V and USB ports). I have an email to Tesla but no confirmation yet. Abstract ocean sells a replacement mat kit, but they are out of stock of the black/black version.
1058088-11-A - SLIDING LID, CARBON FIBER - $75
1058088-21-A - SLIDING LID, CARBON [FIBER] GRAPH
1058088-22-A - SLIDING LID, LINEAR DARK ASH GRAPH
1058088-12-A - SLIDING LID, LINEAR DARK ASH [SILVER]
1058088-23-A - SLIDING LID, OAK GRAPH
1058088-06-A - SLIDING LID, MAMMOTH
1058088-19-A - SLIDING LID, FIG ASH BURL GRAPH
1058088-09-B - SLIDING LID, FIG ASH BURL [SILVER]
The rear bracket (1057331) will require longer flange bolts M6x1.0x30MM to secure it to the floor. You can purchase these from Home Depot for about $1 for 2 bolts. I also purchased M6x1.0x25MM bolts to secure the center console to the floor. I ordered these from Tesla since the bolt heads didn't sit down into the CCI inset holes, but haven't received them yet.
1007116-00-A NUT PSH M4.2
I had to make 2 modifications to improve the fit:
- Filed down the bumpers/feet underneath the center console to secure it to the 2012-2016 existing console. Before I made this mod, the rear of the console would not fit below the 12V outlet unless you pushed down on the rear of the console. Recommend you file lightly, test the fit, and repeat until the console fits. This mod also allows the side panels to snap more easily into the center console.
- Cut a slot for the console lid to slide past the back of the original console floor. Again, trial and error. Make sure the lid can easily slide back behind the console before you install it, and that any left/right play in the CCI will still allow the door to open/close