Hi All,
Here is a little DIY for the Ambient Lights.
Estimated Cost $150, Estimated Labor time ~3hs
IMPORTANT IMPORTANT IMPORTANT: don't do that if you don't have basic electric knowledge or if you don't feel confident with that mod. Also Tesla Might void your car warranty if you do it.. soooo do it on your own risk.
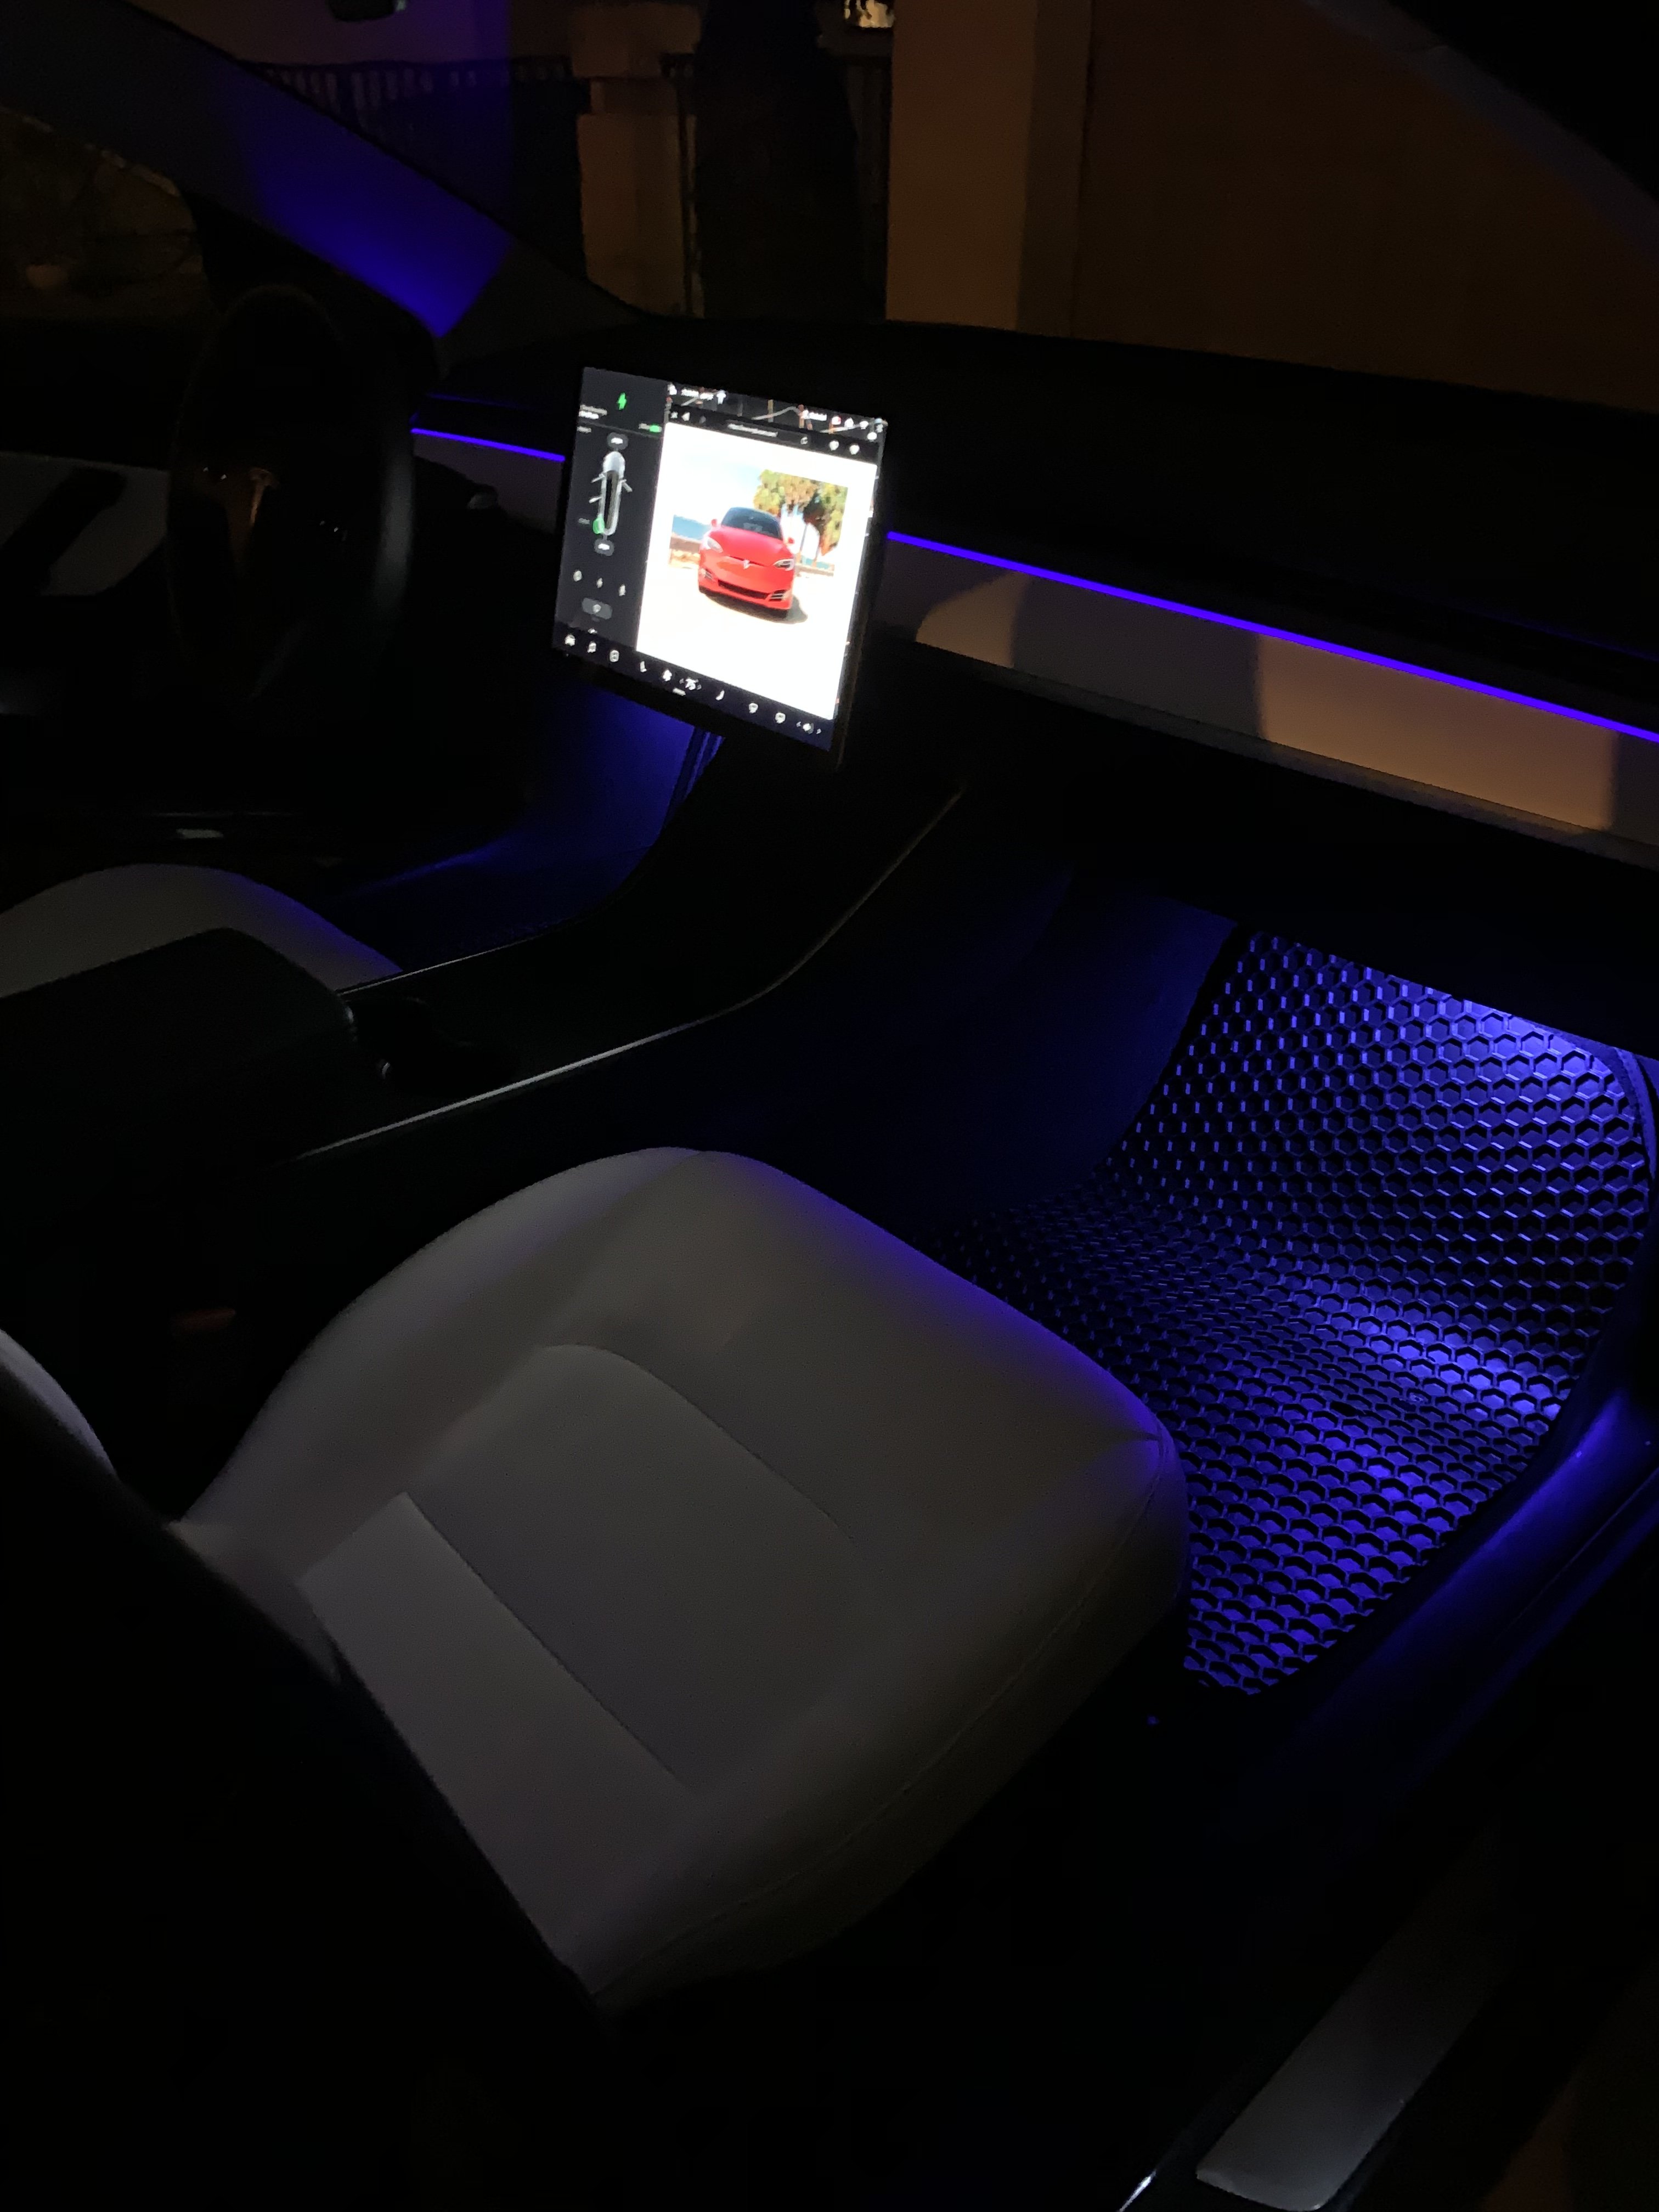
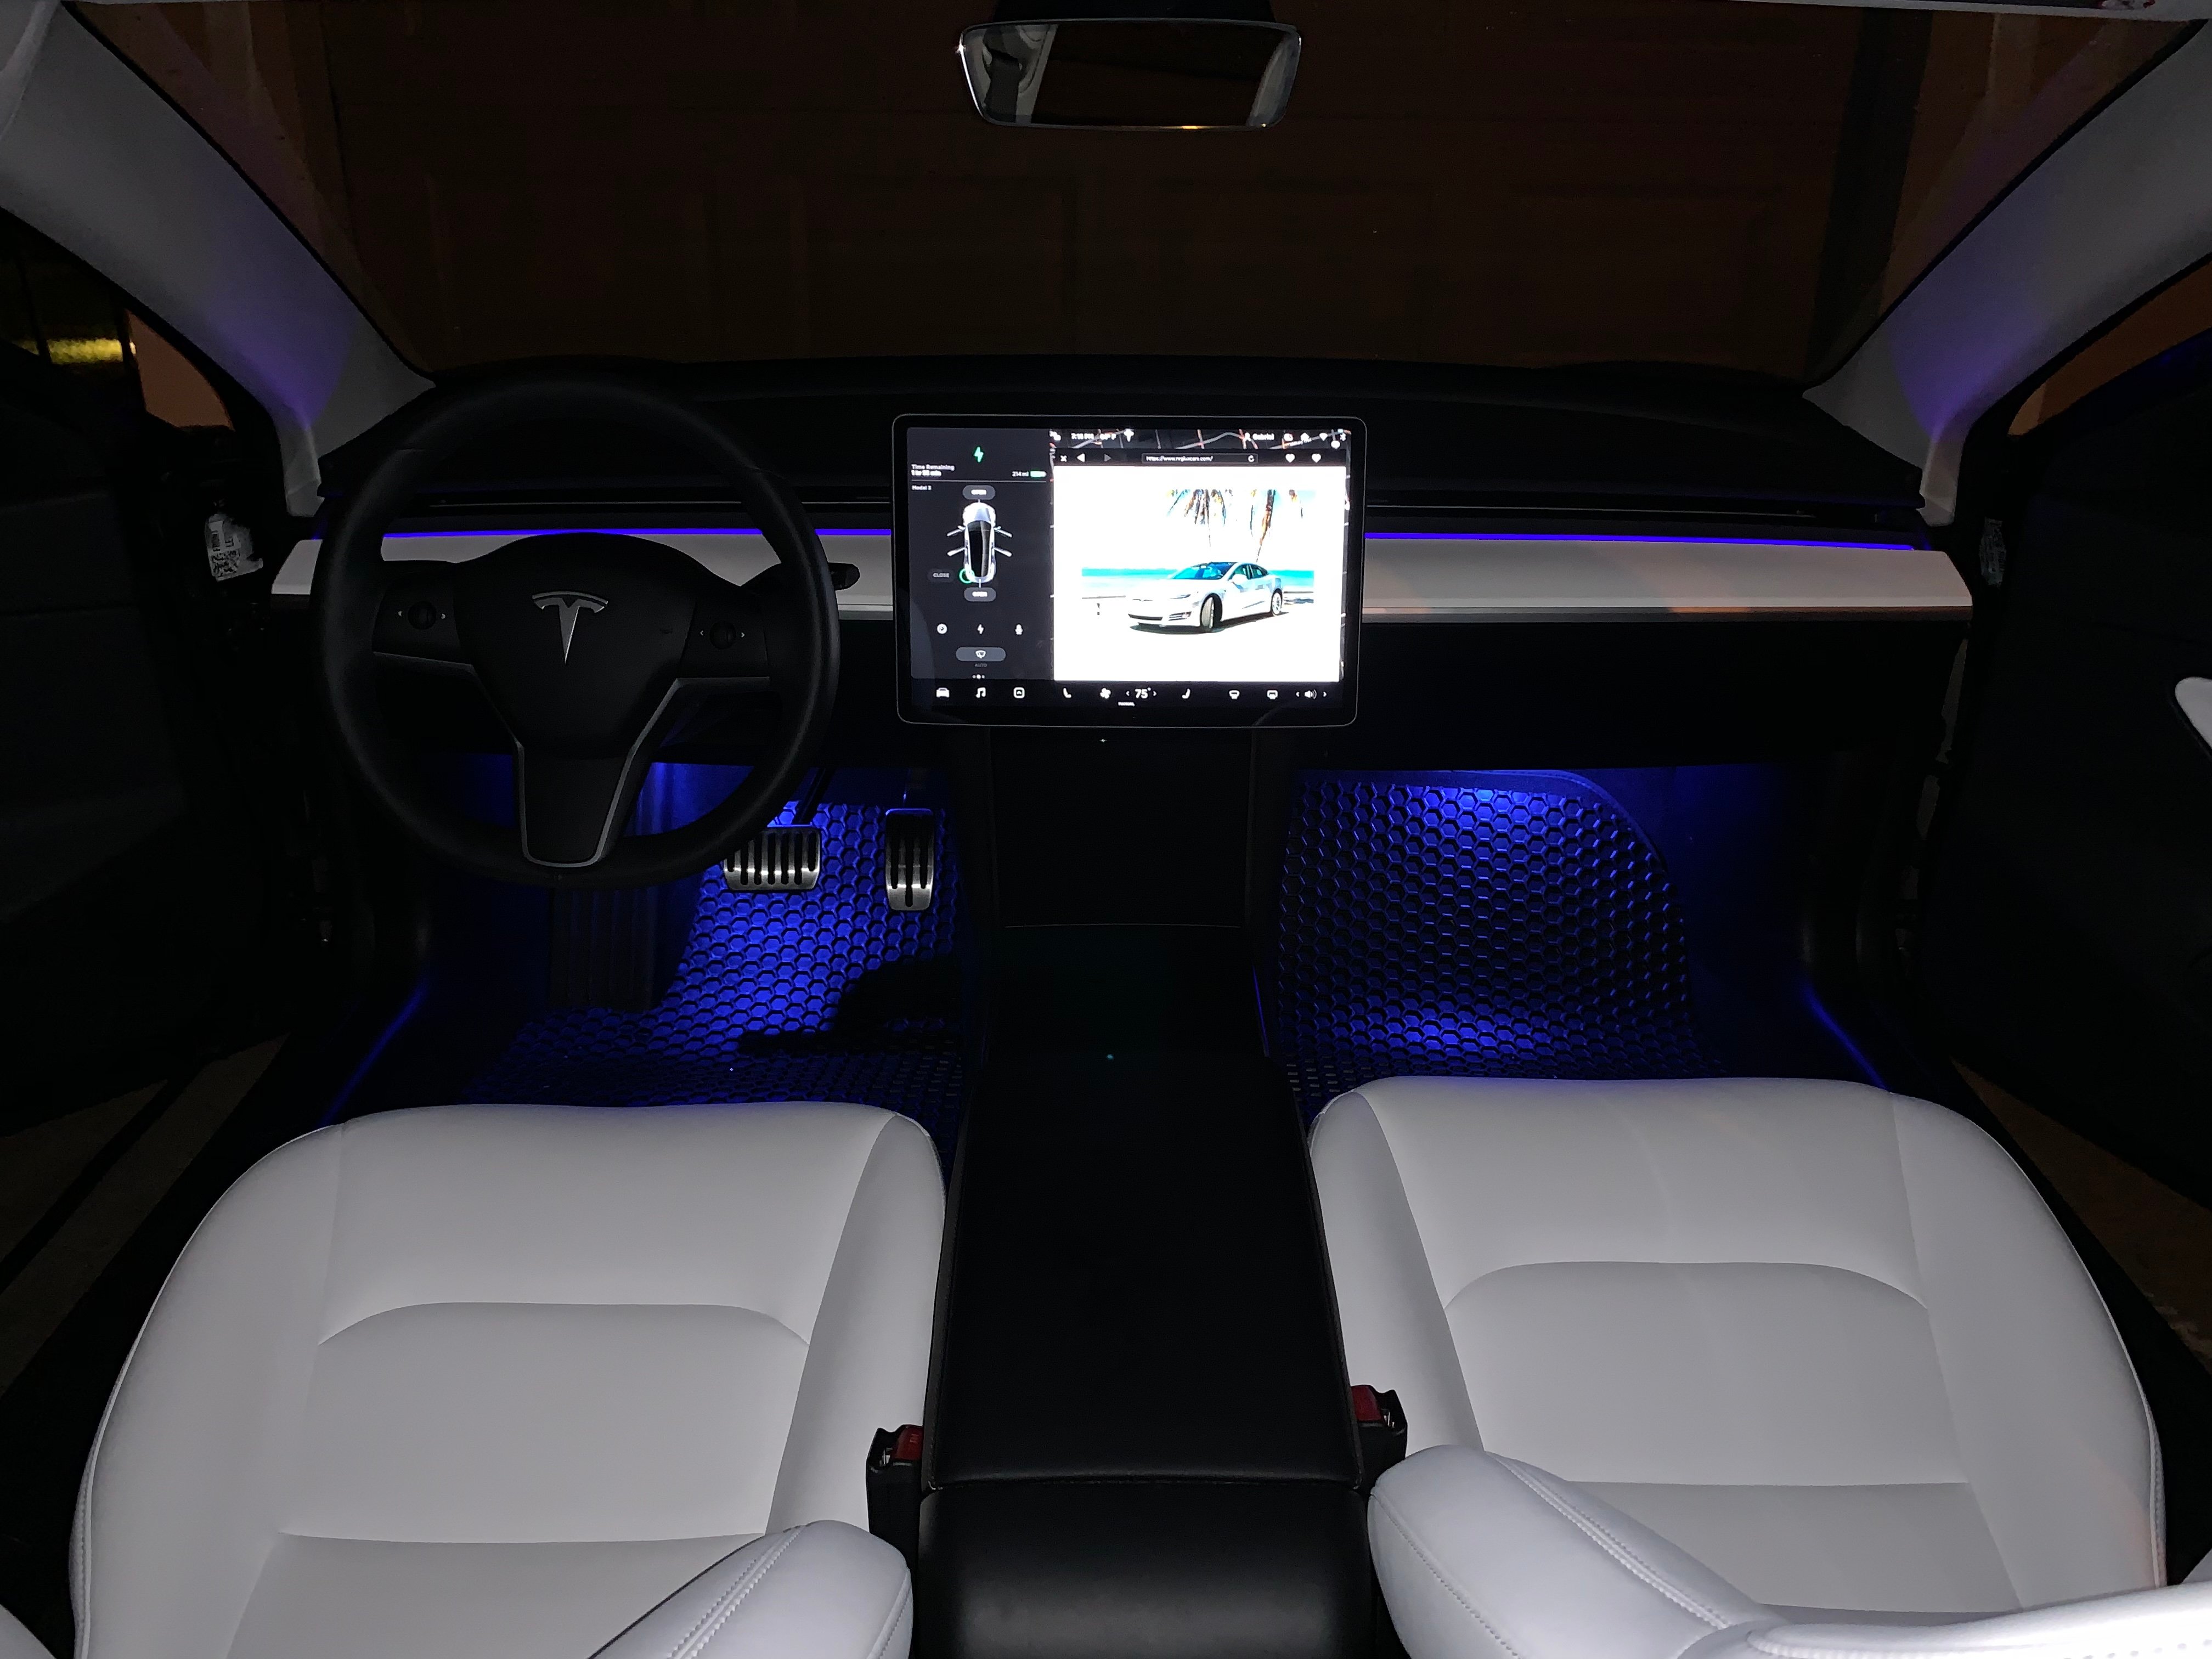
At the beginning I tried with EL wire but The model 3 Doesn't have any place to put it and I didn't like how it looks during the day so I found this kind of optic fiber with a Laser light that fits perfectly in the M3 A/C Vents.
There's a Small Gap at the end of the Air vent where you can pass the fiber thru and it will hold it. don't pull to hard because the Fiber can break.
you need to remove the Plastic triangle, pass the fiber thru the holes and grab it in the foot well (Remove the plastic where the foot well light is (1 screw and 2 little plastic things that you need to pull out)
Since Tesla has the Self healing fuses where it will cut the power if it detects more power draw than what it is expecting I had to find another Ambient light where I can attach it. so the next one is the Ambient light that is in the door right where the cup holder is.
- You need to remove the door panel (there's a 3rd Screw under the Plastic red light) check the here the
video.
it will look something like this.
The best way to pass the wire thru the rubber booth is from the door to the car so you might need to remove the speaker. there's some youtube videos with good ideas... I used a Bike brake wire plus a zip tie.
The wire needs to be attached to the light bulb wire, RED-RED and BLACK-BLACK also follow the original harness, put tape every 5 inches or so to avoid any lose Vibration remember (vibration=noise)
You can see how I ran the wires in this
video
There's space where you can put the Laser and the voltage to USB converter under this plastic
Hope you liked that mod. Let me know if you have any questions.
Materials needed
-2.5M Optic Fiber plus Illuminator (
Link)
-12v To USB Converter
(Link)
-24 AWG wire
(Link)
-Low Voltage connector
(Link)