


Welcome to Tesla Motors Club
Discuss Tesla's Model S, Model 3, Model X, Model Y, Cybertruck, Roadster and More.
Register
Install the app
How to install the app on iOS
You can install our site as a web app on your iOS device by utilizing the Add to Home Screen feature in Safari. Please see this thread for more details on this.
Note: This feature may not be available in some browsers.
-
Want to remove ads? Register an account and login to see fewer ads, and become a Supporting Member to remove almost all ads.
You are using an out of date browser. It may not display this or other websites correctly.
You should upgrade or use an alternative browser.
You should upgrade or use an alternative browser.
PPF DIY Fail
- Thread starter Blacked_Y
- Start date


zoomer0056
Active Member
Try the smallest panel or piece first. Headlights and fog lights are perfect to learn on. As for those pics: a lot of bubbles. Try to save it if it's not been on more than a few minutes. I think it's too late to save but trying to will be instructive and give you more experience. Then take it off and try again. Use plenty of slip solution. Tack it on a corner. Then move the film around to another good anchor point and squeegee that point. Find another anchor point and squeegee. Then overlapping squeegee motions to lay it in. Pay attention when squeegeeing to use smooth motions that overlap. You're pushing slip and air out. Sometimes the squeegee needs to be at an angle to the line of motion. Like pushing snow with a snow plow. I did my Feb 2022 MSLR myself, maybe this will help
 teslamotorsclub.com
DIY PPF on 2022 Blue Model S
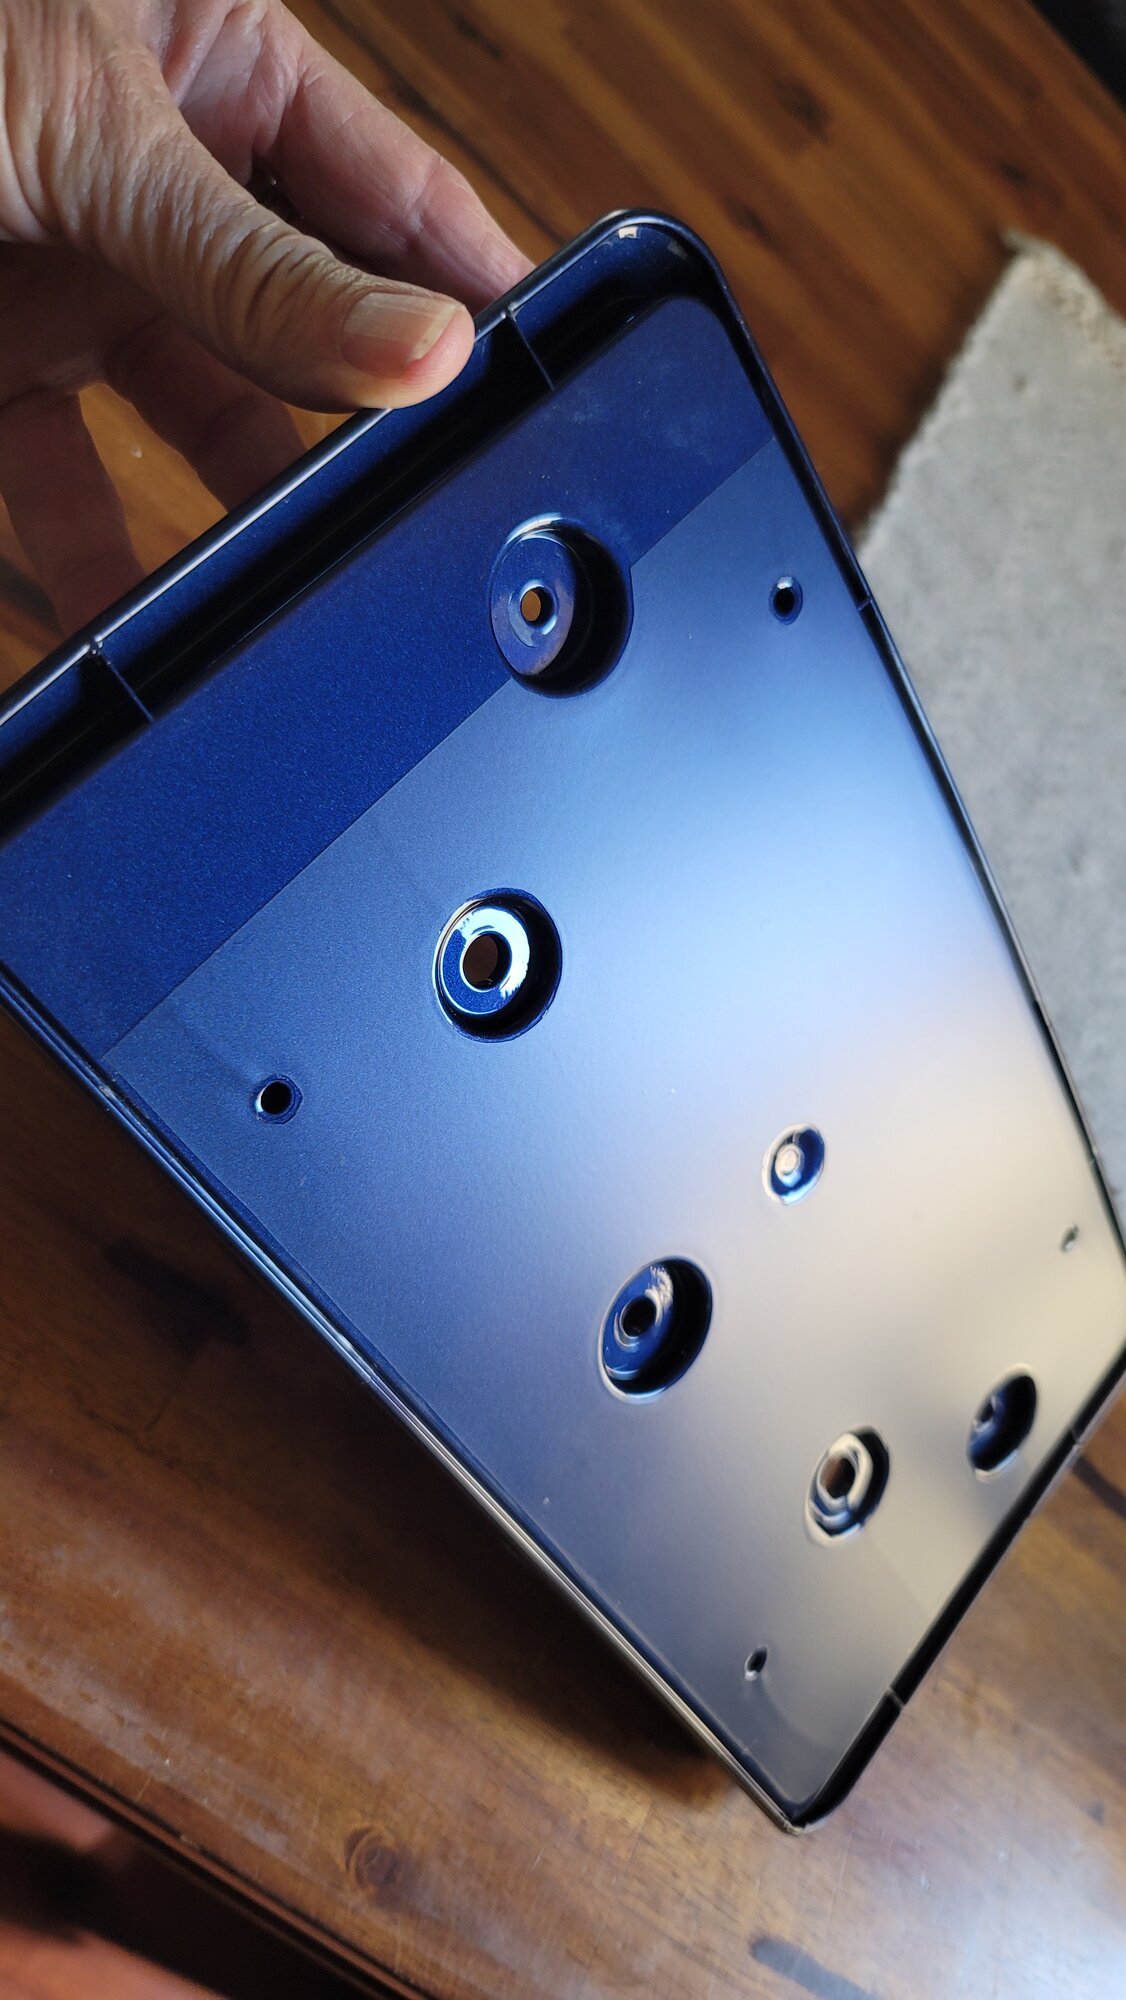
Model S is one week old. I've spent the last four months YouTubing PPF. This first post is practice on the front license plate holder which I will not put back on. It's a good test piece for practicing several techniques. There are compound curves in the corners, edges to wrap and circles to cut...
teslamotorsclub.com

It really depends if those are only air bubbles or if you have debris under the PPF. If nothing is under the PPF, you can try and insulin syringe to withdraw the air and it should sit down. If there is a lot of debris, you can either live with it or redo. I highly recommend watching a view videos of the individual section you are doing to see how the pros do it. Simple things like knowing which area to lay down first and which to stretch can help immensely.
Some other tips I have learned:
1. I try to apply at temps around 70-80 degrees
2. Take your time. Don't be in a rush.
3. Make sure the area is as clean as possible. Even a shirt with fuzzies can get under the PPF. Less of an issue with a black car.
4. Get good film with a firm glue. Suntek is known for weak glue, and although a great film, it is frustrating for the first-timer.
5. Have very good light. This will help you see those bubbles and debris and address them before the film has "cured"
6. The appropriate ratio of baby wash and alcohol in your respective solutions is very important.
7. Make sure the surface is absolutely clean. The PPF will not tack appropriately if it isn't.
8. Warm water is your friend in the areas that need stretch and are hard to tack down.
9. Having bubbles the next day is not the end of the world. If there is not debris under them, just use an insulin syringe.
10. Water under the PPF will dissipate after a week or so. Leave the car in the sun when done will speed up this process.
11. Get the full hood/fenders with over-wrap. The less lines you can see the better.
I am not an expert so take this at face value. I have done around 8-10 vehicles and have used various PPF's. My latest was STEK Dynoshield and I thought it went on quite well and plan to stick with this film for the next vehicle I do.
Good luck!
Chad
Thanks guys, with all the how-to videos out there I thought this would be an easy job. I consider myself a very DIY kind of guy but was not expecting the bubbles to be such an issue like it is now. I actually boil some water and went to go peel it off but it's surprisingly came off pretty easily considering it has been 14 hours (maybe because it was low 70 and 60s all night and high humidity?). So instead of taking it off to throw away , I decided to try to reapply it and do new echniques this time. It's not perfect but definitely a lot better, I got OCD and expected perfection, but after reviewing some more stuff here in the forum is I realized that everyone else who did it themselves also did not come out perfect and just have to learn to accept it that we aren't going to be as perfect as the pros, especially doing it by ourselves when they have a team of experts doing it together. Here are a few pics of what it looks like after I replied it, I took about an hour for each fender this morning. I'm afraid to pull that in the sun, but right now my garage looks good enough for me to deal with. I hope the remaining bubbles will dissipate in the heat and I will get the syringe to suck out the rest. I will wait till tomorrow to do the front bumper and fingers crossed that it comes out good. was saving it for last because I believe it would be the most challenging part to do. In the meantime, I'll continue looking at videos and reading the forums, appreciate the guys who responded so far.
Attachments


Thanks for the tips, some good ones for sure!!It really depends if those are only air bubbles or if you have debris under the PPF. If nothing is under the PPF, you can try and insulin syringe to withdraw the air and it should sit down. If there is a lot of debris, you can either live with it or redo. I highly recommend watching a view videos of the individual section you are doing to see how the pros do it. Simple things like knowing which area to lay down first and which to stretch can help immensely.
Some other tips I have learned:
1. I try to apply at temps around 70-80 degrees
2. Take your time. Don't be in a rush.
3. Make sure the area is as clean as possible. Even a shirt with fuzzies can get under the PPF. Less of an issue with a black car.
4. Get good film with a firm glue. Suntek is known for weak glue, and although a great film, it is frustrating for the first-timer.
5. Have very good light. This will help you see those bubbles and debris and address them before the film has "cured"
6. The appropriate ratio of baby wash and alcohol in your respective solutions is very important.
7. Make sure the surface is absolutely clean. The PPF will not tack appropriately if it isn't.
8. Warm water is your friend in the areas that need stretch and are hard to tack down.
9. Having bubbles the next day is not the end of the world. If there is not debris under them, just use an insulin syringe.
10. Water under the PPF will dissipate after a week or so. Leave the car in the sun when done will speed up this process.
11. Get the full hood/fenders with over-wrap. The less lines you can see the better.
I am not an expert so take this at face value. I have done around 8-10 vehicles and have used various PPF's. My latest was STEK Dynoshield and I thought it went on quite well and plan to stick with this film for the next vehicle I do.
Good luck!
Chad
1. Was under 75
2. This! I didn't take my time, I planned to just do one panel yesterday but felt the need/ desire to do the both fenders and hood. have two vehicles so no reason why I wasn't taking my time3.
3. Imma a clean freak and detail nearly as good as the pros
4. I got Tesbros kit, probably not as good as xpel but seems good so far, price was great, love all the DIY videos and I like that it comes with everything needed
9-10, My OCD...but thankfully the forums help me stop looking for perfection.. looking forward to see how well they go away in the sun and buying a needle syringe tomorrow
I was really stressed out and disappointed in my failure but I feel as though I learned a lot and did so much better 2nd time around!
I should have done the side view mirrors and headlights first, I was too confident going in, I was humbled by this lolTry the smallest panel or piece first. Headlights and fog lights are perfect to learn on. As for those pics: a lot of bubbles. Try to save it if it's not been on more than a few minutes. I think it's too late to save but trying to will be instructive and give you more experience. Then take it off and try again. Use plenty of slip solution. Tack it on a corner. Then move the film around to another good anchor point and squeegee that point. Find another anchor point and squeegee. Then overlapping squeegee motions to lay it in. Pay attention when squeegeeing to use smooth motions that overlap. You're pushing slip and air out. Sometimes the squeegee needs to be at an angle to the line of motion. Like pushing snow with a snow plow. I did my Feb 2022 MSLR myself, maybe this will help
DIY PPF on 2022 Blue Model S
Model S is one week old. I've spent the last four months YouTubing PPF. This first post is practice on the front license plate holder which I will not put back on. It's a good test piece for practicing several techniques. There are compound curves in the corners, edges to wrap and circles to cut...
zoomer0056
Active Member
Awesome, looks good to me. I am also surprised it came off then back on so nicely after being on car that long. I PPF exert I went to for advice told me one time "its paint protection film, not paint perfection film?.Thanks guys, with all the how-to videos out there I thought this would be an easy job. I consider myself a very DIY kind of guy but was not expecting the bubbles to be such an issue like it is now. I actually boil some water and went to go peel it off but it's surprisingly came off pretty easily considering it has been 14 hours (maybe because it was low 70 and 60s all night and high humidity?). So instead of taking it off to throw away , I decided to try to reapply it and do new echniques this time. It's not perfect but definitely a lot better, I got OCD and expected perfection, but after reviewing some more stuff here in the forum is I realized that everyone else who did it themselves also did not come out perfect and just have to learn to accept it that we aren't going to be as perfect as the pros, especially doing it by ourselves when they have a team of experts doing it together. Here are a few pics of what it looks like after I replied it, I took about an hour for each fender this morning. I'm afraid to pull that in the sun, but right now my garage looks good enough for me to deal with. I hope the remaining bubbles will dissipate in the heat and I will get the syringe to suck out the rest. I will wait till tomorrow to do the front bumper and fingers crossed that it comes out good. was saving it for last because I believe it would be the most challenging part to do. In the meantime, I'll continue looking at videos and reading the forums, appreciate the guys who responded so far.
That's great advice! I was surprised it came off so easily too, maybe because it dropped down to 65 degrees with humidity over 90% is why I didn't cure so quickly?Awesome, looks good to me. I am also surprised it came off then back on so nicely after being on car that long. I PPF exert I went to for advice told me one time "its paint protection film, not paint perfection film?.
zoomer0056
Active Member
This one is challenging but very doable. You gotta have a plan in your head. Which point to tack first. Which points to soft squeegee. Go over it in your head while looking at the bumper, and then go over it again. For my 2022 MSLR I had the USS cut outs to help placement. Do one side, then the other and lastly the middle.Yes after a day of more more healing it looks a ton better! I'm happy with the progress so far now. I'm still scared of the bumper lol, I try that on Wednesday, being more like zoomer and taking my time
Yes after a day of more more healing it looks a ton better! I'm happy with the progress so far now. I'm still scared of the bumper lol, I try that on Wednesday, being more like zoomer and taking my time now
are you doing it yourself or you have someone else to help out?
bumper can be tough for a solo job.
I'm worried but like you said in your thread it's challenging but also fun. After I was able to fix the fenders and did my research I'm enjoying the project after slowing down. What did you do about your water/air bubbles if any? Did you allow them to dissipate on their own or did you do the diabetics needle and puncture them?This one is challenging but very doable. You gotta have a plan in your head. Which point to tack first. Which points to soft squeegee. Go over it in your head while looking at the bumper, and then go over it again. For my 2022 MSLR I had the USS cut outs to help placement. Do one side, then the other and lastly the middle.
All on my own! I think applying the big piece initially to the front bumper is the part Im most worried about. I'm going to watch a few videos and study techniques like zoomer mentionedare you doing it yourself or you have someone else to help out?
bumper can be tough for a solo job.
zoomer0056
Active Member
I also did without help. I did have a few bubbles and used a diabetic syringe. Funny story. I went to CVS pharmacy. She asked for a prescription. I told her I don't have one, this is for putting PPF on my car. She looked up from the computer with such a puzzled look. So I explained and caught the attention of other pharmacists and customers. Anyway, a syringe is very effective. Use a ghost glove. Poke at edge of bubble and try extracting with syringe plunger then get the rest by pushing from backside with ghost glove. Air is the enemy. Water could evaporate.I'm worried but like you said in your thread it's challenging but also fun. After I was able to fix the fenders and did my research I'm enjoying the project after slowing down. What did you do about your water/air bubbles if any? Did you allow them to dissipate on their own or did you do the diabetics needle and puncture them?
brkaus
Well-Known Member
My first attempt at a hood was awful. Partially because I had an overzealous helper.
I just left it, hope to redo someday. And hope I can get it off.
Lots of great tips here.
I just left it, hope to redo someday. And hope I can get it off.
Lots of great tips here.
Last edited:
zoomer0056
Active Member
Easy to remove. Put a towel on it and drench it in hot water. That will soften the glue one section at a time.My first attempt at a hood was awful. Partially because I had an overzealous helper.
I just left it, hope to redo someday. And hope I can get it off.
brkaus
Well-Known Member
Thank you!!!Easy to remove. Put a towel on it and drench it in hot water. That will soften the glue one section at a time.
I also did without help. I did have a few bubbles and used a diabetic syringe. Funny story. I went to CVS pharmacy. She asked for a prescription. I told her I don't have one, this is for putting PPF on my car. She looked up from the computer with such a puzzled look. So I explained and caught the attention of other pharmacists and customers. Anyway, a syringe is very effective. Use a ghost glove. Poke at edge of bubble and try extracting with syringe plunger then get the rest by pushing from backside with ghost glove. Air is the enemy. Water could evaporate.
they gave you the syringe without prescription?
i needed to have prescription to pick up syringes for my diabetic grandma.
Similar threads
- Replies
- 7
- Views
- 618
- Replies
- 2
- Views
- 382
- Replies
- 15
- Views
- 3K
- Replies
- 27
- Views
- 3K