Welcome to Tesla Motors Club
Discuss Tesla's Model S, Model 3, Model X, Model Y, Cybertruck, Roadster and More.
Register

Need hitch recommendations

This site may earn commission on affiliate links.
The Torklift EcoHitch and Kuat Sherpa 2.0 have worked well.
Kuat Sherpa 2.0 Review

In general, the EcoHitch has a load (not towing) capacity of only 200 lbs, so you need to use a lighter bike rack and use it for road bikes/lighter bikes vs big, heavy e-bikes, mountain bikes or cruisers. YMMV


fullsizeoutput_3f18.jpeg
fullsizeoutput_3f1c.jpeg
 
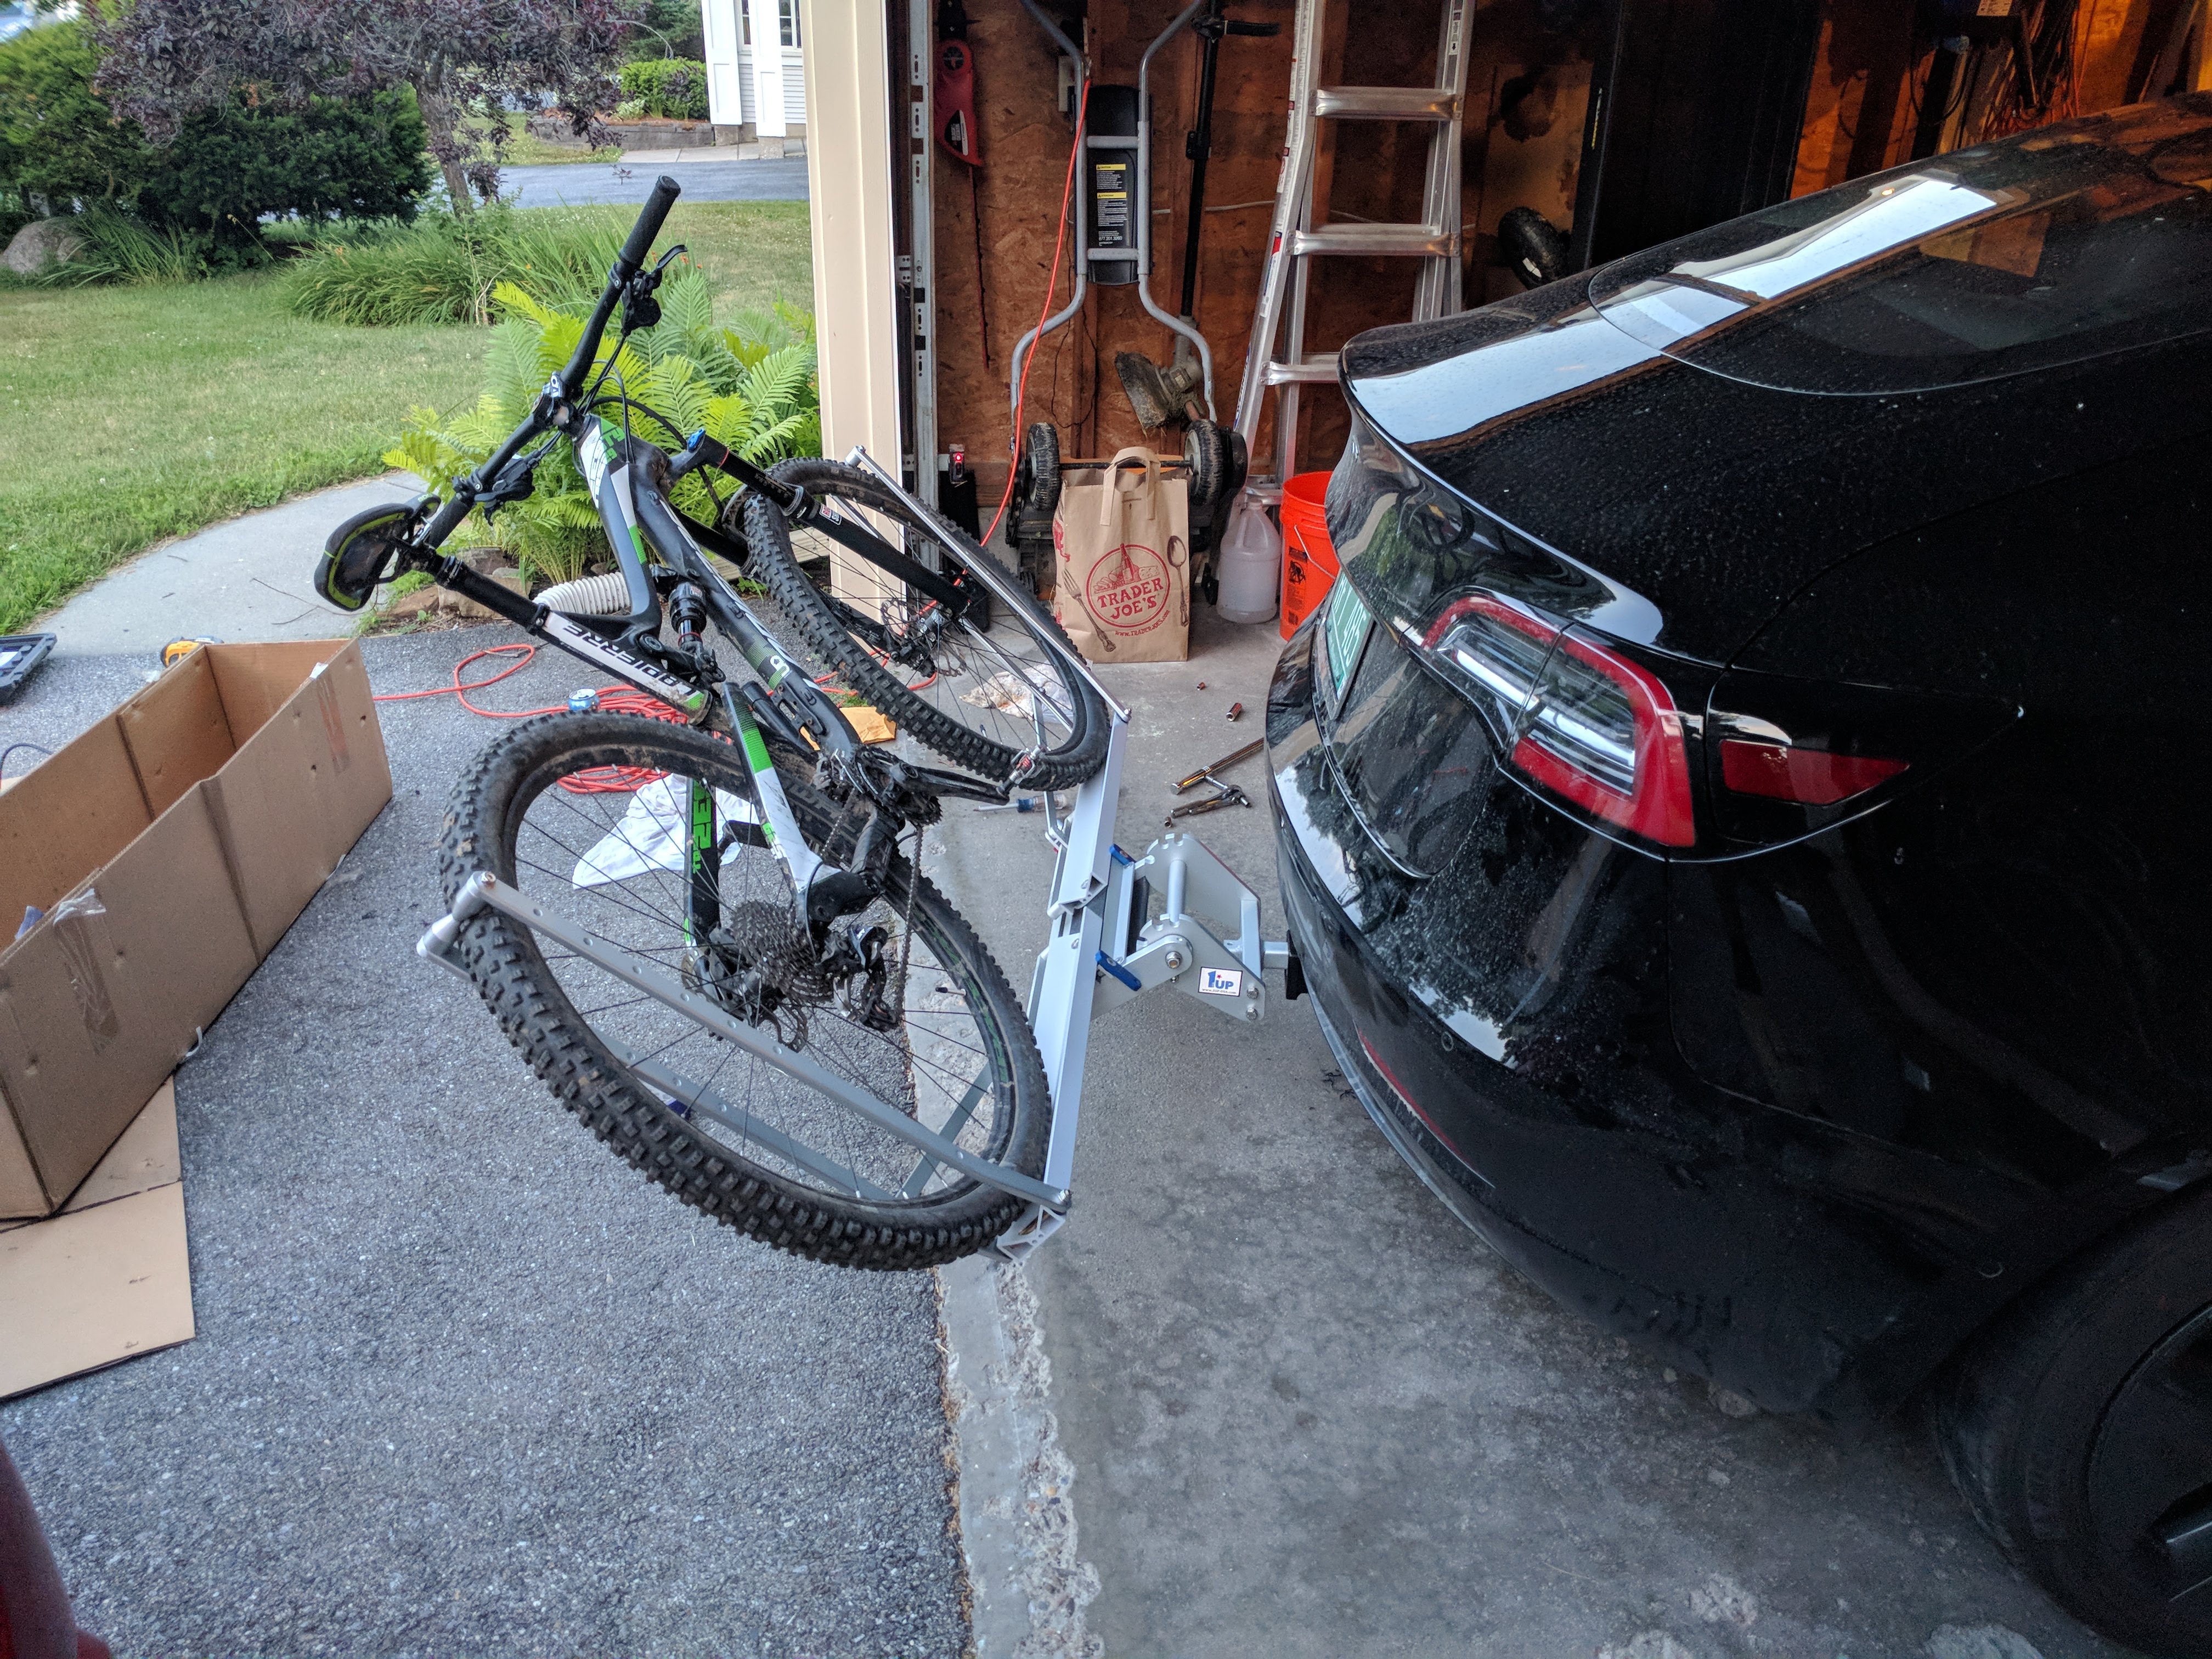
Just finished installing the Eco Hitch. Took about 2.5 hours. I took extra time with the cutout. Even with that there was still a little trimming which needed to occur once the hitch and bumper were back on. The hitch is now coupled with a 3up bike rack. The only down side is the car screams at you when going backwards as it thinks there is something inches away. Cruise and Autopilot still seem to work. I'll post on and driving difference and power consumption in the next few days.
 
I installed the Torklift yesterday. and came across something I haven't seen mentioned yet. Mekberg's post was very helpful. To give an indication of skill/time required, I've never torn a car apart before and it took me and my brother-in-law just over 3 hours or so. Little longer because we stopped for lunch and had to go out to the hardware store, heh.

I came across something I haven't seen mentioned and I'm not sure how bothered I should be. After the hitch is installed you reinstall the crash bar. There are 3 bolts each side intended to line up and be tightened to 50ft-lbs torque. The left size of the crash bar has holes just large enough for the bolts, on the right side there's a little extra width. The right side bolts did not line up perfectly for me. In particular the lowest one on the right was so far misaligned that I was unable to get a socket in to tighten with the torque wrench. I hand-tightened it the best I could using a wrench from the side but it's definitely not torqued as much as the 5 properly-tightened nuts. I decided to proceed and everything else about the install went well. What do you think about 1 less-tightened nut on the crash bar?
20180909_134239[1].jpg
 
I installed the Torklift yesterday. and came across something I haven't seen mentioned yet. Mekberg's post was very helpful. To give an indication of skill/time required, I've never torn a car apart before and it took me and my brother-in-law just over 3 hours or so. Little longer because we stopped for lunch and had to go out to the hardware store, heh.

I came across something I haven't seen mentioned and I'm not sure how bothered I should be. After the hitch is installed you reinstall the crash bar. There are 3 bolts each side intended to line up and be tightened to 50ft-lbs torque. The left size of the crash bar has holes just large enough for the bolts, on the right side there's a little extra width. The right side bolts did not line up perfectly for me. In particular the lowest one on the right was so far misaligned that I was unable to get a socket in to tighten with the torque wrench. I hand-tightened it the best I could using a wrench from the side but it's definitely not torqued as much as the 5 properly-tightened nuts. I decided to proceed and everything else about the install went well. What do you think about 1 less-tightened nut on the crash bar?
View attachment 333671

Judging by the shiny metal part deep in the crash bar - looks like you can move the whole bar to the right. Might help alignment of the nut.
 
Judging by the shiny metal part deep in the crash bar - looks like you can move the whole bar to the right. Might help alignment of the nut.
The thing is, the left side doesn't have space for adjustment, it goes on and leaves no wiggle room to move even if there's space on the right. I think the correction would be the location of the bolts on the hitch itself.
 
The 200 lb weight is a bummer. Carrying 4 bikes is going to be tough. I had a 1up 2 bike and got the 4 bike conversion. With that the rack was 80-90lbs and huge. So if I added the 100+ lbs of bikes it’s at/over the 200lb limit. I’m glad I sold it and got a north shore rack. It is the best bike rack I have ever owned for hauling mountain bikes (won’t carry road) and only 42 lbs for the 4 bike. Looks like the eco hitch receiver is $359.99 for the 2” version. I’ll have to get one and look into hitch mounted ski racks as well.
 
Another +1 for EcoHitch.

Tools required:
  1. Push pin "spudger" or a flathead screwdriver
  2. Torx (T25?)
  3. Ratchet(s)
  4. 8mm socket
  5. 10mm socket
  6. 15mm deep socket
  7. Extension bar
  8. 3 1/2" or 4" hole saw
  9. Drill
  10. Tape measure
  11. Pencil
  12. Rigid plastic prying device
  13. Rubber mallet
  14. 50 ft lb torque wrench
  15. 15/16" socket or ratchet wrench
Set aside 3-4 hours for this.

I listed a prying device because my crash bar supports were epoxied to the rear of the car. I had a plastic spatula used for patching drywall holes and tapped this between the supports and body to avoid gouging the primer.

I opted for the smaller 3 1/2" hole saw which works but doesn't leave a ton of room for the 15/16" socket and ratchet. As such I ordered a ratcheting wrench from the Amazons: https://www.amazon.com/gp/product/B01F511EXA/ref=oh_aui_detailpage_o02_s00?ie=UTF8&psc=1

Let me know if you have any other questions or would like additional photos.
Mekberg- new member and first post. Would you have 5 min to answer a couple of questions about DIY install of the EcoHitch ? If so, you can pm me- would certainly appreciate the time.
 
Has anyone compared the ecohitch to the other hitch from Stealth Hitch? The receiver looks nicer in the Stealth and it’s lighter, but I don’t love what looks like a change to the mounting of the crash beam. Looks like it only has half the bolts loaded in shear in a crash (2 per side, not 4).