


So I just installed the Torklift Stealth Hitch on an April '19 build M3 and there are a couple differences to the previous instructions (all good) and a couple notes that may help you.
Tools
Torx Bit (T20 I believe)
Small Flat Headed screwdriver
8 MM Socket
10 MM Socket
15 MM Deep Socket
Torque Wrench
Jig saw or similar for cutting plastic underpanel
Notes
Use the small screwdriver to pop the plastic rivets. When removing, don't pull the pin all the way back as it "locks" it again, leave it loose about halfway.
On my under panel, I only had 4 10MM bolts instead of 6.
Mine also had a small panel you can remove instead of cutting the underpanel itself details below.
The sensor on the bumper is really tough, had to use a small screwdriver to pry it open, easy enough and the plastic is flexible enough that you can do it with no damage.
When replacing the bumper facia/cover, attach the bottom forward most two bolts first before trying to do the snaps around the trunk and wheel cover. Kind of a pain holding the cover and pushing that part in but only way I could make it happen.
Be really careful replacing the bumper facia if doing it by yourself. There is a metal nut bracket on either side that can scratch the paint. You can remove them and replace them as the last bit before you put those last few snaps together.
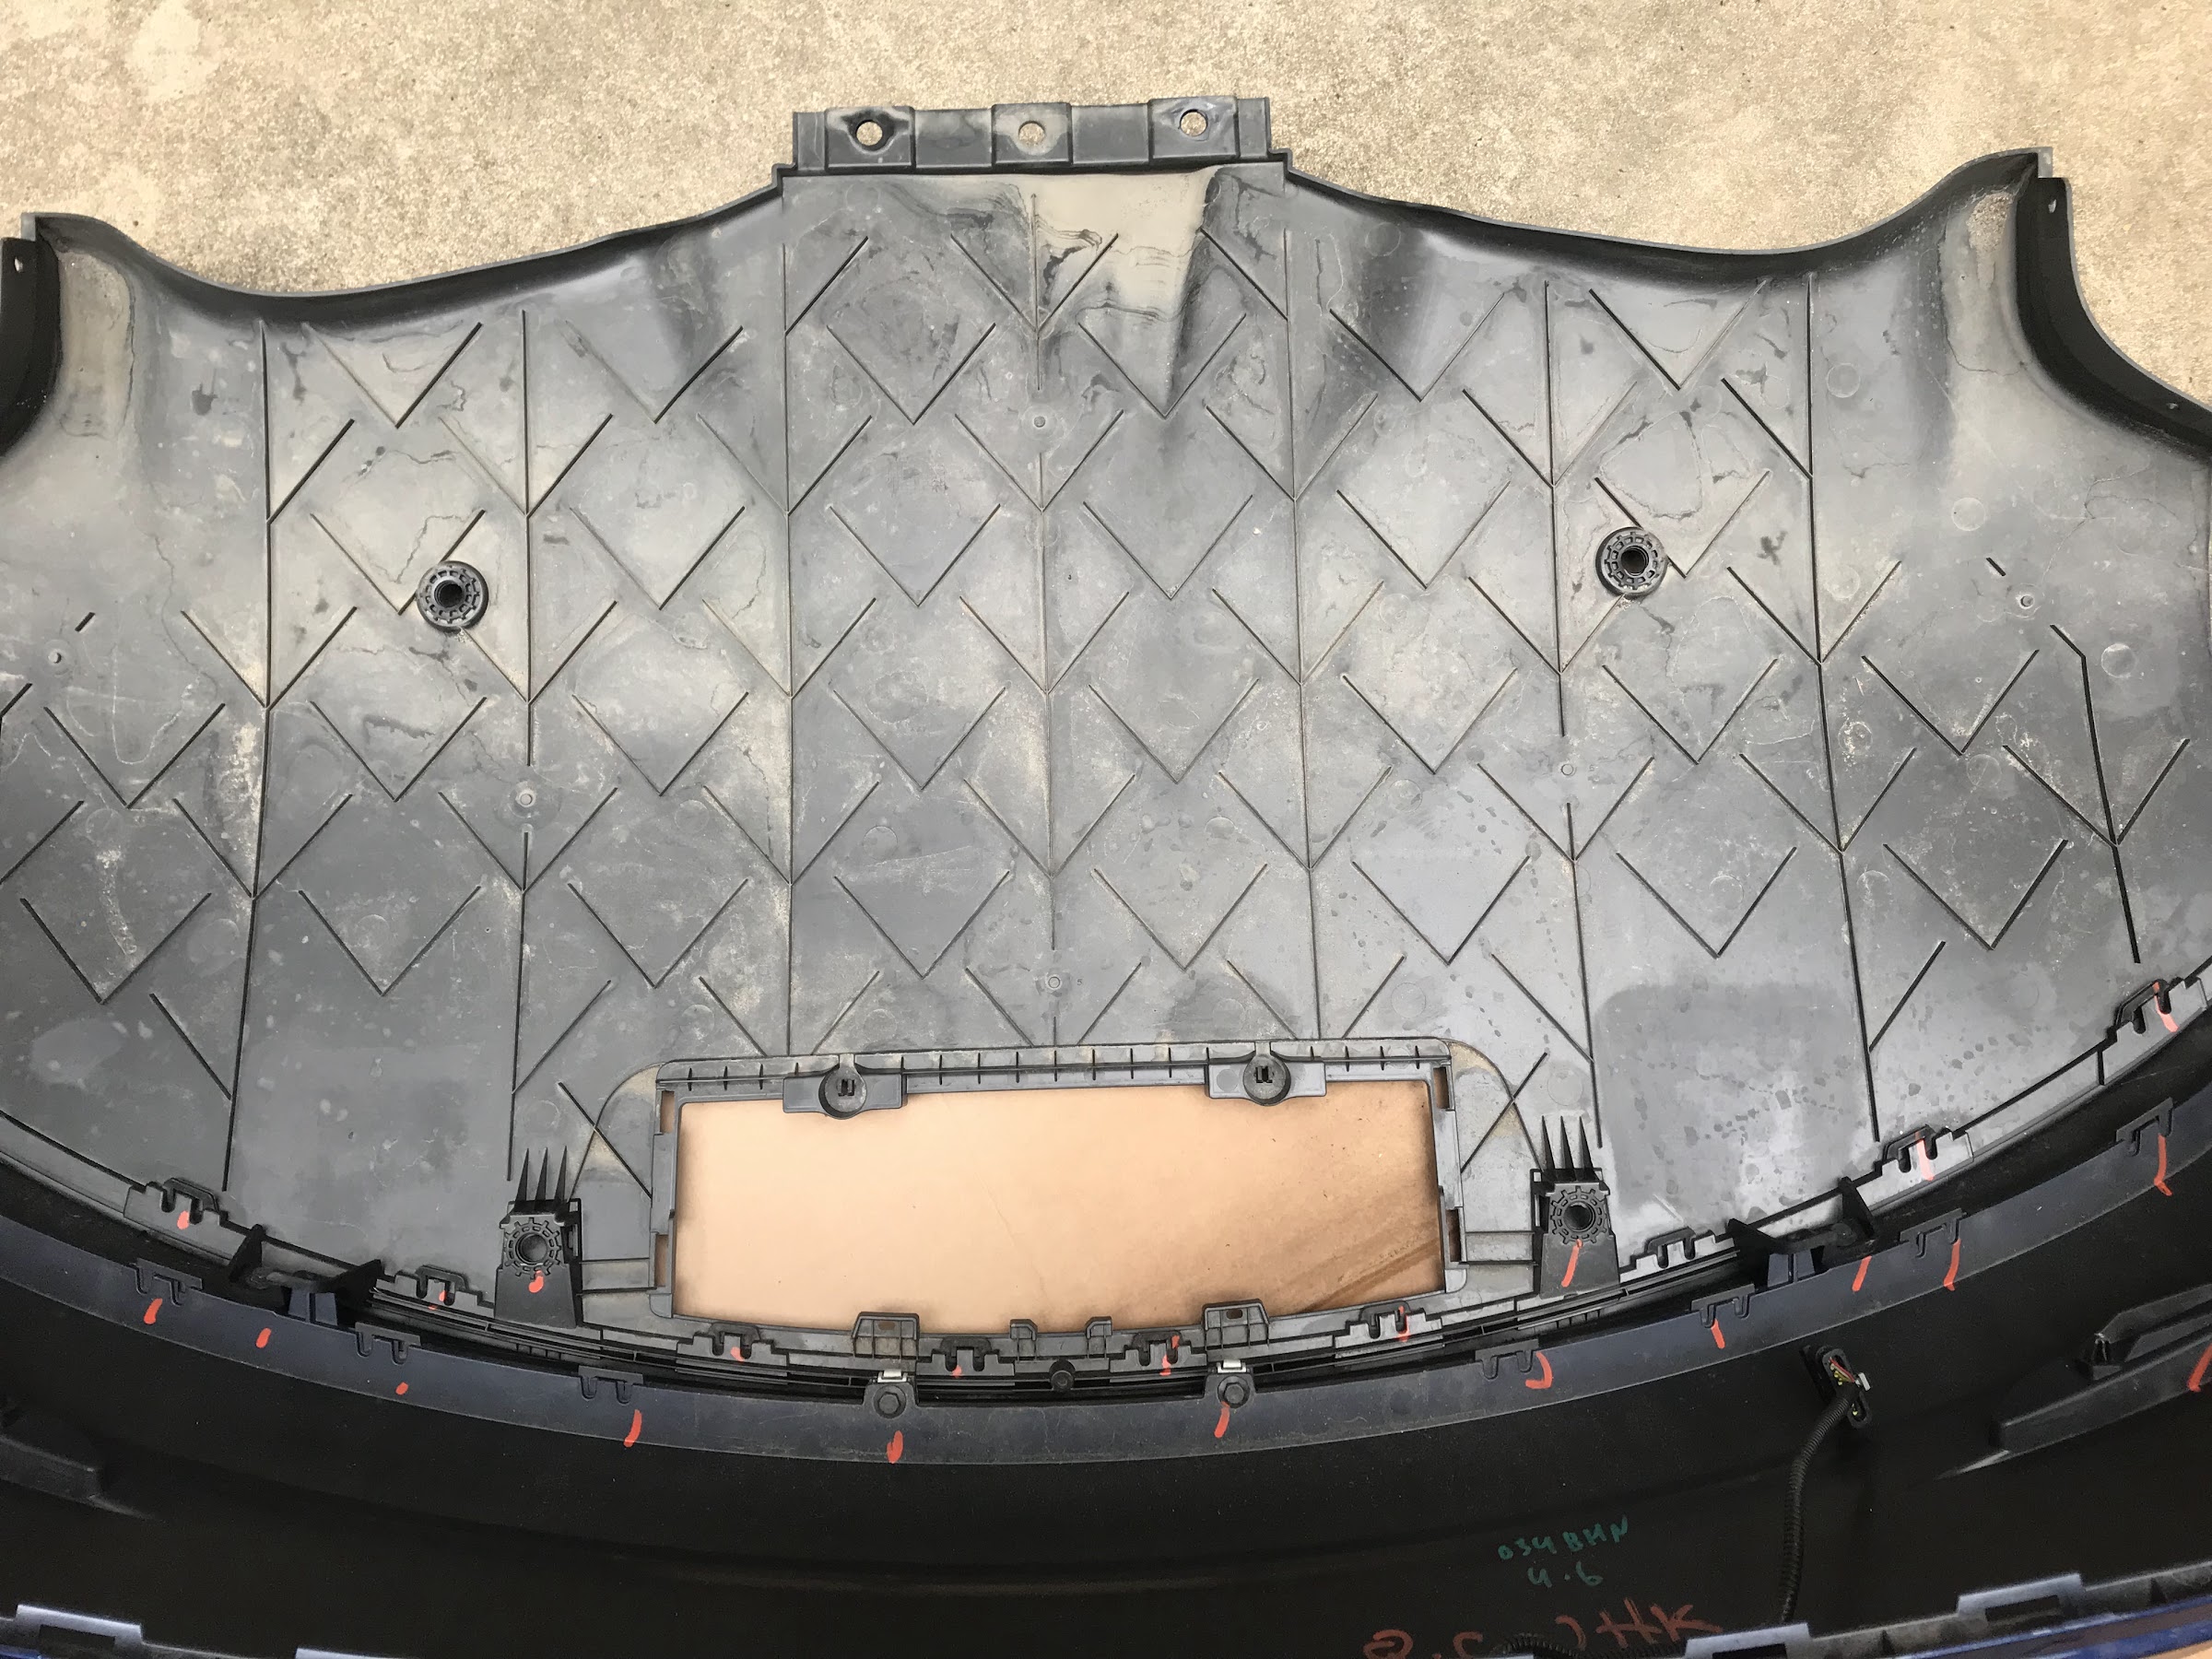
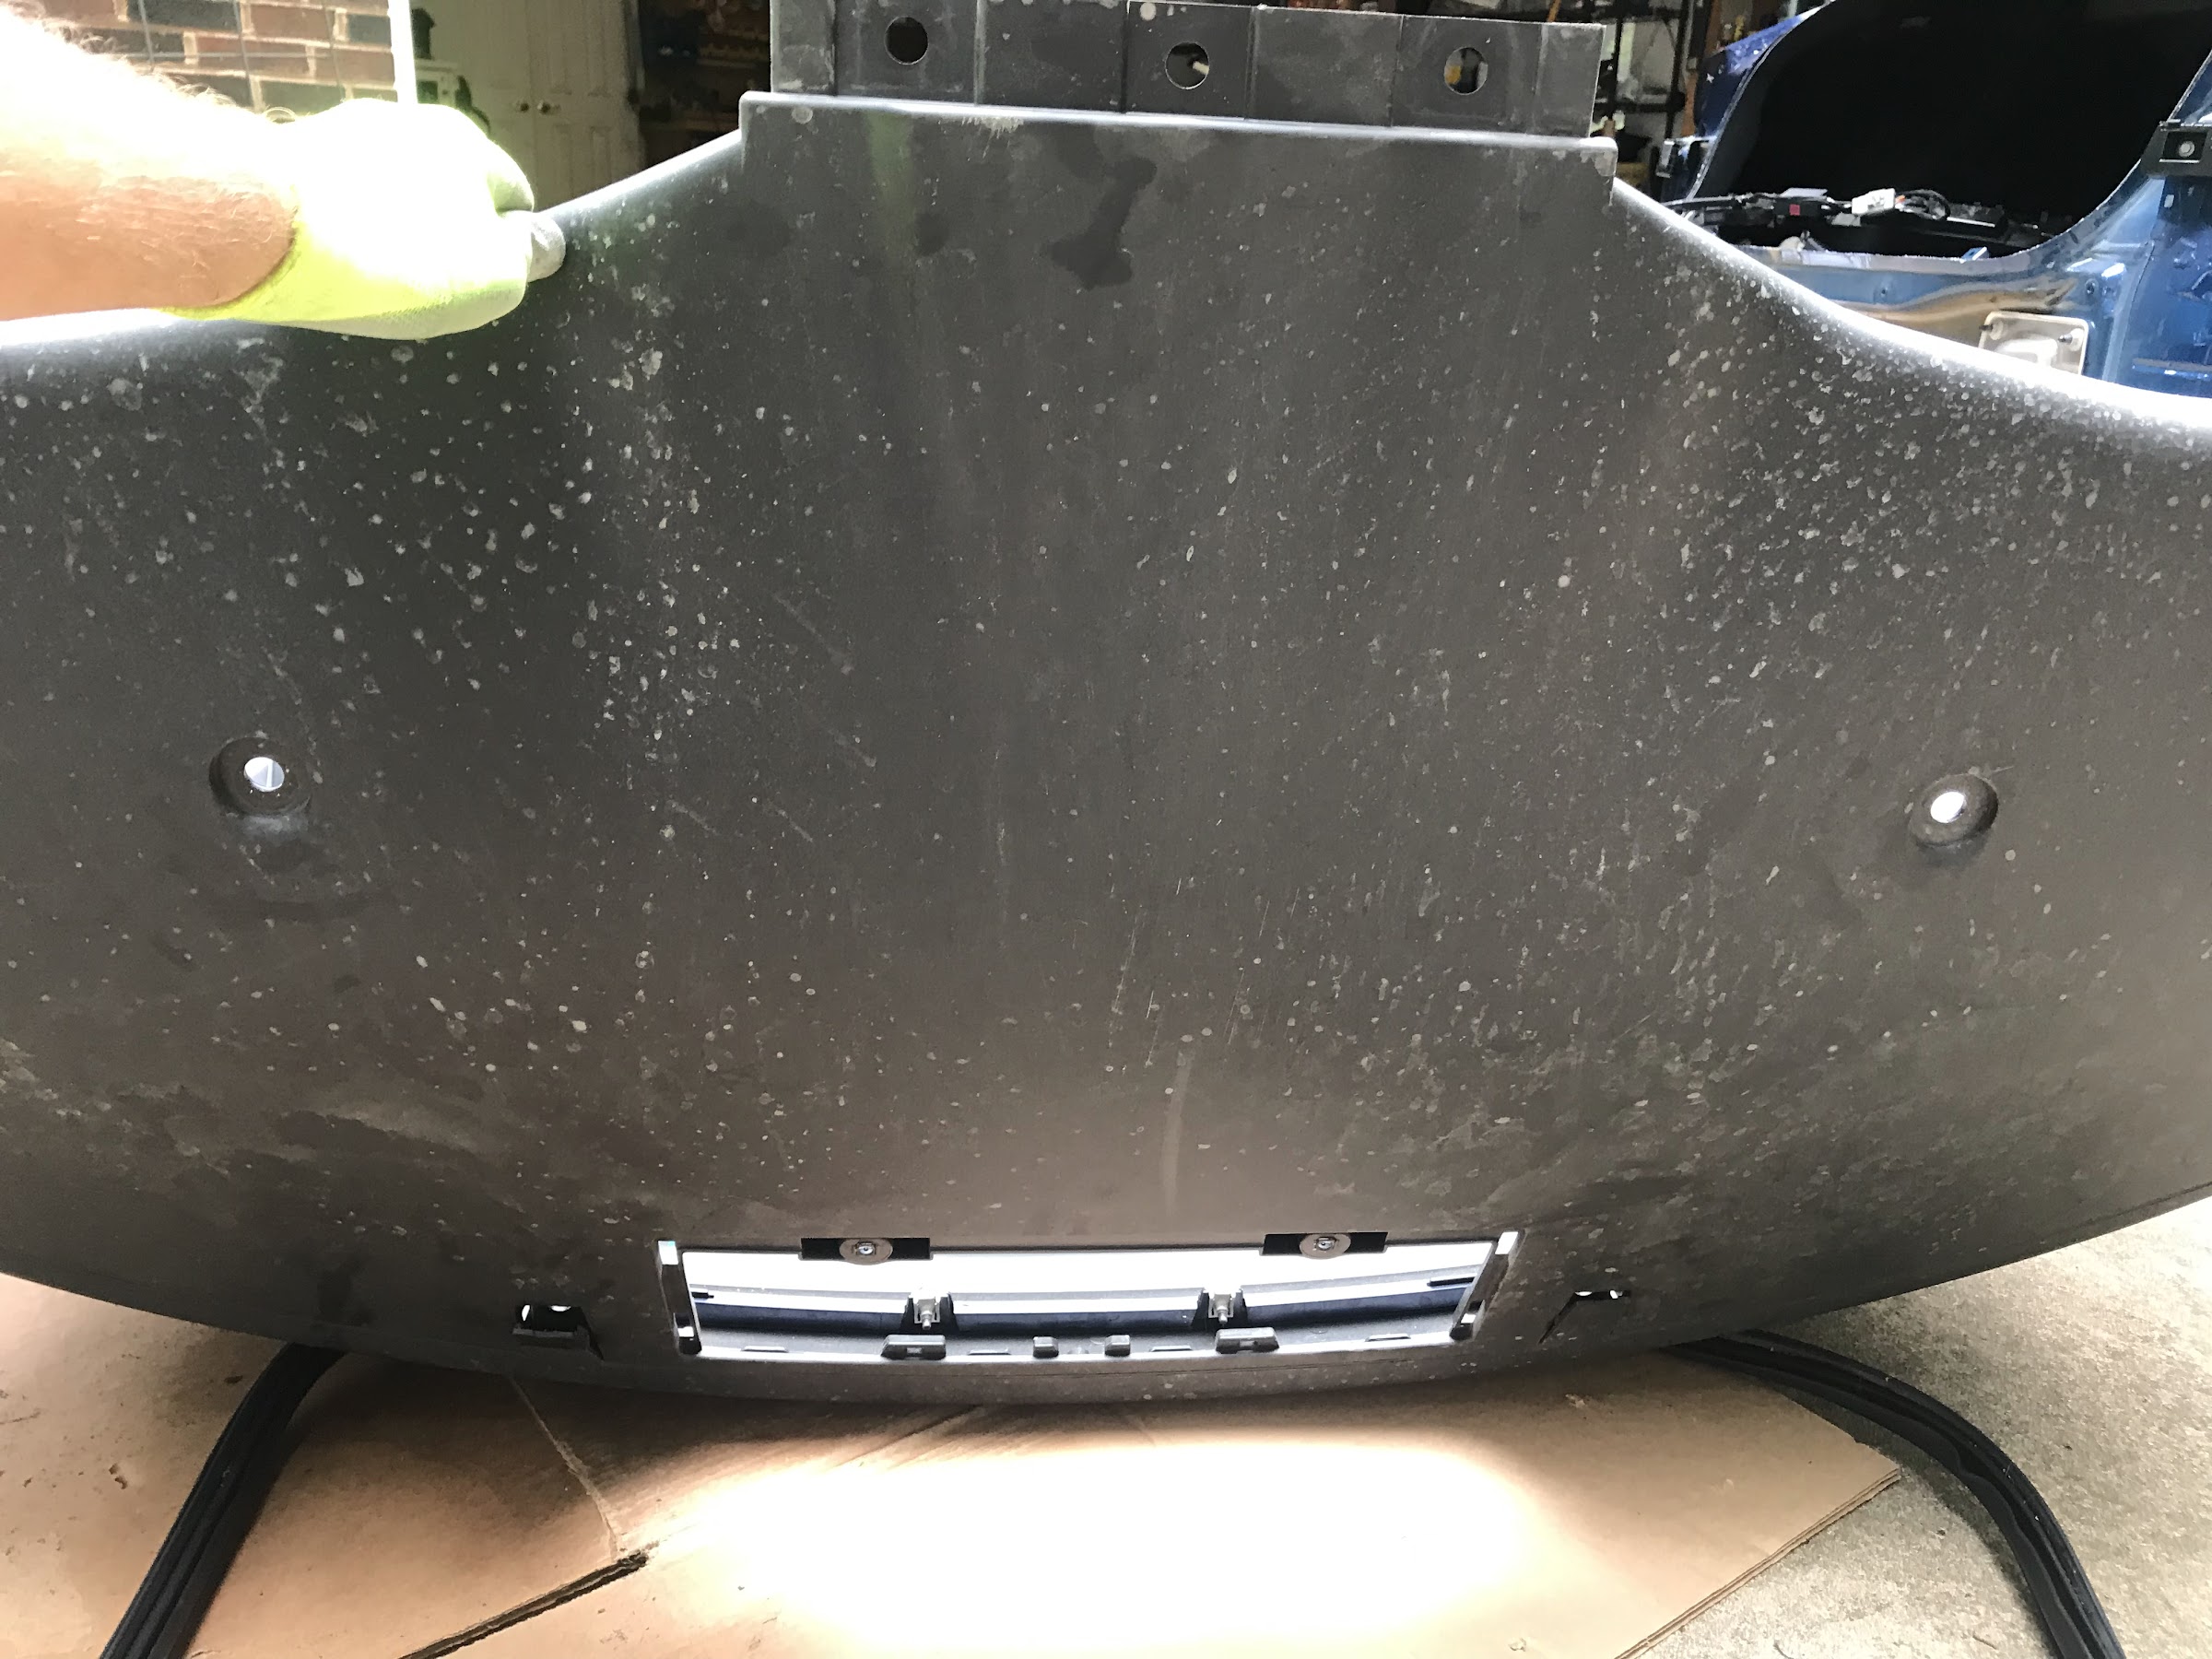
So the cool thing is the small panel which was put there for the Model 3 factory hitch. It allows you to remove just that panel and make a simple cut that you can fit really nicely around the hitch. Also really easy to pop out and gives you more room to easily remove the receiver. I also plan to modify the cut out piece so I can put it in when I remove the receiver.
Note the panel cutout at the bottom. Only two of the top three spots had a bolt and only two in the middle of the panel.
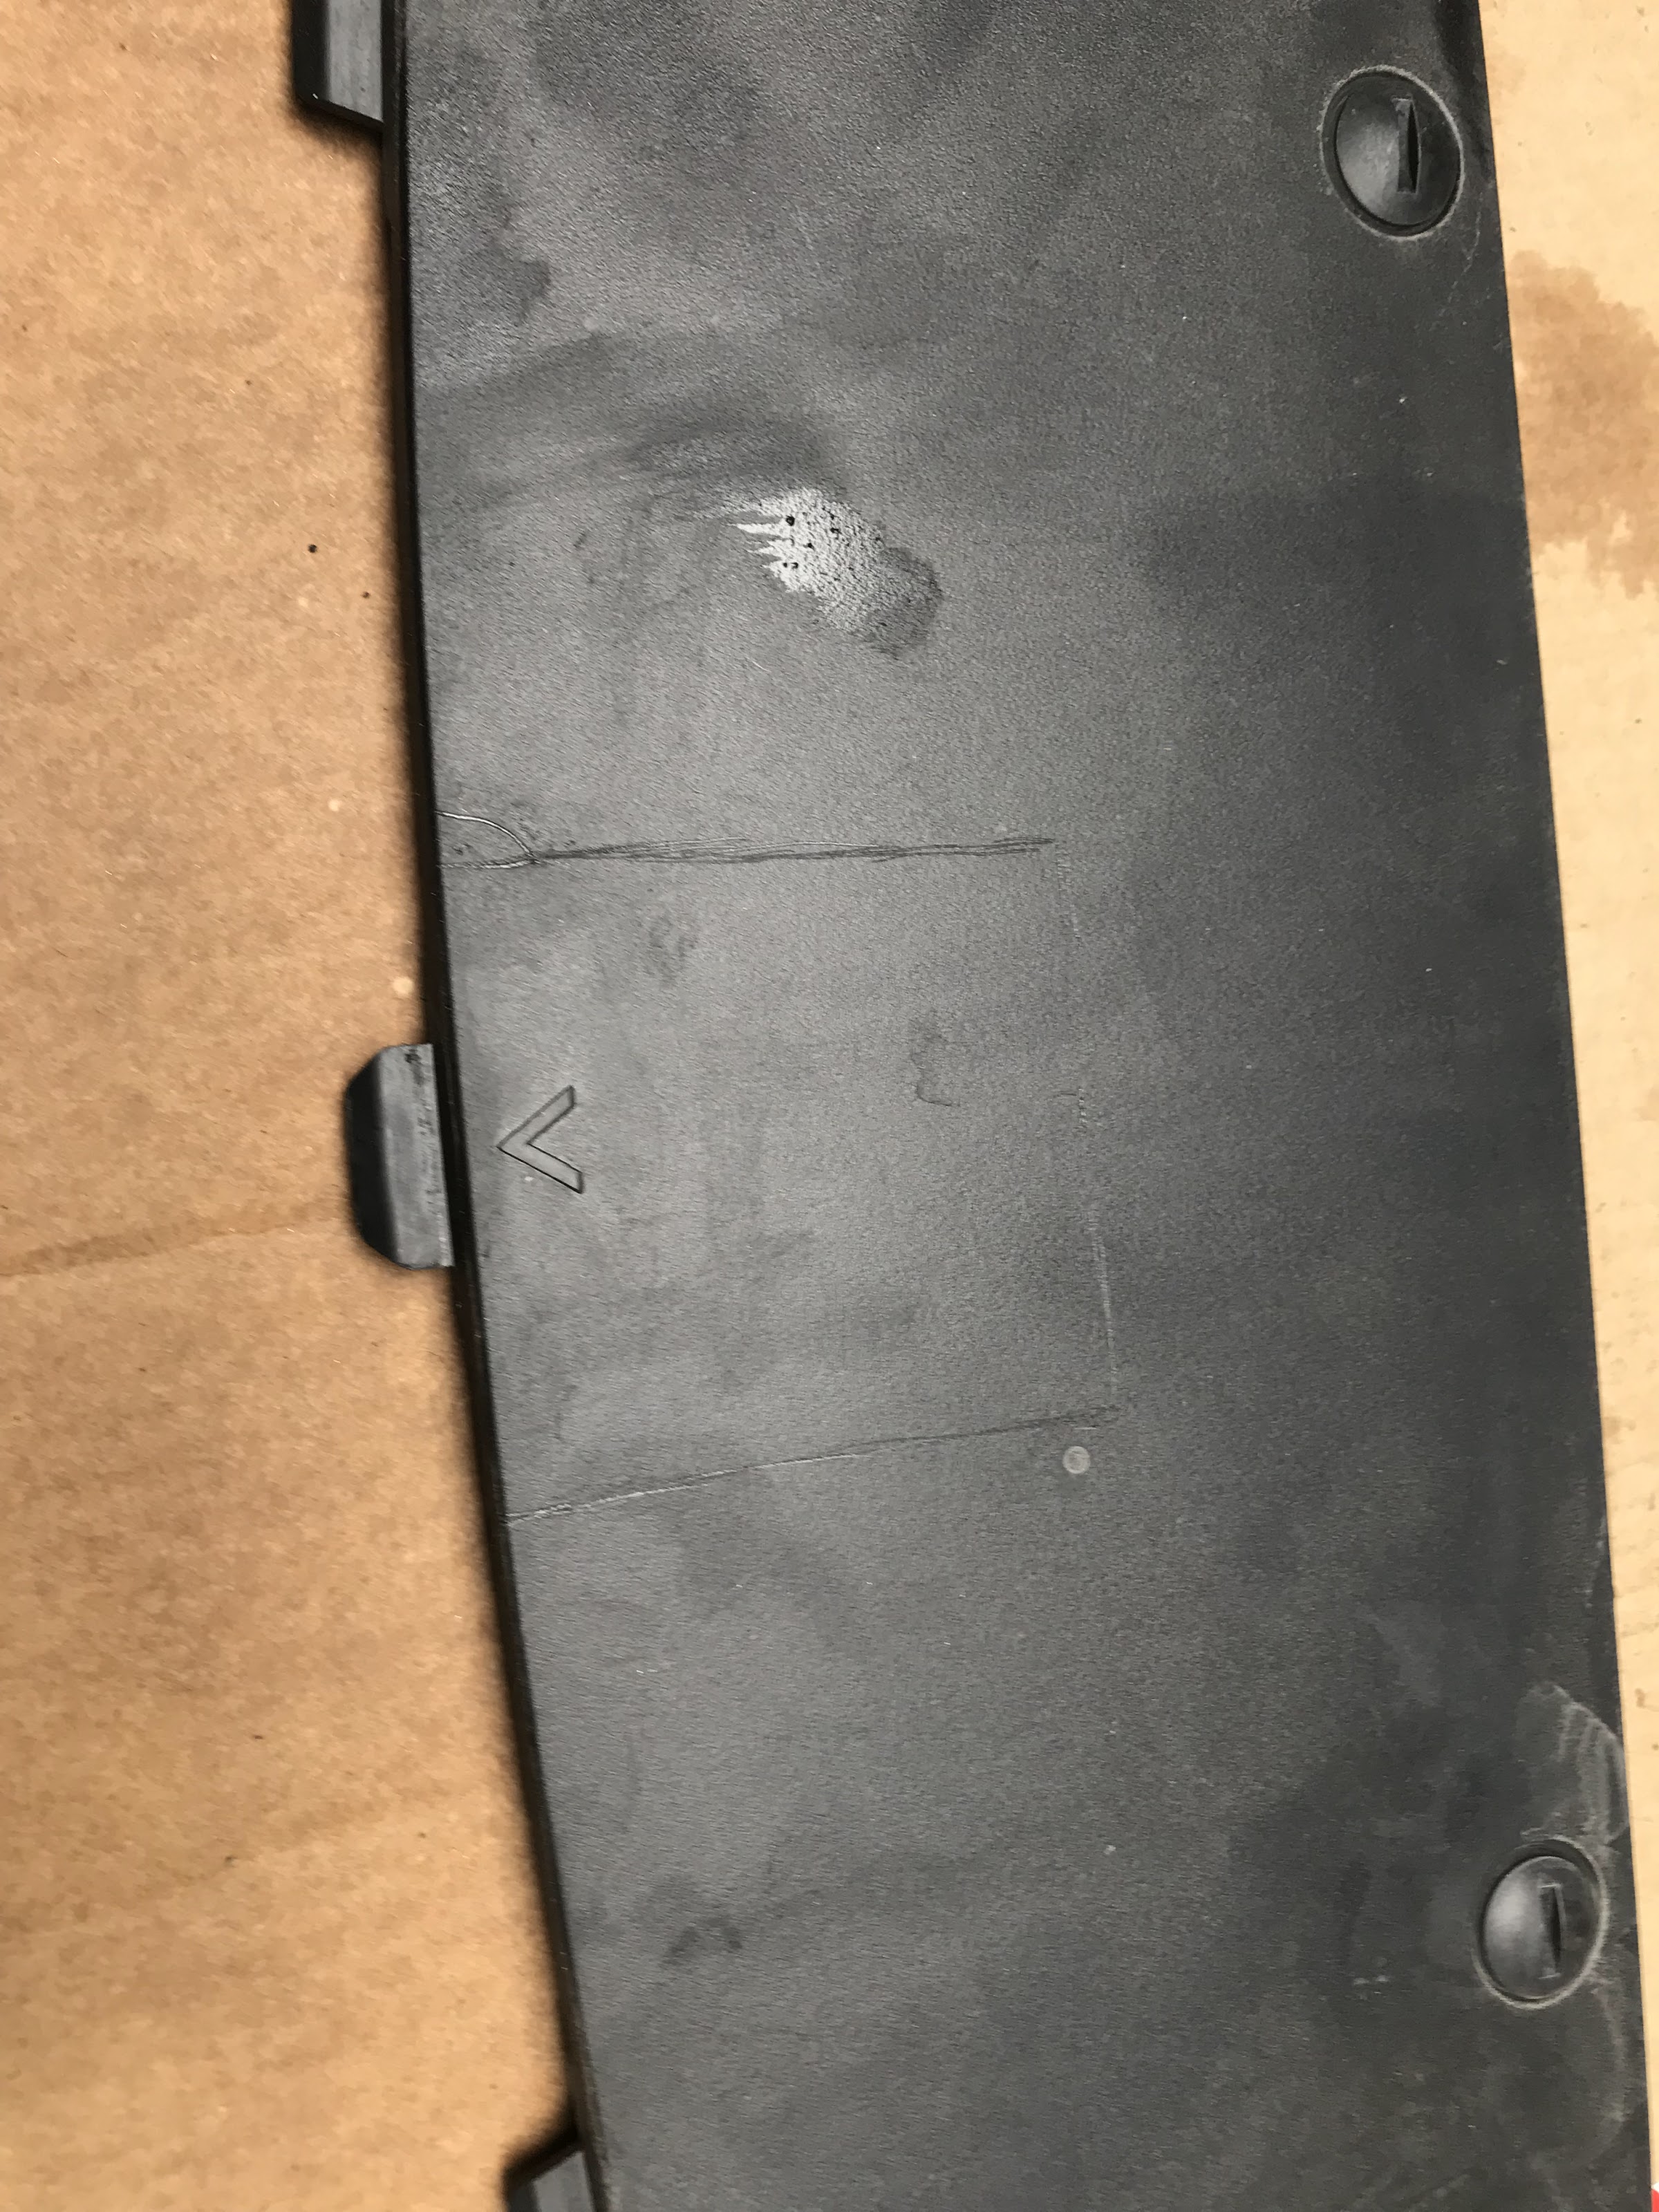
Here is the panel and the cutout. The cut out is 3 inches x 3 inches and offset slightly to one side (1/8 inch in my case). Hold the panel up and mark it on your install so you can cut it as close as possible.
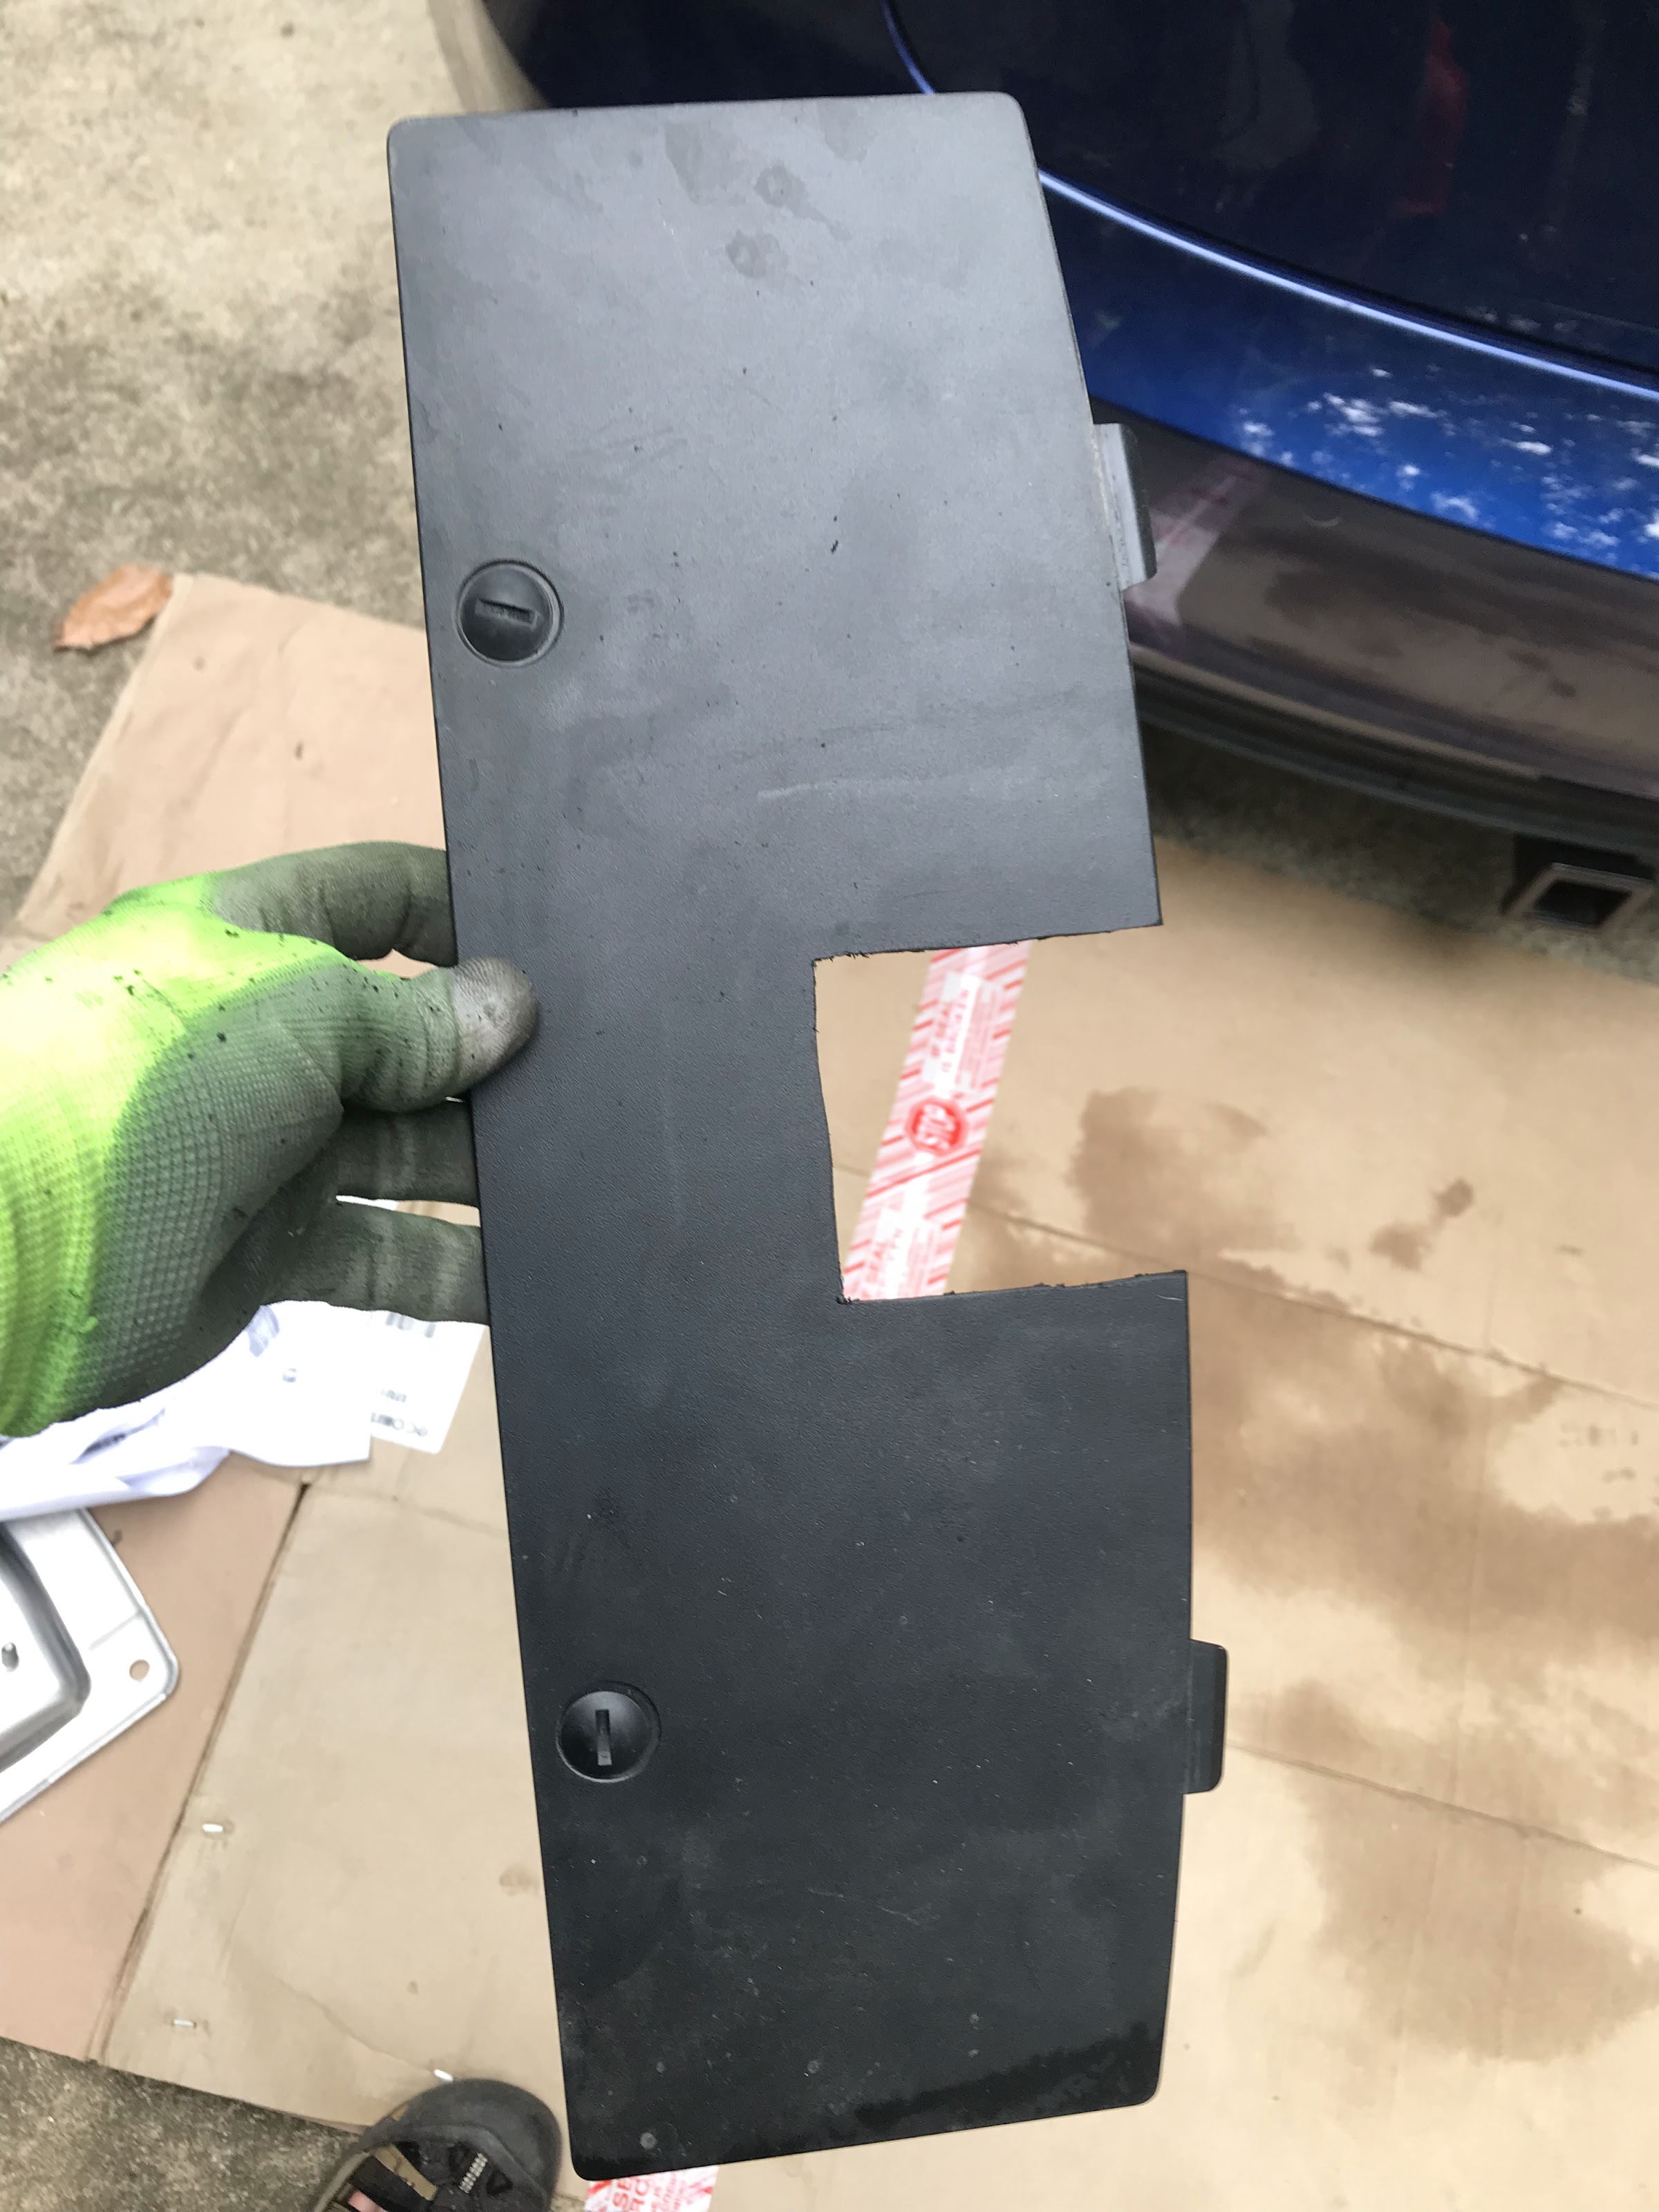
Not my cleanest cut, but eh. Note below how it fits nicely around the hitch preventing debris from getting up in there. Also easy to pop off and remove the receiver.
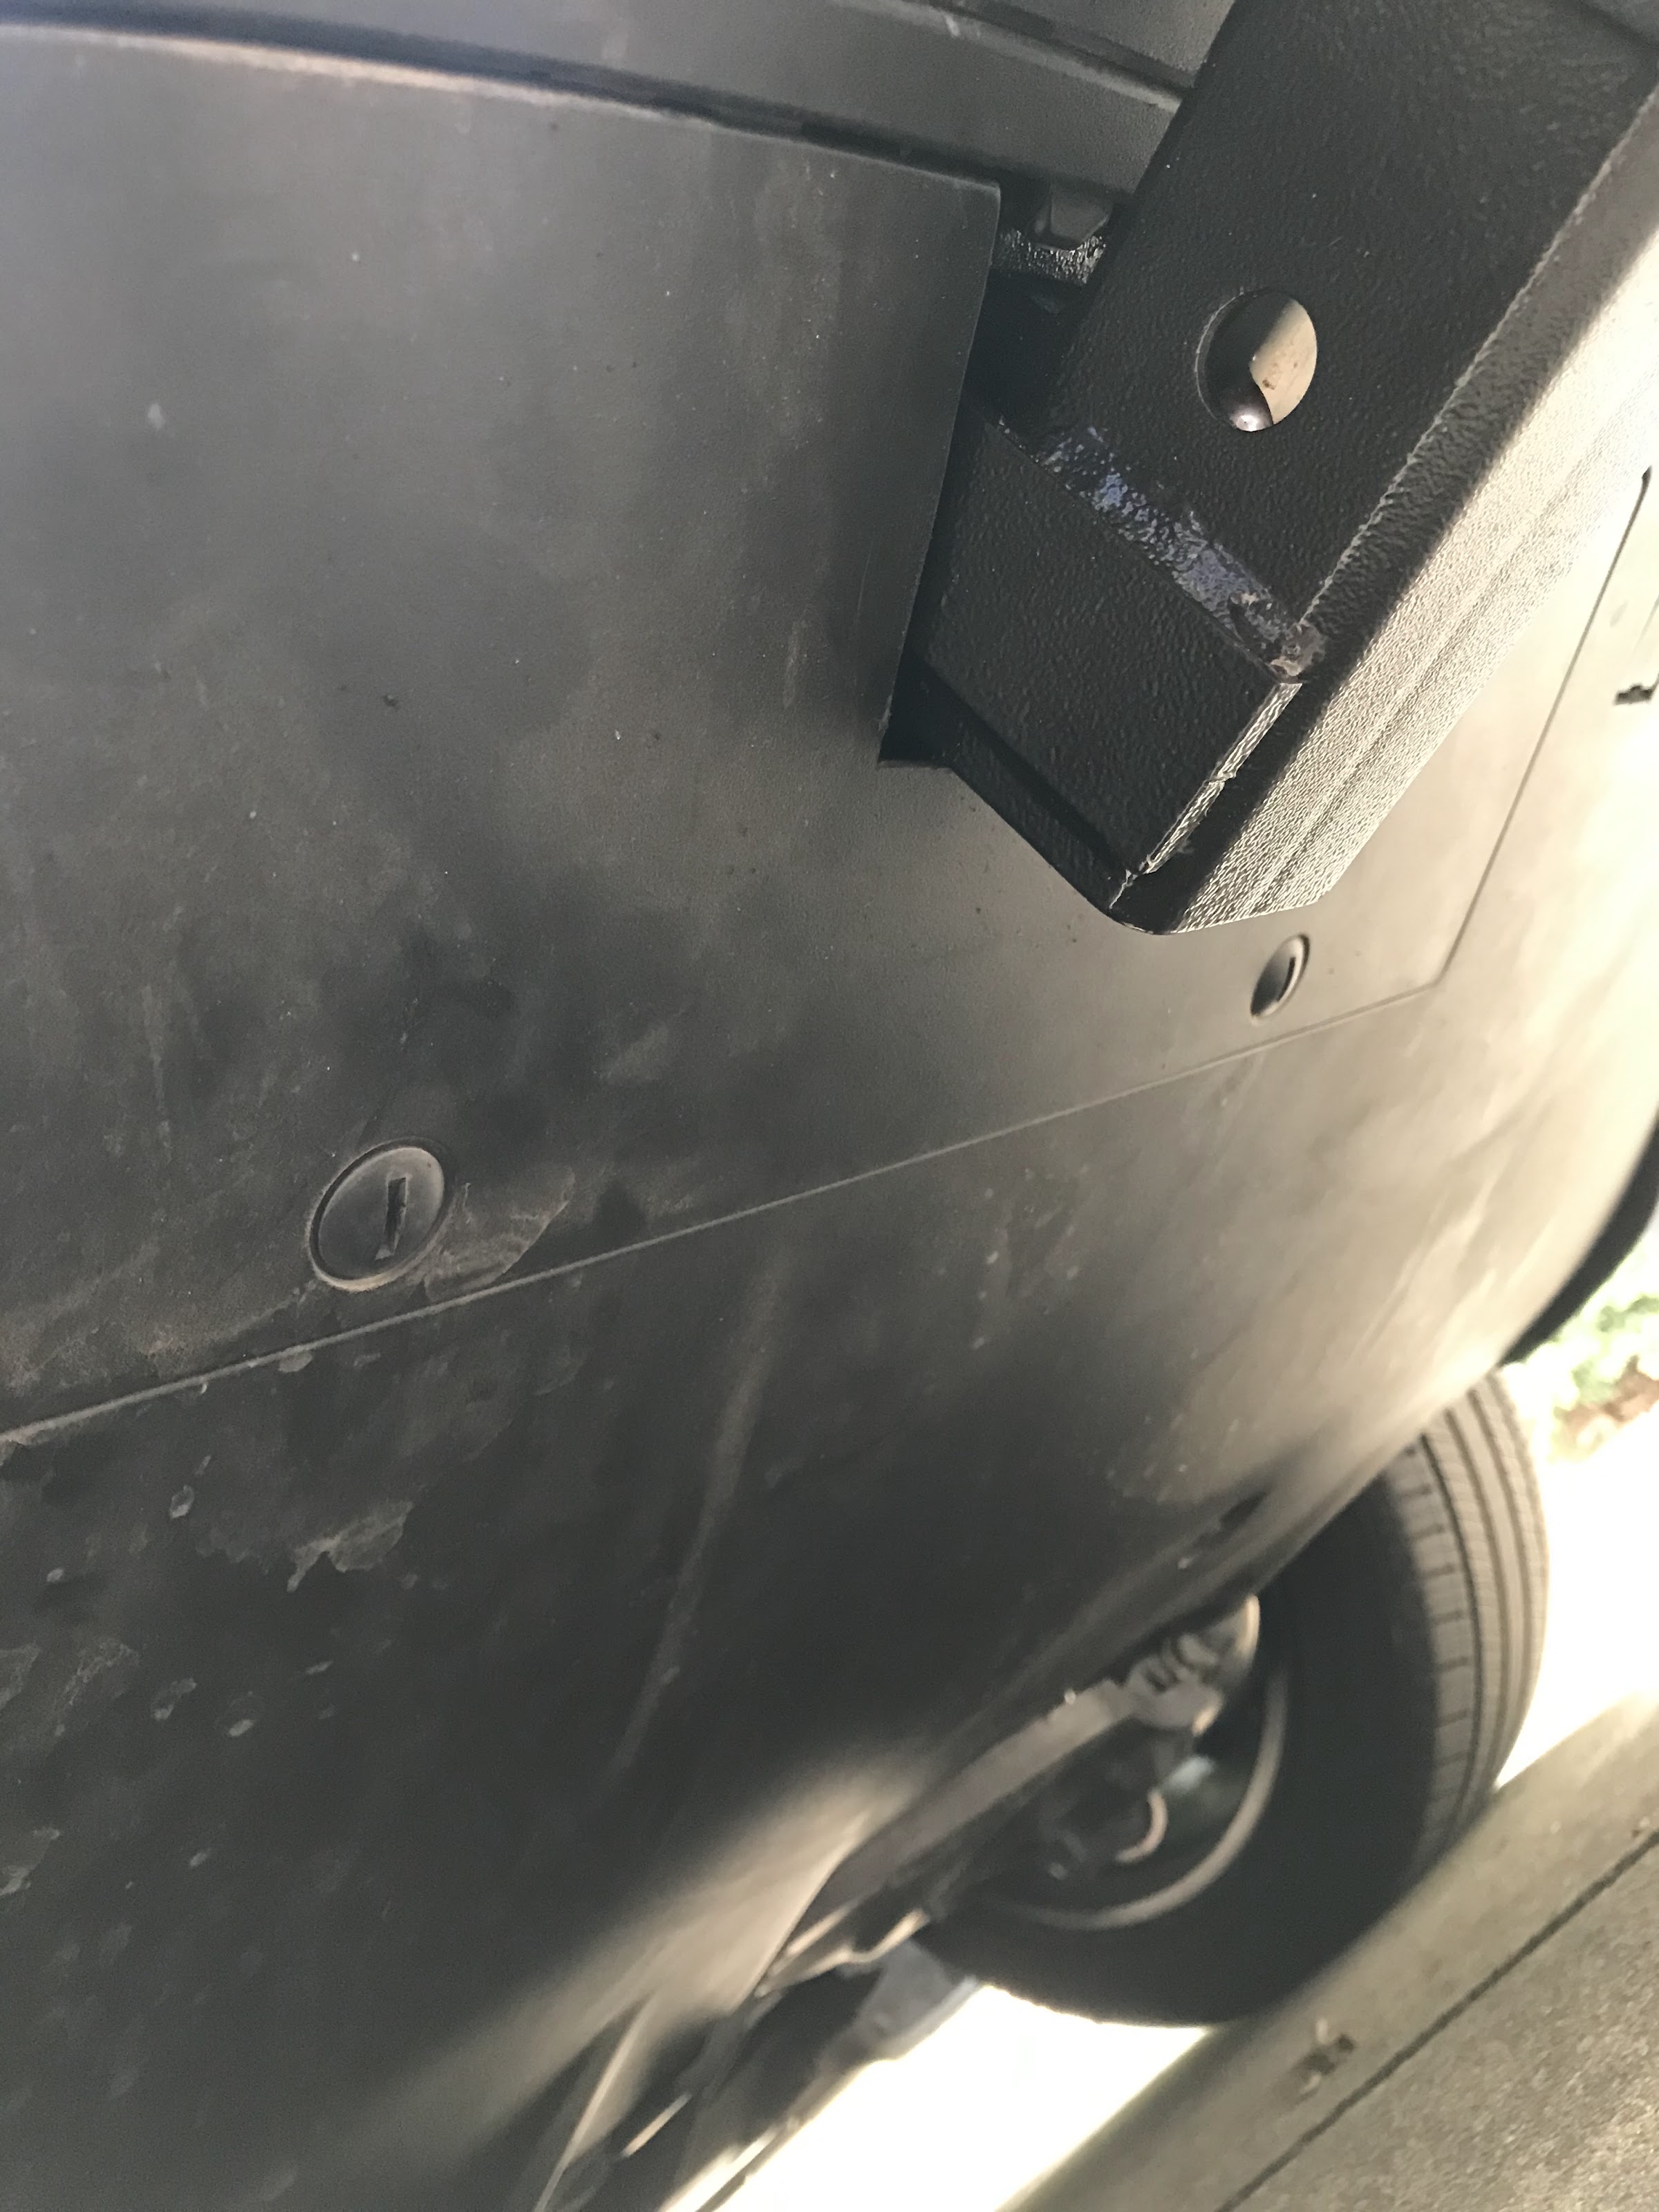
The updated underpanel is not updated in their part catalog but in the future you may be able to just get that small underpanel, but as I said it will be easy enough to figure a way to put that small cut piece back in to cover everything when the receiver is removed.
Hope this helps someone else. The whole install was pretty easy and took about 2 hours.
Tools
Torx Bit (T20 I believe)
Small Flat Headed screwdriver
8 MM Socket
10 MM Socket
15 MM Deep Socket
Torque Wrench
Jig saw or similar for cutting plastic underpanel
Notes
Use the small screwdriver to pop the plastic rivets. When removing, don't pull the pin all the way back as it "locks" it again, leave it loose about halfway.
On my under panel, I only had 4 10MM bolts instead of 6.
Mine also had a small panel you can remove instead of cutting the underpanel itself details below.
The sensor on the bumper is really tough, had to use a small screwdriver to pry it open, easy enough and the plastic is flexible enough that you can do it with no damage.
When replacing the bumper facia/cover, attach the bottom forward most two bolts first before trying to do the snaps around the trunk and wheel cover. Kind of a pain holding the cover and pushing that part in but only way I could make it happen.
Be really careful replacing the bumper facia if doing it by yourself. There is a metal nut bracket on either side that can scratch the paint. You can remove them and replace them as the last bit before you put those last few snaps together.
So the cool thing is the small panel which was put there for the Model 3 factory hitch. It allows you to remove just that panel and make a simple cut that you can fit really nicely around the hitch. Also really easy to pop out and gives you more room to easily remove the receiver. I also plan to modify the cut out piece so I can put it in when I remove the receiver.
Note the panel cutout at the bottom. Only two of the top three spots had a bolt and only two in the middle of the panel.
Here is the panel and the cutout. The cut out is 3 inches x 3 inches and offset slightly to one side (1/8 inch in my case). Hold the panel up and mark it on your install so you can cut it as close as possible.
Not my cleanest cut, but eh. Note below how it fits nicely around the hitch preventing debris from getting up in there. Also easy to pop off and remove the receiver.
The updated underpanel is not updated in their part catalog but in the future you may be able to just get that small underpanel, but as I said it will be easy enough to figure a way to put that small cut piece back in to cover everything when the receiver is removed.
Hope this helps someone else. The whole install was pretty easy and took about 2 hours.
