Welcome to Tesla Motors Club
Discuss Tesla's Model S, Model 3, Model X, Model Y, Cybertruck, Roadster and More.
Register

Chrome Delete Mirrors

This site may earn commission on affiliate links.
We've been talking about the chrome delete on the model3 forum too. If you end up doing the mirrors, I'd love to hear how it goes and see any pictures as you do it. The video shows that you can pivot the mirror for better access. I'm a little worried about trying it though. DIY Chrome Delete

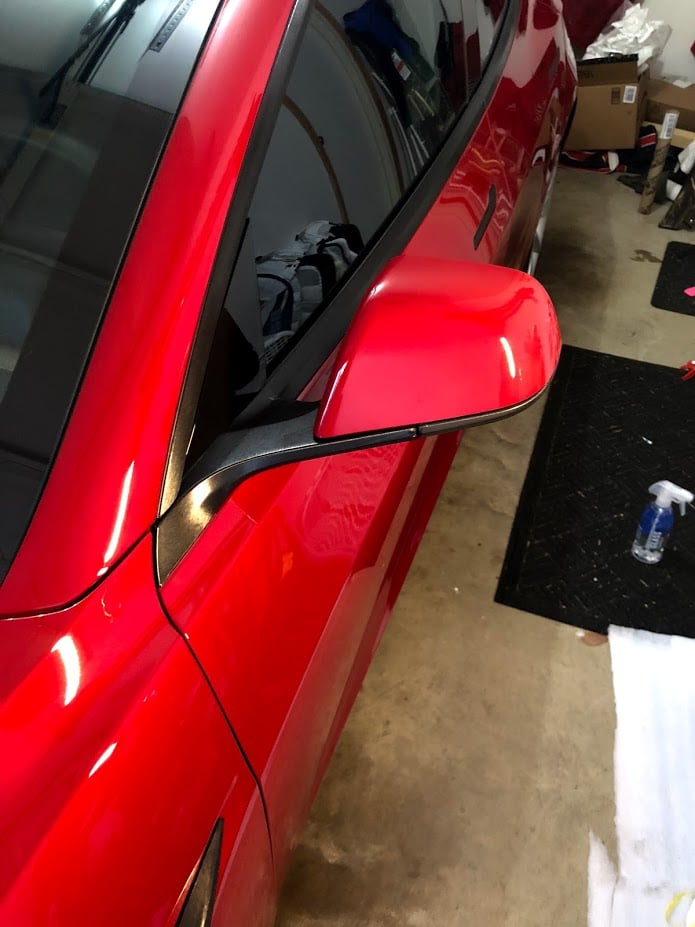
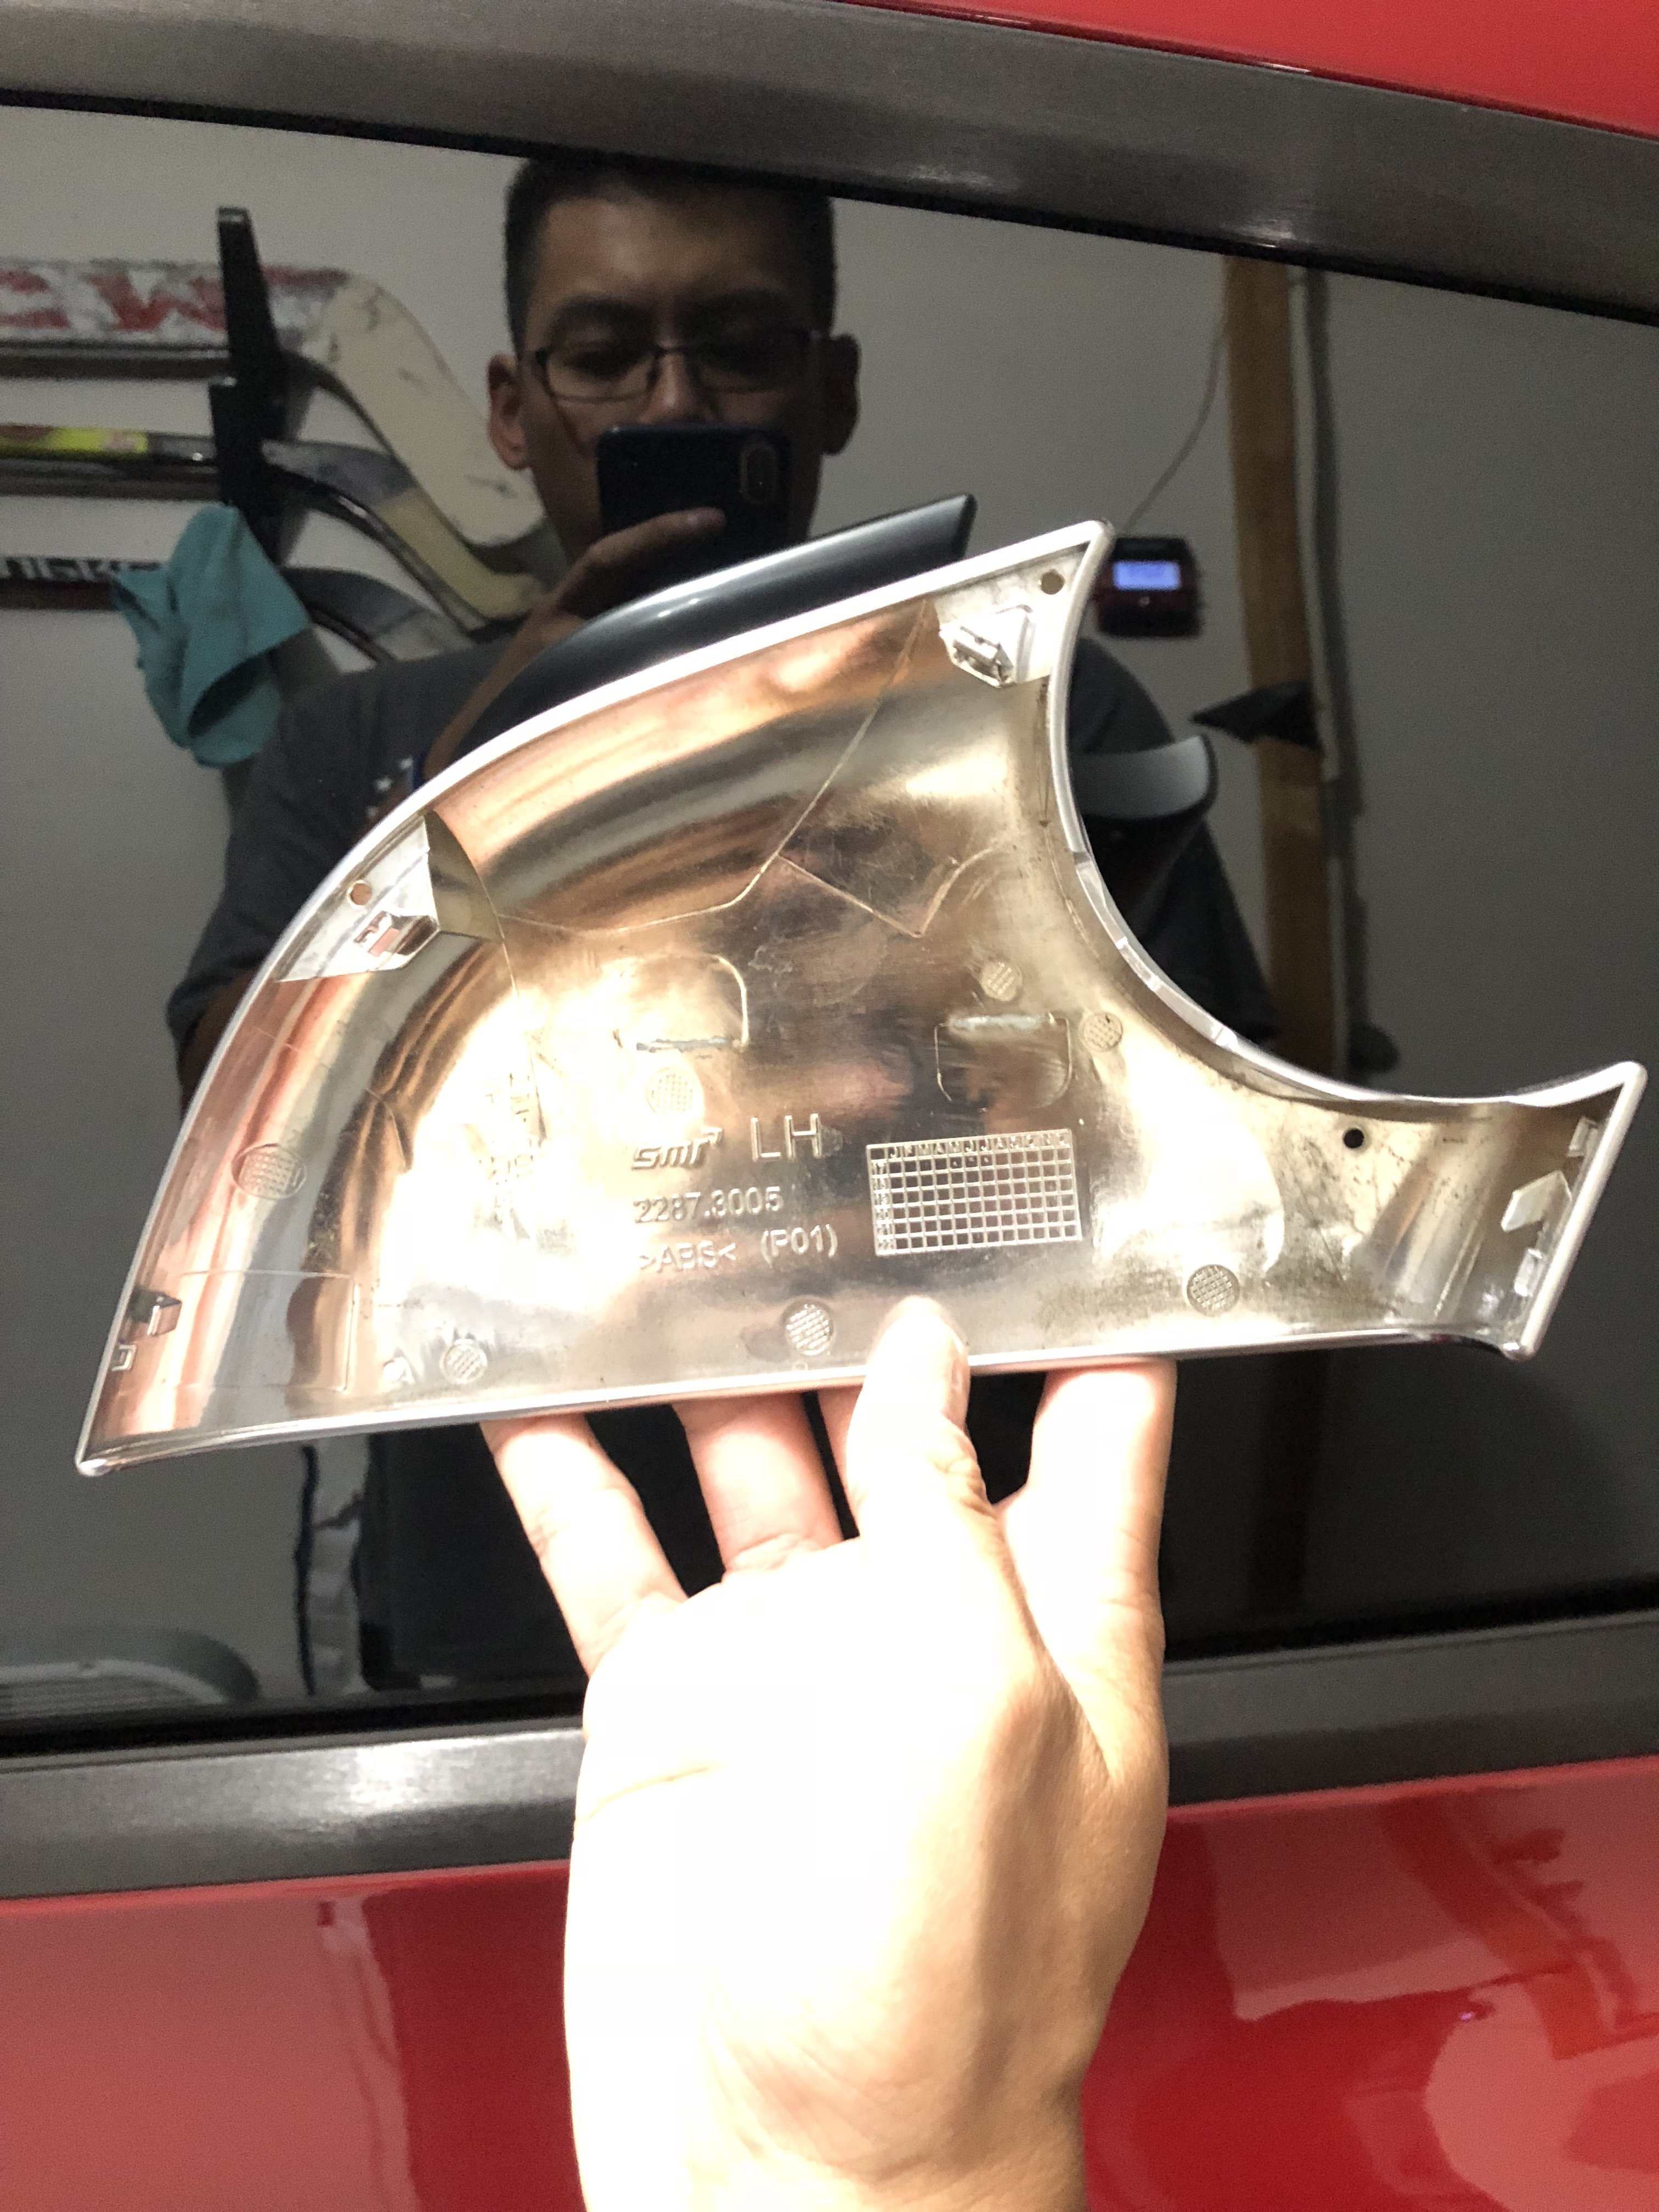
@SethCat, I figured I would create a new post since the one I was posting in was really chrome deleting with Plasti Dip. So last night I started to tackle finishing my chrome delete project. I decided to do the chrome underneath the mirror. Using a pry tool, I popped off the painted cap. You will want the mirrors to be folded out. I used this video as a reference.

There are 3 clips that hold the cap onto the base. I highlighted their location in Red Squares.

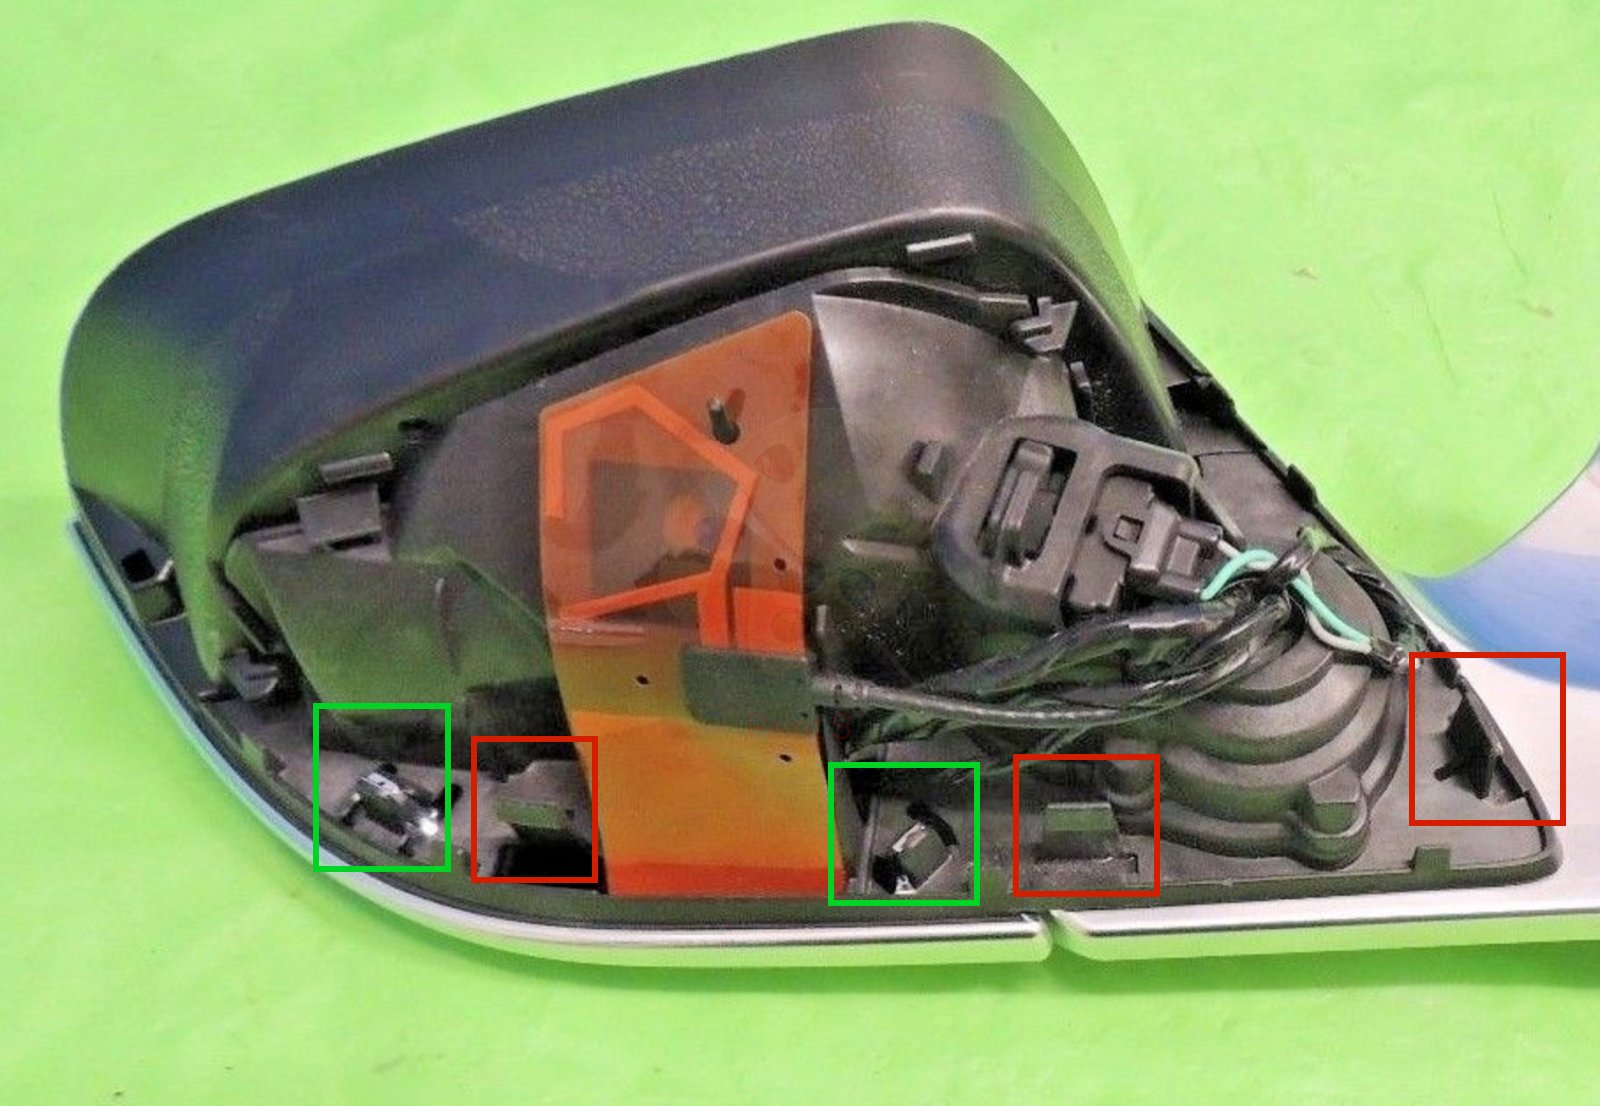
Once the cap is off, you can pop off the bottom chrome piece. It is also attached by 2 clips, highlighted in Green. I used a pry tool to push/pull to snap it open. Once you do that, you can shimmy it off.


Wrapping this was a bit of a challenge. You will definitely need a heat gun to soften the vinyl and use some strength to pull it flat and straight. I watched a lot of vinyl wrapping videos on Youtube, particularly CK wraps and learned a lot from him. I would suggest watching a bunch of his videos to "study" before taking on this project. If you look at the chrome piece as if it was still attached to the car, I started from the side I see and pulled it to the front of the car. If you get fingers, pull back and get some heat on it to flatten it out. The same for the circular piece. You will get a lot of tension. Use some heat and push down to flatten it out and adhere to the chrome piece. All sides were tucked.

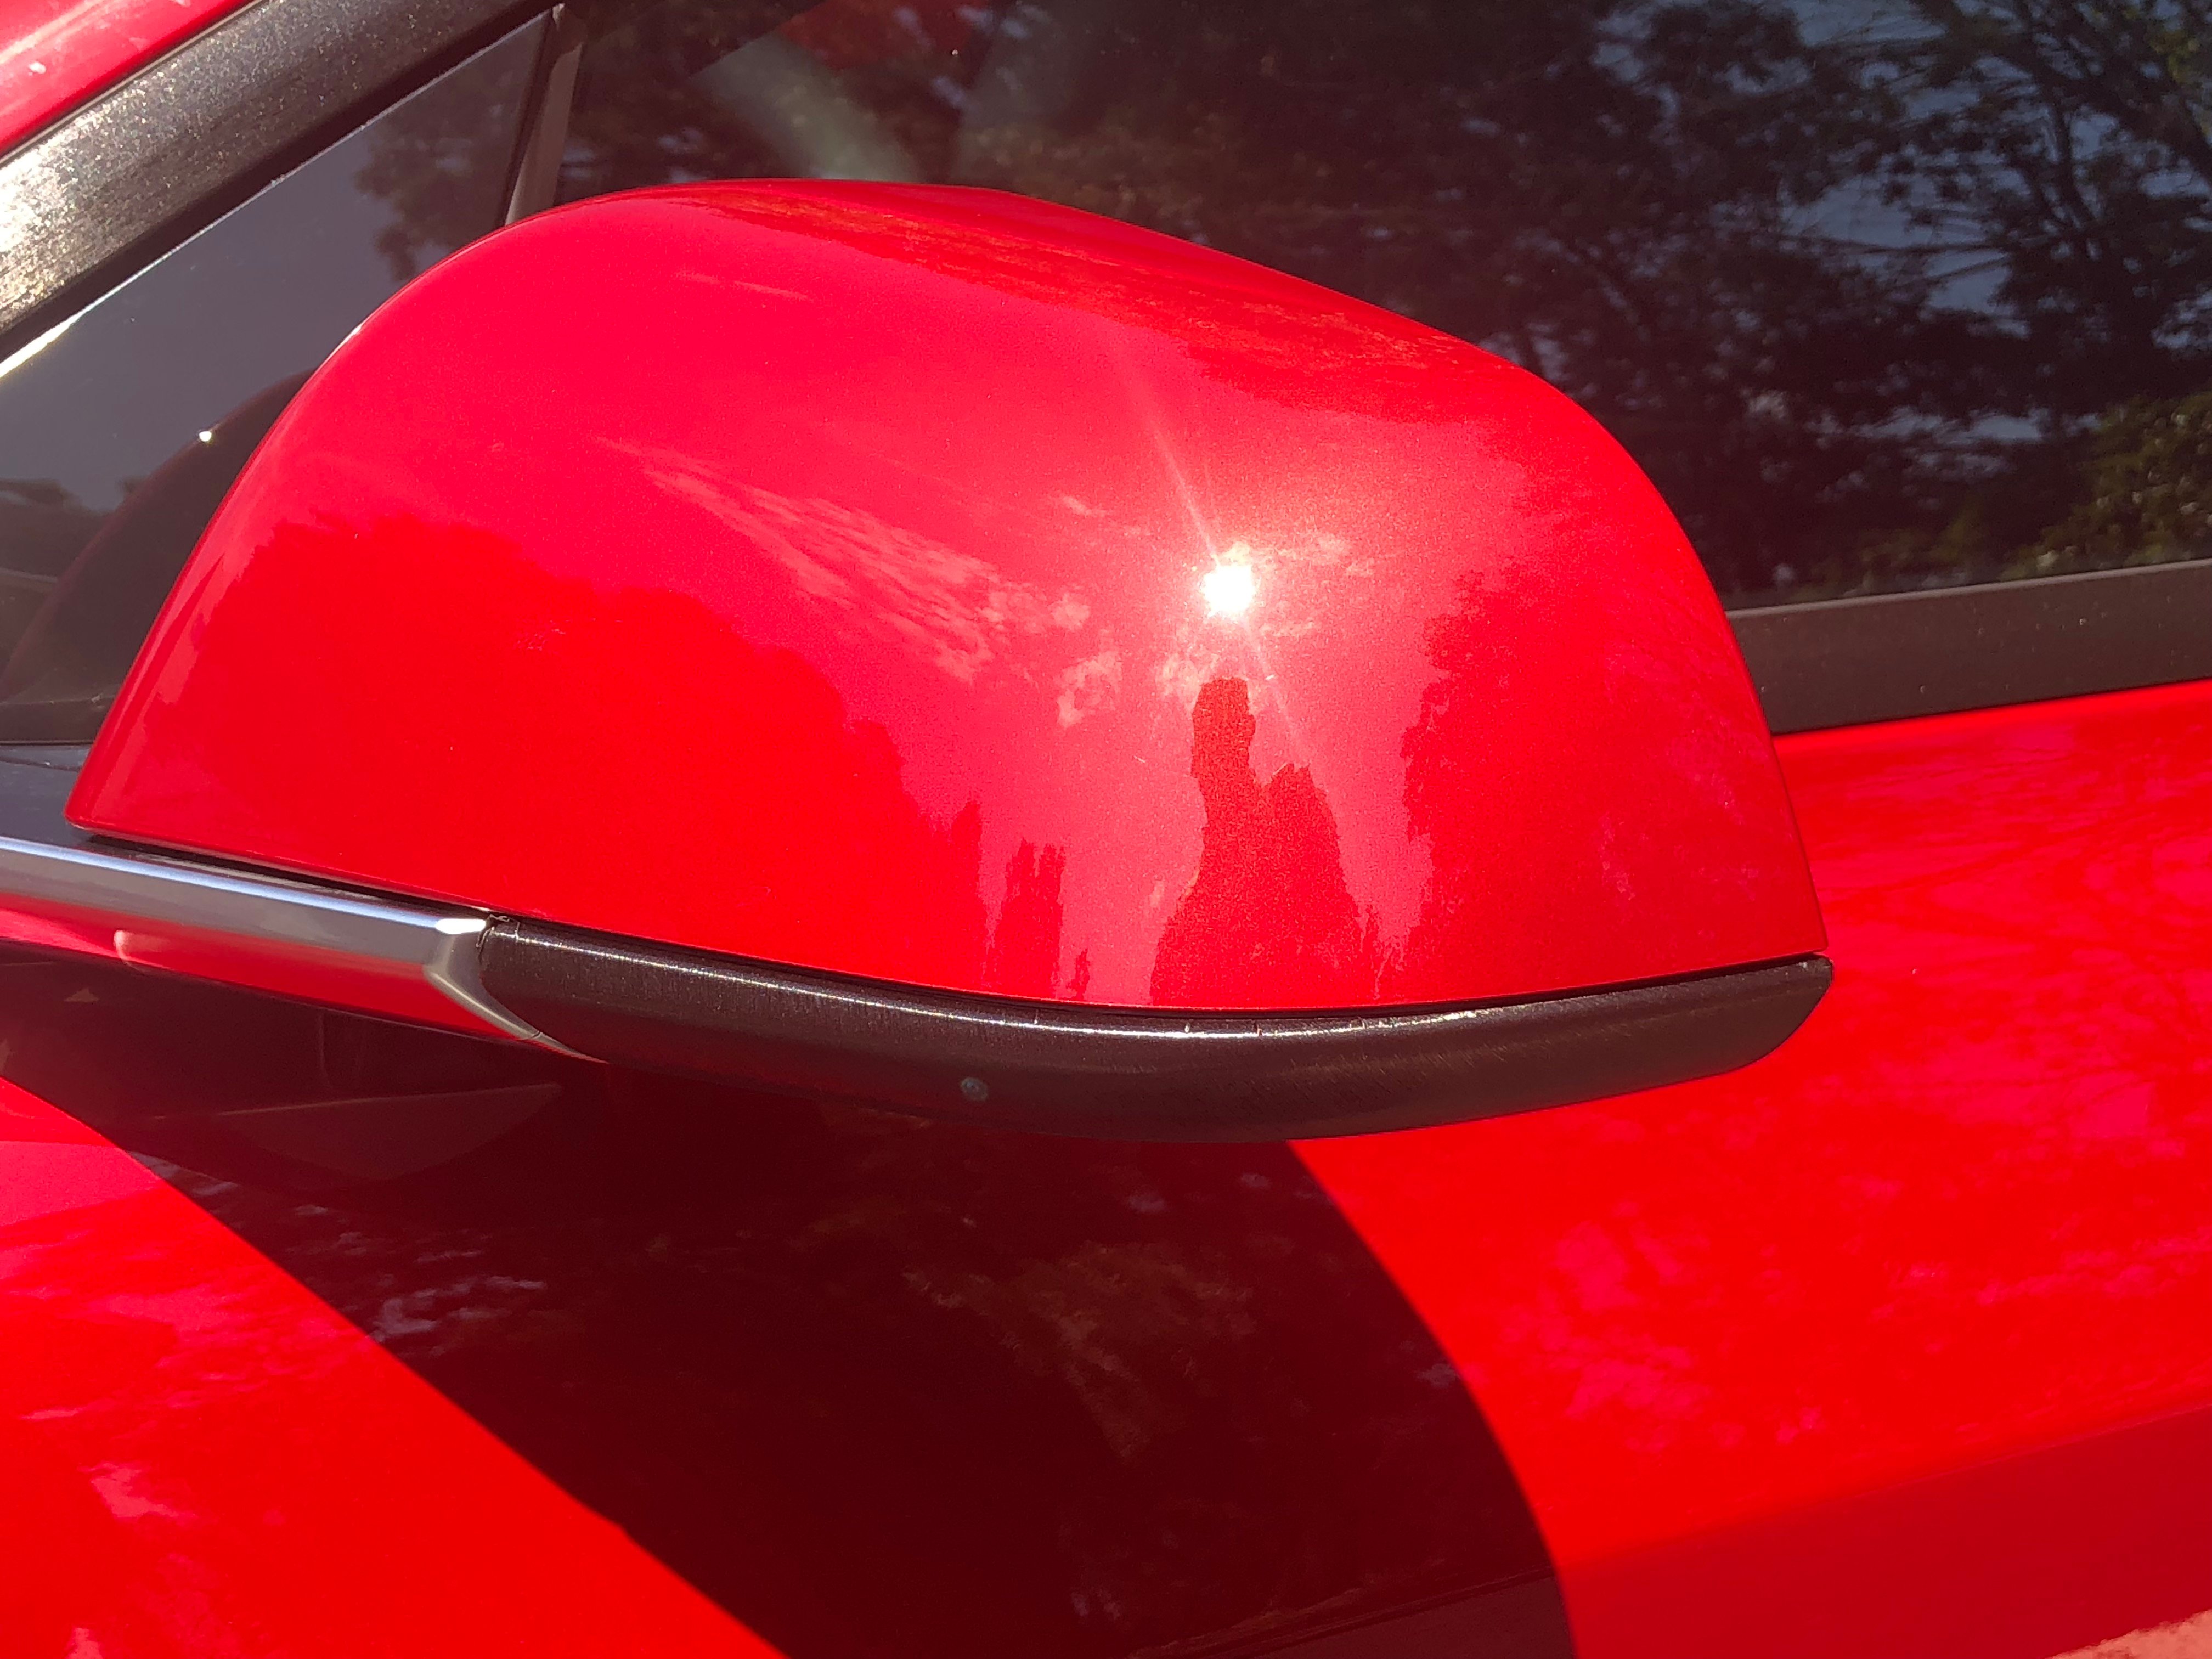
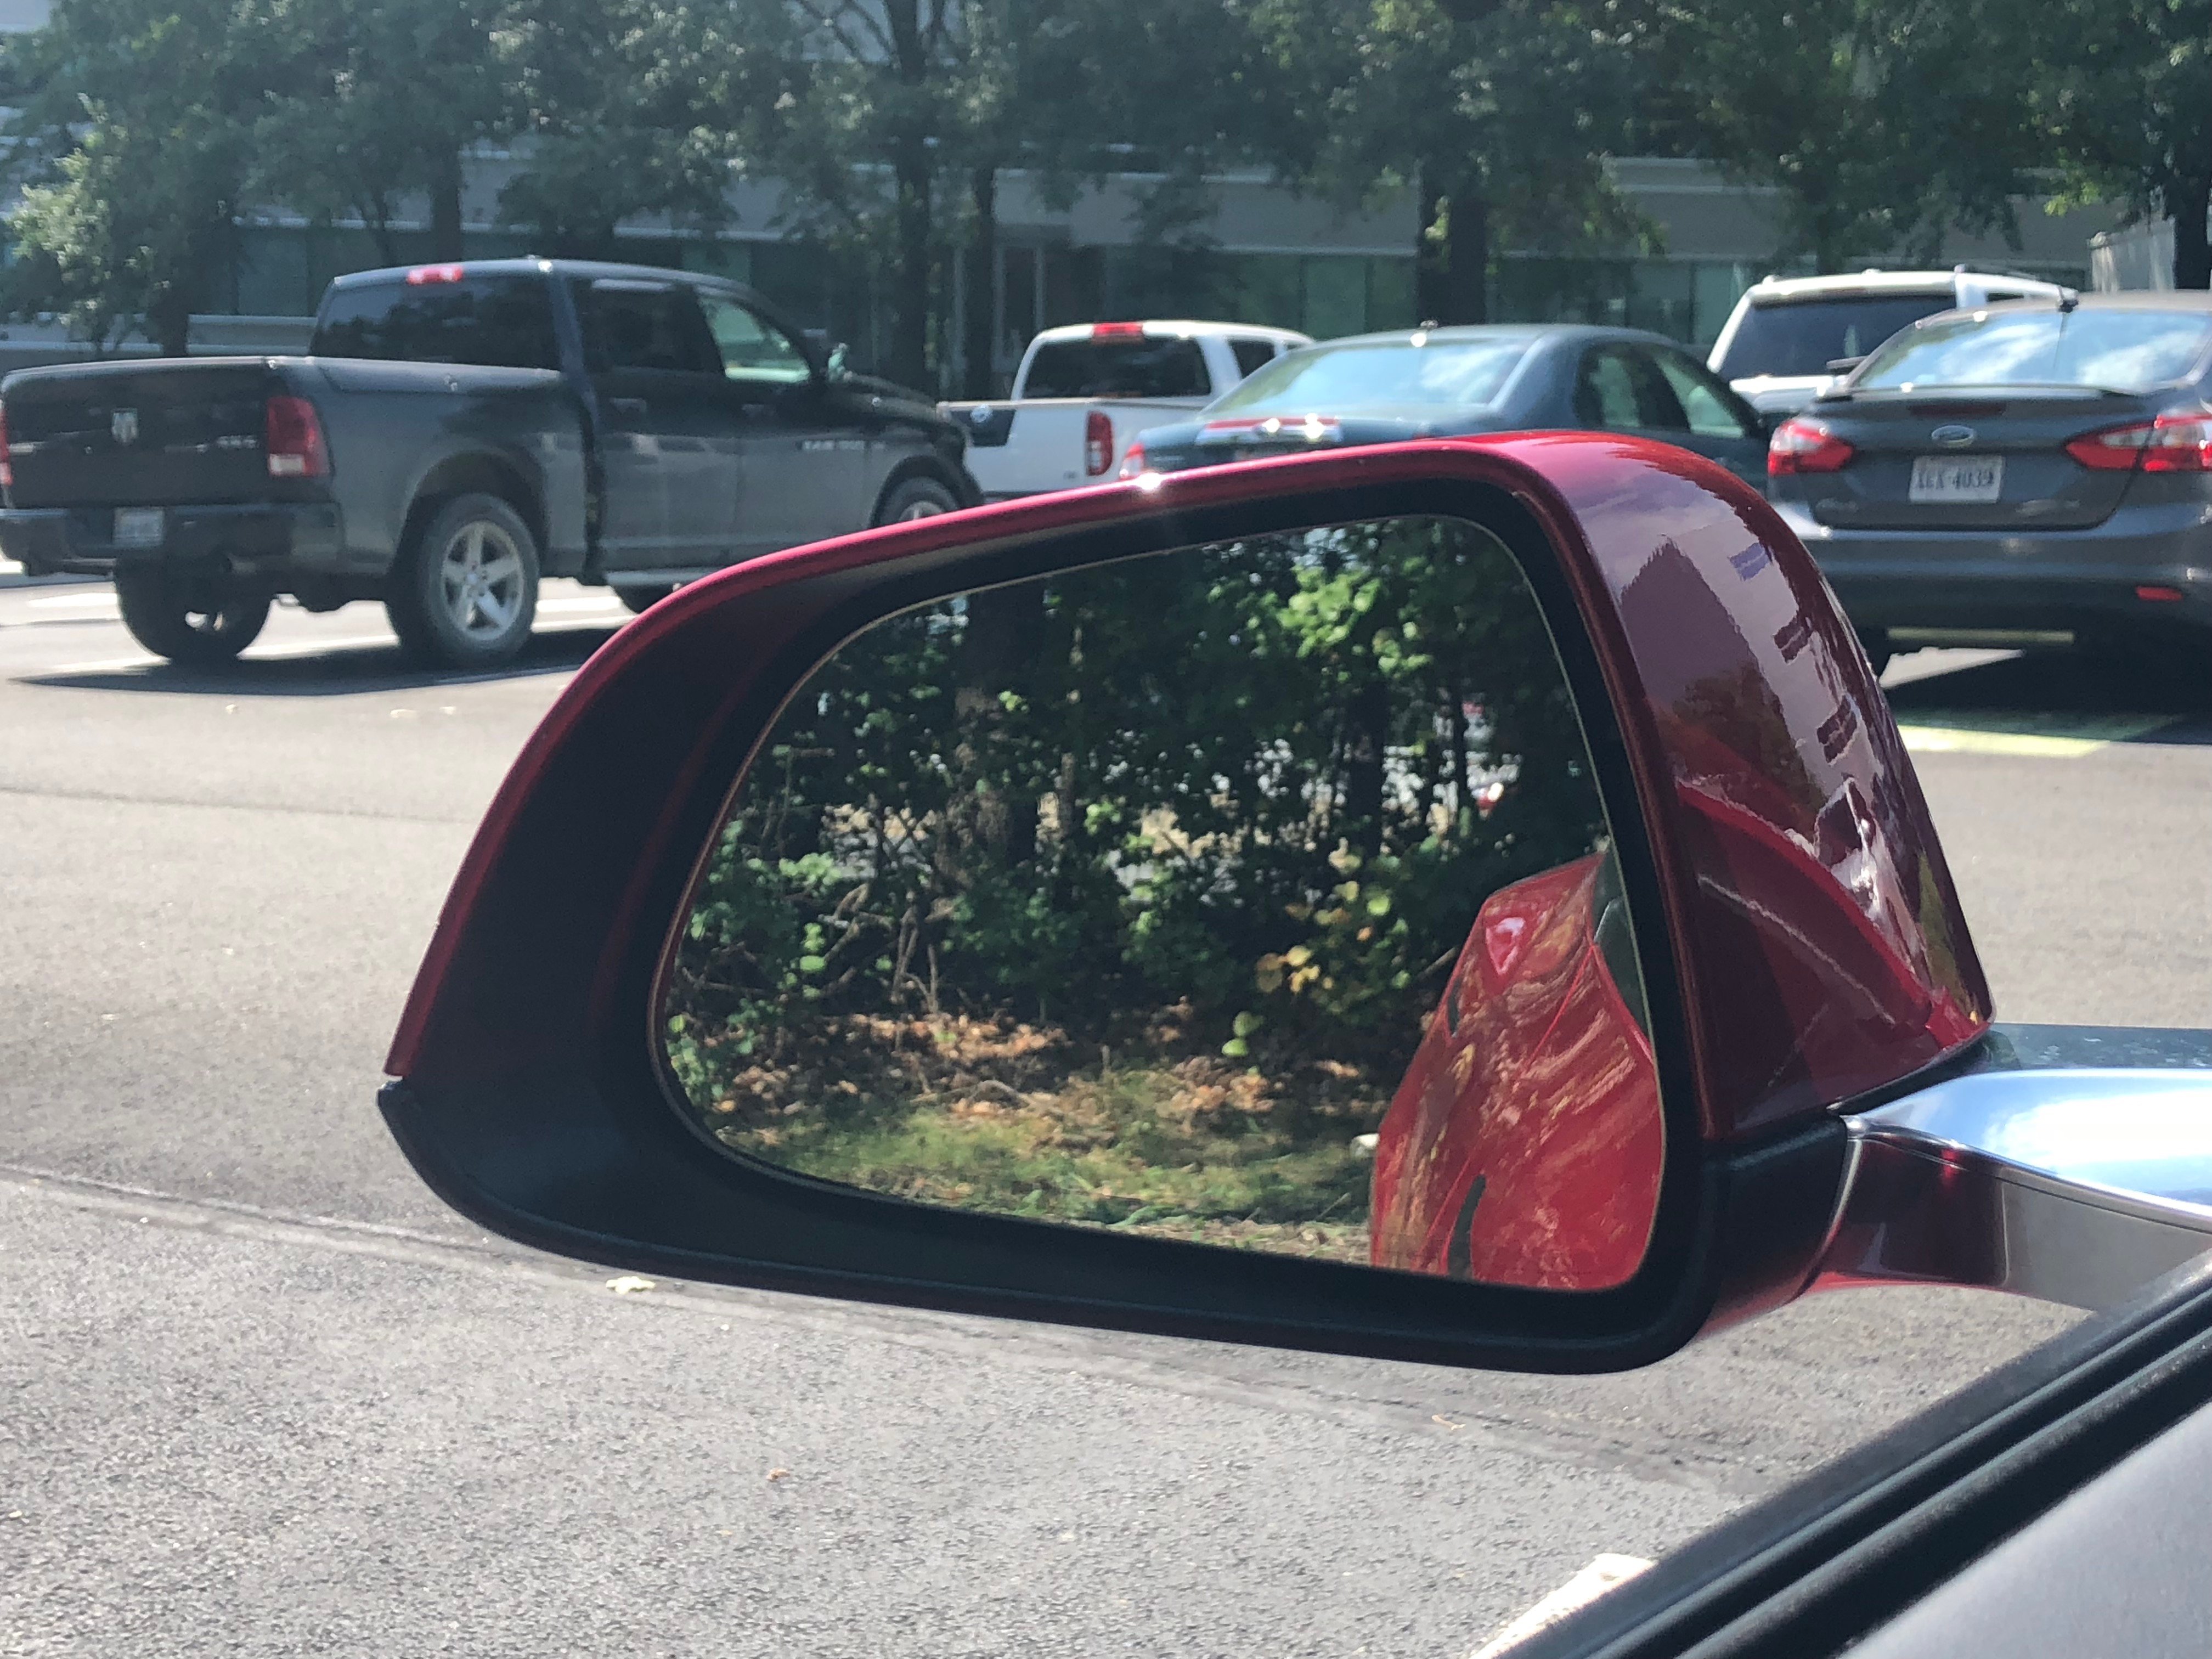
This is how it turned out.

Next is to do the mirror arm. I still have no idea how to tackle this.

Also, if this is your first time wrapping, do yourself a favor and buy some cheap matte/satin black and play around or experiment. This way you won't be stressed or worried about wasting the good stuff. Brushed Black and Carbon Fiber film is generally more expensive.

Hit me with any questions or have any suggestions on how to tackle the mirror arm.
 
You should do a chrome delete I said.
It'll be a fun DIY I said.
I'll save a lot of money I said.
The mirrors won't be so bad I said.
Well **** that guy.

I was at it all afternoon.

I was too chicken *sugar* to detach the mirror like the video with the blue model S showed.


I tried to do it with a template like in the video but it just wasn't happening for me. I'm not sure how to get the vinyl in underneath the mirror if I take the backing off. I can slide it all in with the backing on but I don't know how to take the backing off without pulling the vinyl from underneath the mirror. So I did the top in 3 pieces. It doesn't look too bad from five feet or so, but if you get up on it, you'll see how amateur it is. I ripped a few pieces and finished with one piece of vinyl left.

Next time, I'll do it in Matte Black. This way I can PlastiDip the Mirror Arms and not want to scream and throw things.

I'll patiently wait for kenriko and buy his chrome delete when he is done developing and redo the mirrors. Here's hoping he'll let me buy just the mirrors and he'll do it in brushed black. :D

Anyways, here is the final product.


Sorry I didn't take any video. If I had been filming, I would've needed to buy new iPhoneX after I threw it against the wall.
But I'll take some time to relax and lay out what I did.

From the perspective of me facing the door.
With the mirror folded, I wrapped the bottom. Pretty easy. Use some heat, pull and use your thumb to contour the curves in the front. Use the chromes built in line as a marker to cut. The back side won't need much tucking as the bottom of the mirror will cover it.

Then I did the small piece in front of me where the mirror is folded in. You only need maybe 3"x3" as it is only visible when the mirror is folded.
Then I did the small piece in the back. The side you see when you're driving. Also a small 3"x3" will take care of it.

Then I did the top. Looking from above, a long piece for the top. You will definitely need heat and patience to contour it. You can fold it down to the bottom and cut it off passed the bottom piece you did earlier. Then I did the bottom. Small piece is all you need. You'll need to fold it to the bottom as well. Then I did the middle piece, where the point is when the mirror is folded in.

Now that I'm putting it into words, I should have done the middle first, then the top and bottom. It would look less of a patch job. :mad:

Dammit!
 
I want to be able to paint the mirror base instead of wrap it. Does anyone know how to remove the black plastic part that swivels from the metal base after the cover has been removed like the video above?

Watch the first Youtube video I posted of the blue Model S or the Youtube video of the white model 3. You'll have to remove some of the door trim. You'll need a pry tool and some balls to twist and lift up on the mirror from the arm.
 
Ok I am almost done with the mirror chrome delete, I completely removed and disassembled the mirror pretty straight forward like the first video just be careful with the chrome tabs and its not too bad just tedious work. It looks good mirrors fold and unfolded as all three chrome pieces are each a single piece of film.

Also the rotating off of the mirror isn't nearly as hard as it seems in the video with the model s

How did it go? Do you have picture or videos of your install or work? I’m getting ready to tackle the mirrors soon too. I just finished chrome deleting everything else. Learned a lot about vinyl wrapping haha.
 
Just follow the video above it’s pretty straight forward. I messed up a piece or two I think if I’d do it again, I’d possibly look for a more permanent option like paint but not sure how you’d get the back chevron done.
 
Mirrors are by far the hardest part of chrome delete. I had to get mine professionally done and I'm glad I did. There is no chrome showing, even with the mirrors folded.

Even Unplugged Performance, who sells a chrome delete kit, "cheats" on the mirrors because of the level of skill required to wrap them.
 
I'm confused watching this video by "Tesla DIY."

Is he actually putting a panel of vinyl on top and bottom with the seam on the leading edge of the mirror "pedestal?"

It would seem that wind and rain would eventually pull these panels (top and bottom) loose.

Am I missing something here?

I going to be doing my Model X soon and I was thinking of wrapping the leading edge of the mirror pedestal with the seam of the vinyl panels on the bottom of the mirror (who looks underneath the mirror?)

Thanks for any feedback.
 
I paid a reputable shop to do mine. Took them 1 day for the chrome delete, and interior trim (dash, console) wrap. Its more important to me that it look professional and "like its supposed to be that way", rather than save a few hundred bucks trying to do it myself.

Totally worth it to pay someone, in my opinion, as long as you find someone that knows what they are doing.