@Nikola Pro Can you do a black chrome color?
I'll check our swatch books tomorrow and see if something like this is doable


You can install our site as a web app on your iOS device by utilizing the Add to Home Screen feature in Safari. Please see this thread for more details on this.
Note: This feature may not be available in some browsers.
@Nikola Pro Can you do a black chrome color?
I will be ordering once my White P3D+ arrives. Holding off on ordering the kit in advance because I don’t know which color will look best with the new dark grey 20” rims that it come with. I’m guessing matte black since I will also tint my windows at 30%
ThanksI'll check our swatch books tomorrow and see if something like this is doable
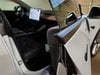
Can you do black chrome?Our Chrome Delete and Pillar Delete kits can now be combined for a price of $189 with a heat gun or $182 without. It will be automatically applied to your cart. Owners who purchased both kits together in the last 30 days will see a refund of $19 applied to their original payment method within the next 2-5 days.
Tesla Model 3 Chrome Delete | Nikola Pro
Tesla Model 3 Pillar Delete | Nikola Pro
Can you do black chrome?

Thanks for checking. Yea I think I’ll pass on black chromeWhoops sorry I didn't get back to you on this! The closest we can get is the Black chrome option by Avery. It's closer to a dark gray than black and is very expensive. For a full chrome delete it will cost a couple hundred dollars in material alone
Avery Gloss Black Chrome Flexible Vinyl Wrap Film is a great way to achieve that high end mirrored look.
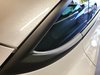
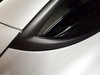
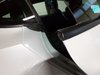
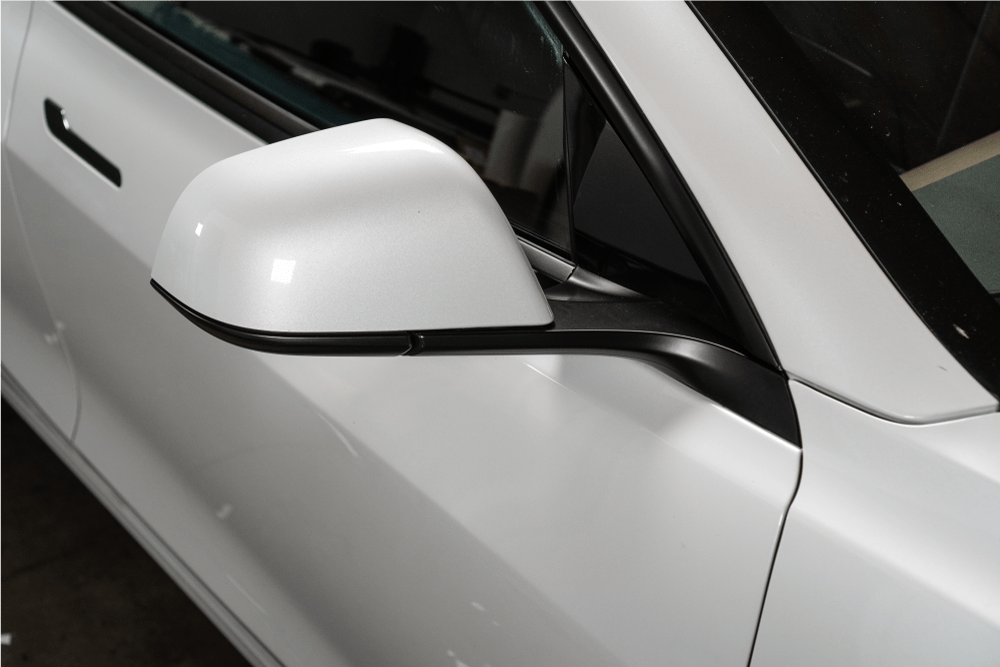
Installed the pillar delete in matrix black to match my matrix black chrome delete. The kit was easy to use. There's a lot of tucking under the weather sealing if you want a perfect hidden look. My car has some pretty wide panel gaps and I think it takes away the uniformity of the delete.
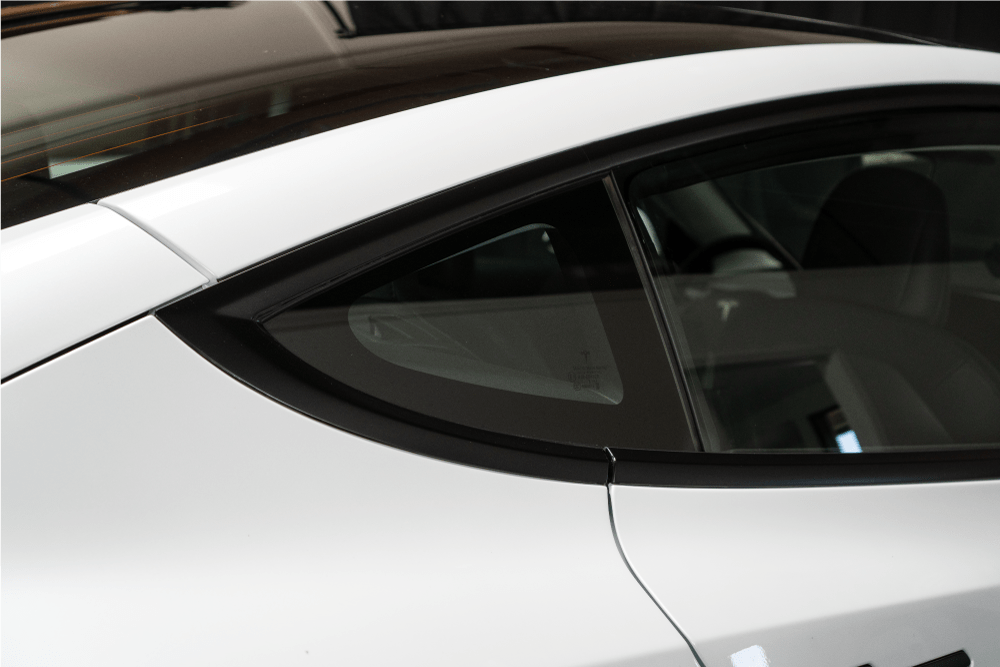
What's the trick to get a nice sharp crease where T1 contacts the rubber trim (the inside of the "V")? Or should I be happy with how it is now? I already messed up 2 pieces trying to crease it so maybe I should leave it alone
@Nikola Pro Would it be possible to buy replacements for just T1 and not all the trim pieces? I managed to not mess those up (yet lol)
Thanks! I'll try using the heat gun on it this weekend.
Another question -- would I be able to lift up the edge of the trim where it folds over and redo it with the heat gun? I kind of rushed it last time and I think I can probably get it to go on smoother at the corner. But if you think peeling it up and reapplying will mess it up then I'm gonna leave it alone. Sorry complete noob here and not sure what the limits of the material are
Ordered! Looking forward to it. Great videos.New chrome delete kit available for sale:
Tesla Model 3 Chrome Delete | Nikola Pro
Here's some quick details:
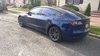
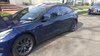
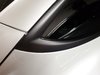
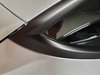
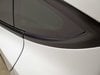
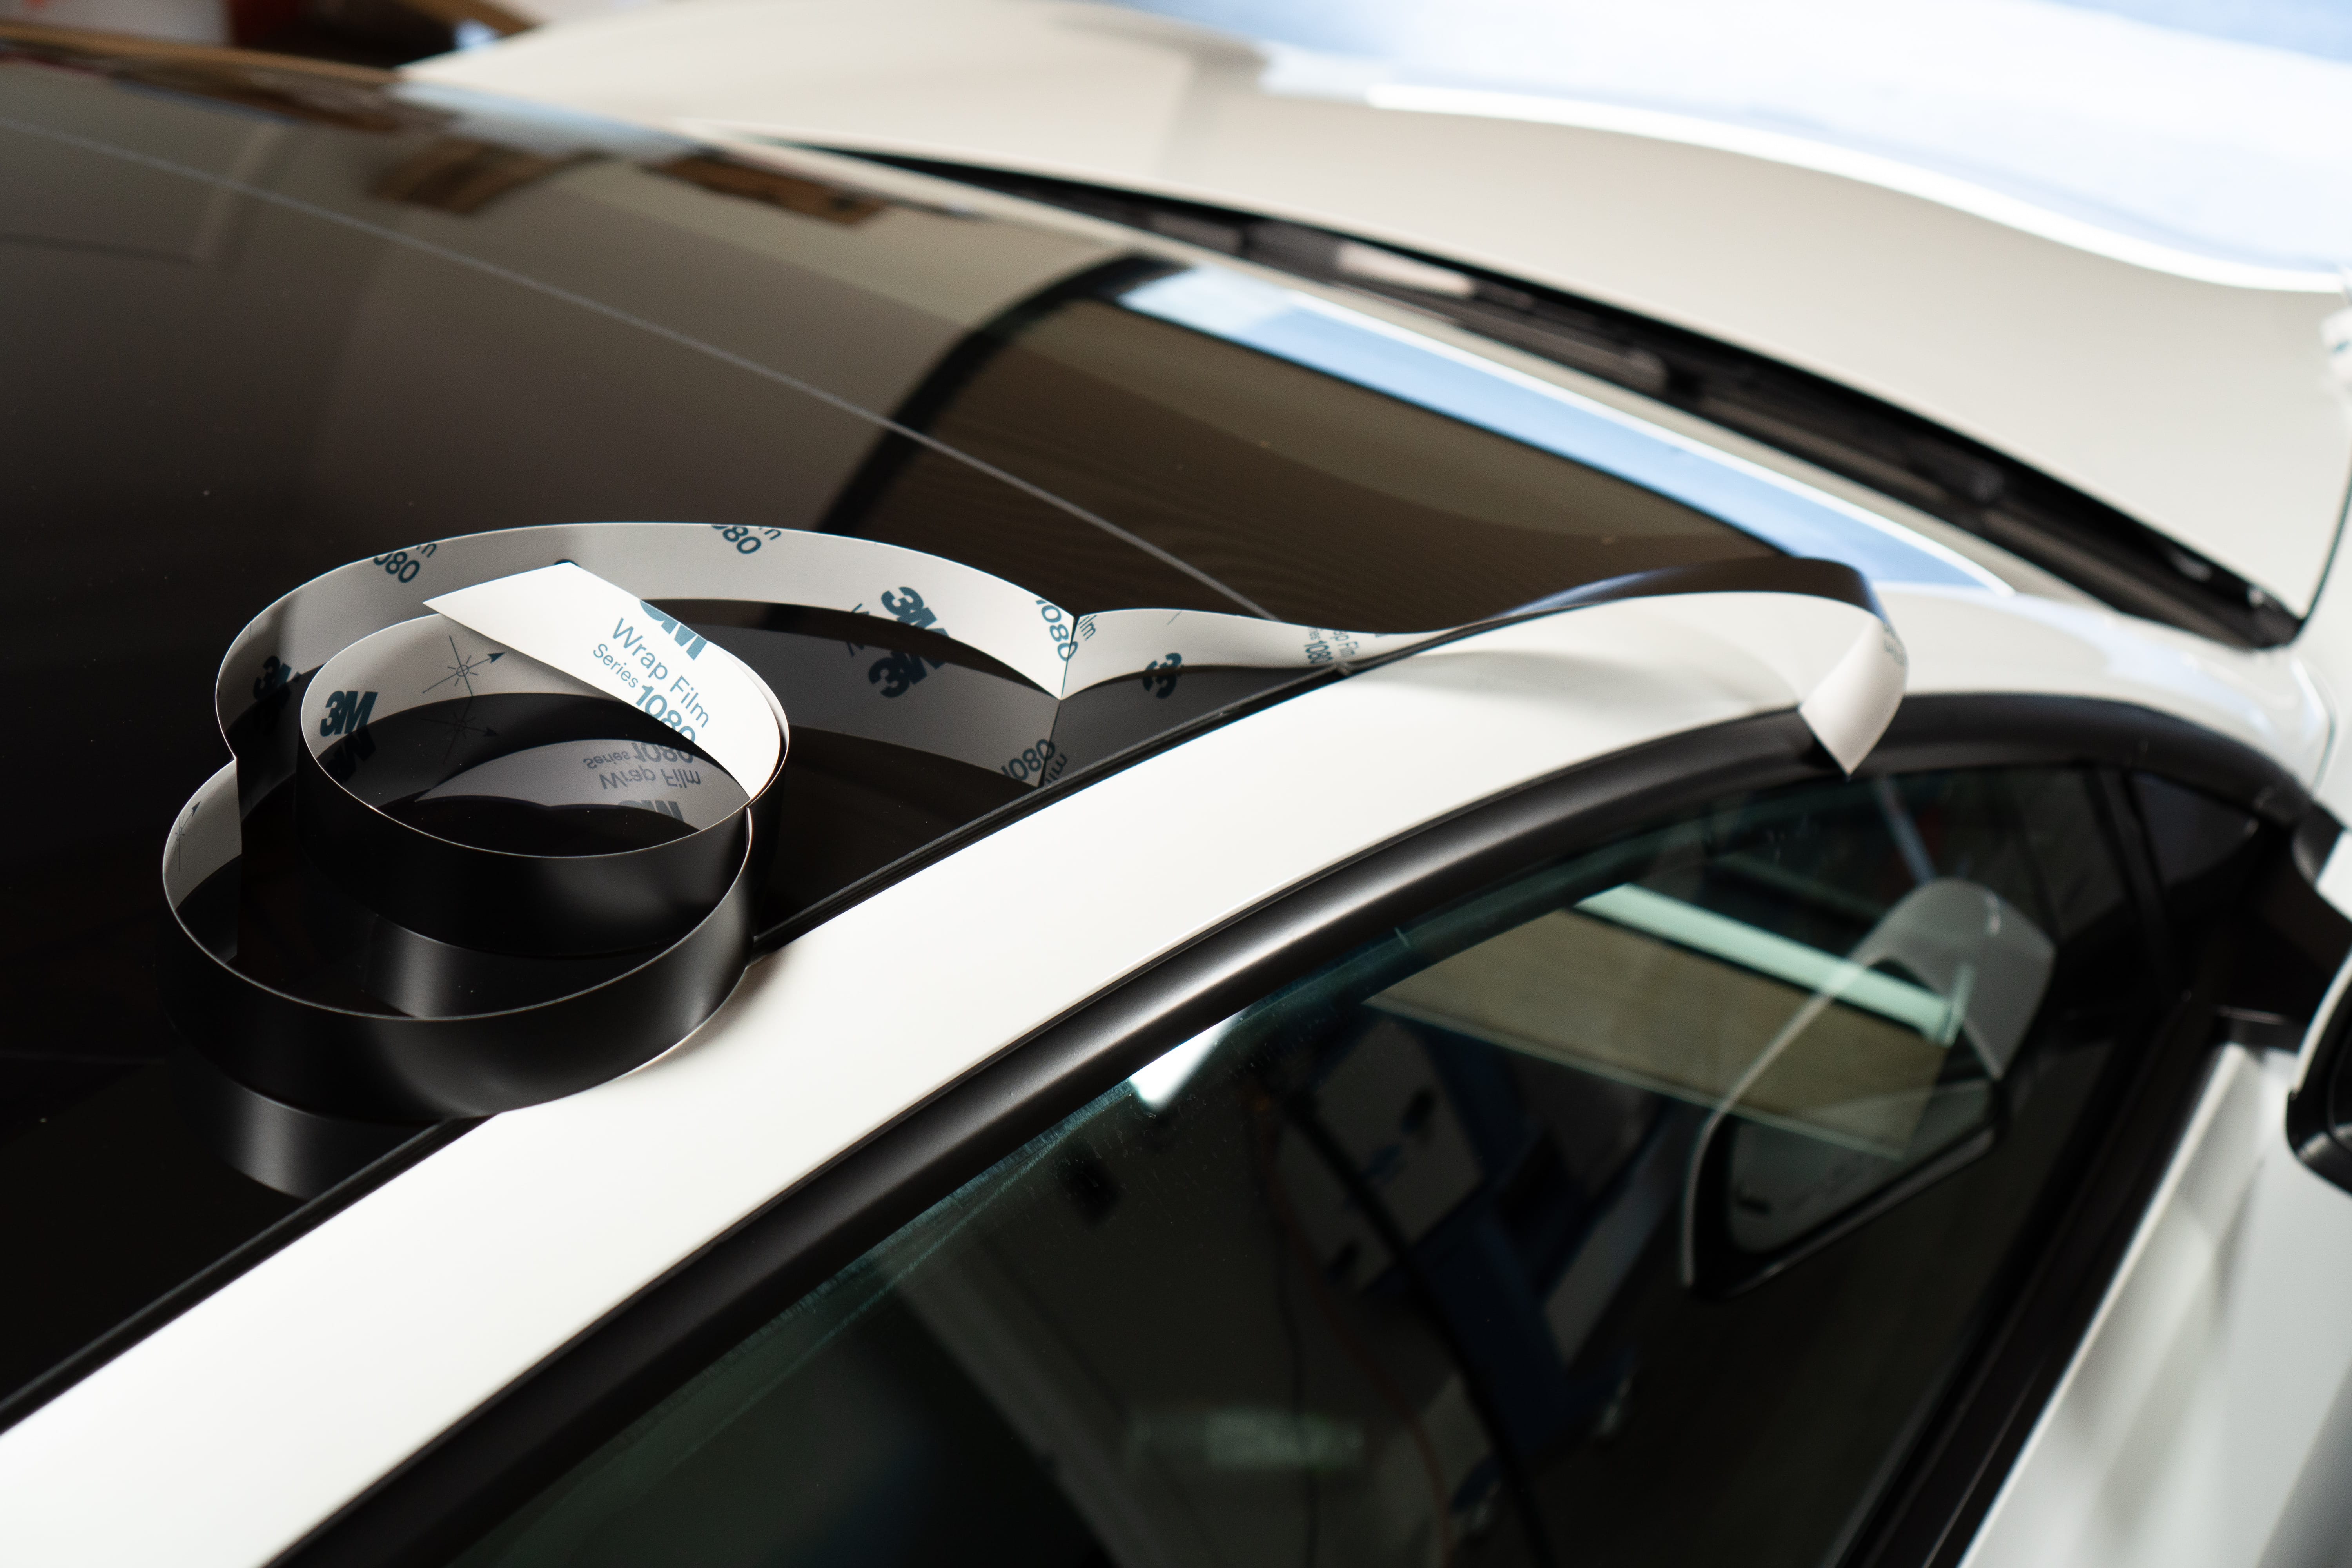
Pictured below is the satin black variant
- Under $150 for two full kits
- Heat gun is included
- Easier installation due to precut backing paper
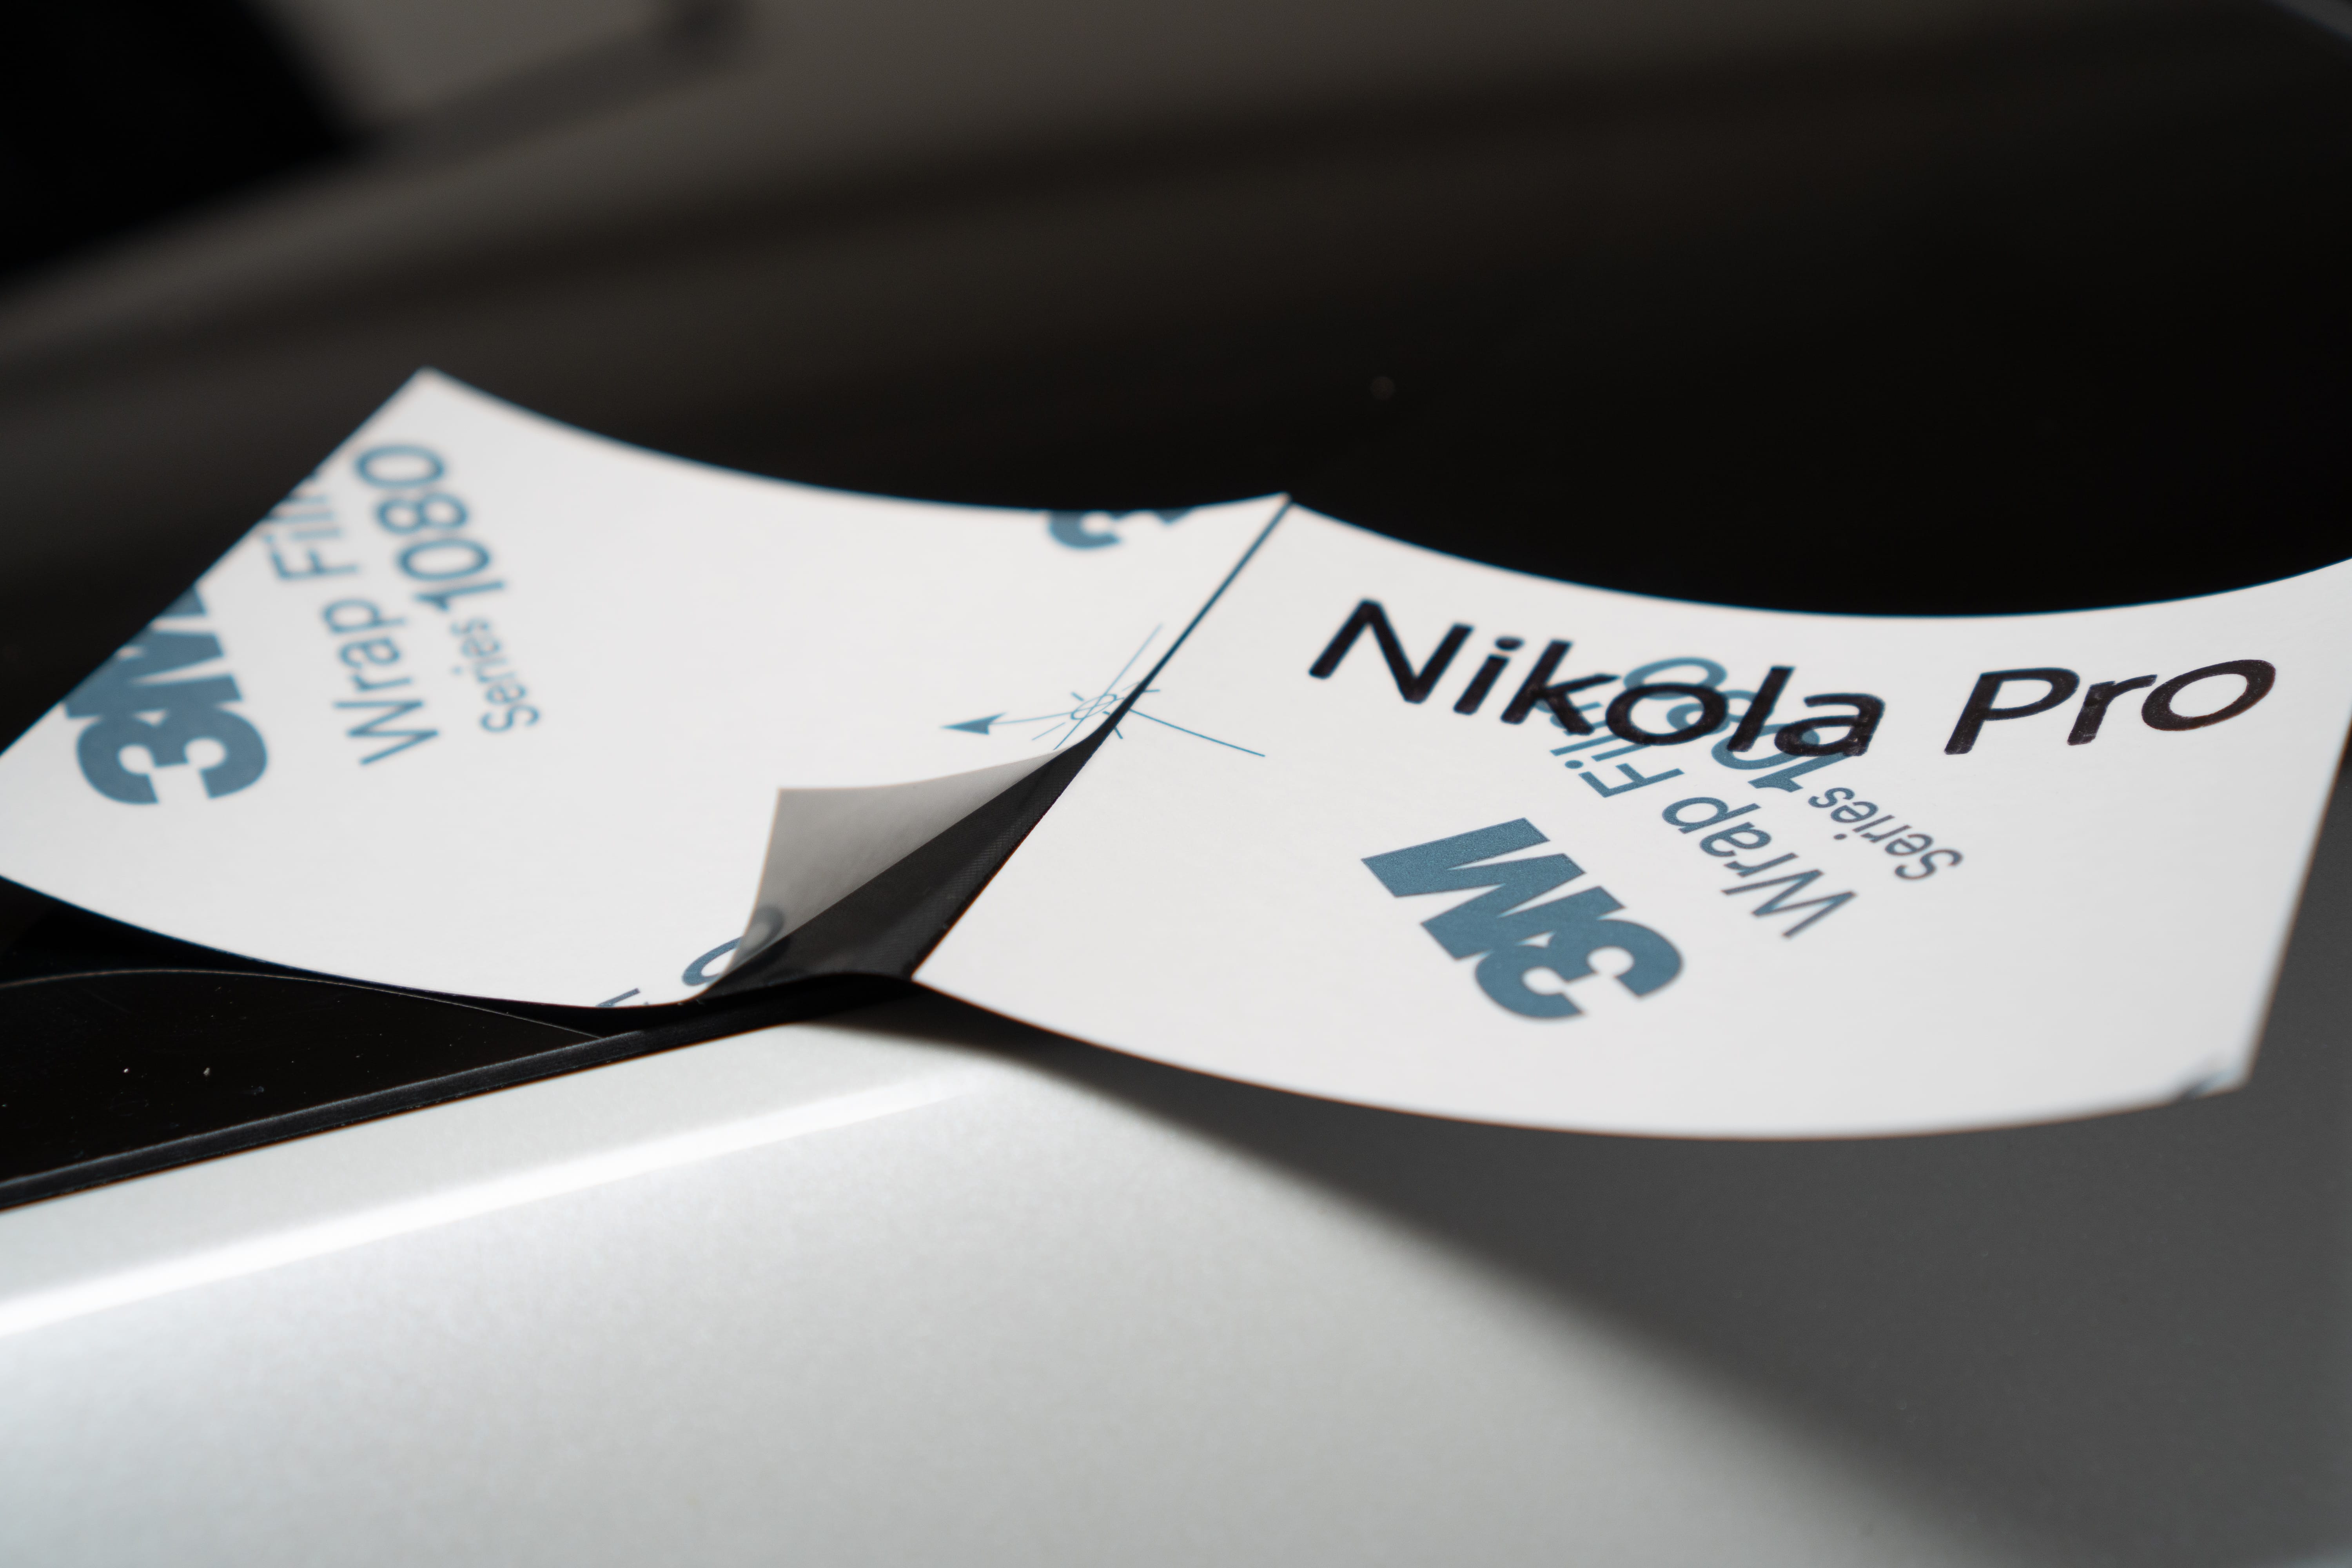
- Made with 3M 1080 film

Precut paper
We are using a new automated technique to cut the paper backing into sections. This means you only have to install portions of each piece at a time, reducing the chance of the vinyl material bunching up and making the overall installation easier.
Let us know if you have any questions! The installation video will be available by the beginning of next week.
Ugh hope notI thought I saw a post that this was on sale for Black Friday but now I do not see it?
i can wait I don’t have my car yet.I thought I saw a post that this was on sale for Black Friday but now I do not see it?
We don’t do any seasonal/special discounts so that wasn’t us.
great price as is. Can’t wait but I can’t wait to get the car either