You can install our site as a web app on your iOS device by utilizing the Add to Home Screen feature in Safari. Please see this thread for more details on this.
Note: This feature may not be available in some browsers.
per the free service manual I signed up for last year:
10200602 Vehicles with 1st Generation Autopilot (2nd Gen has different steps)
Remove components for access:
Vehicles without Autopilot: Remove the rear view mirror trim (refer to procedure).
Vehicles with 1st Generation Autopilot: Remove the forward facing camera (refer to procedure).
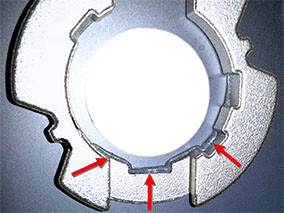
Disconnect the light/rain sensor electrical connector.
Unlatch the spring clip from the plastic tab on the windshield bracket on each side of the light/rain sensor.
Remove the sensor from the vehicle.
Installation procedure is the reverse of removal, except for the following:
The light/rain sensor is a one time use component. If the rain/light sensor is removed from the windshield, a new sensor must be installed.
Clean the affected areas before installation.
Do not touch the adhesive on the new rain/light sensor.
Inspect the mounting bracket for excess adhesive. If necessary, use a knife or razor blade to remove any excess adhesive around the inner edge of the bracket.
Clean the glass surface before installing the sensor.
Test the rain sensor for proper operation:
Sit in the driver's seat.
Set the wipers to the 1st or 2nd intermittent position.
Have an assistant spray the windshield with water.
Check that the wipers sweep when water is sprayed in front of the sensor.
Test the light sensor for proper operation:
Sit in the driver's seat.
On the touchscreen, set the headlights to Auto.
Have an assistant shine a bright light at the sensor.
Check that the touchscreen changes from night to day brightness.
If equipped with Autopilot hardware, adjust the forward facing camera (refer to procedure).
Im sorry to be a nusiance. The links about removing the mirror and forward facing camera for autopilot 1st gen are not accessible to me. Could you cut and paste these in so I can follow these procedures as well?