Morning all
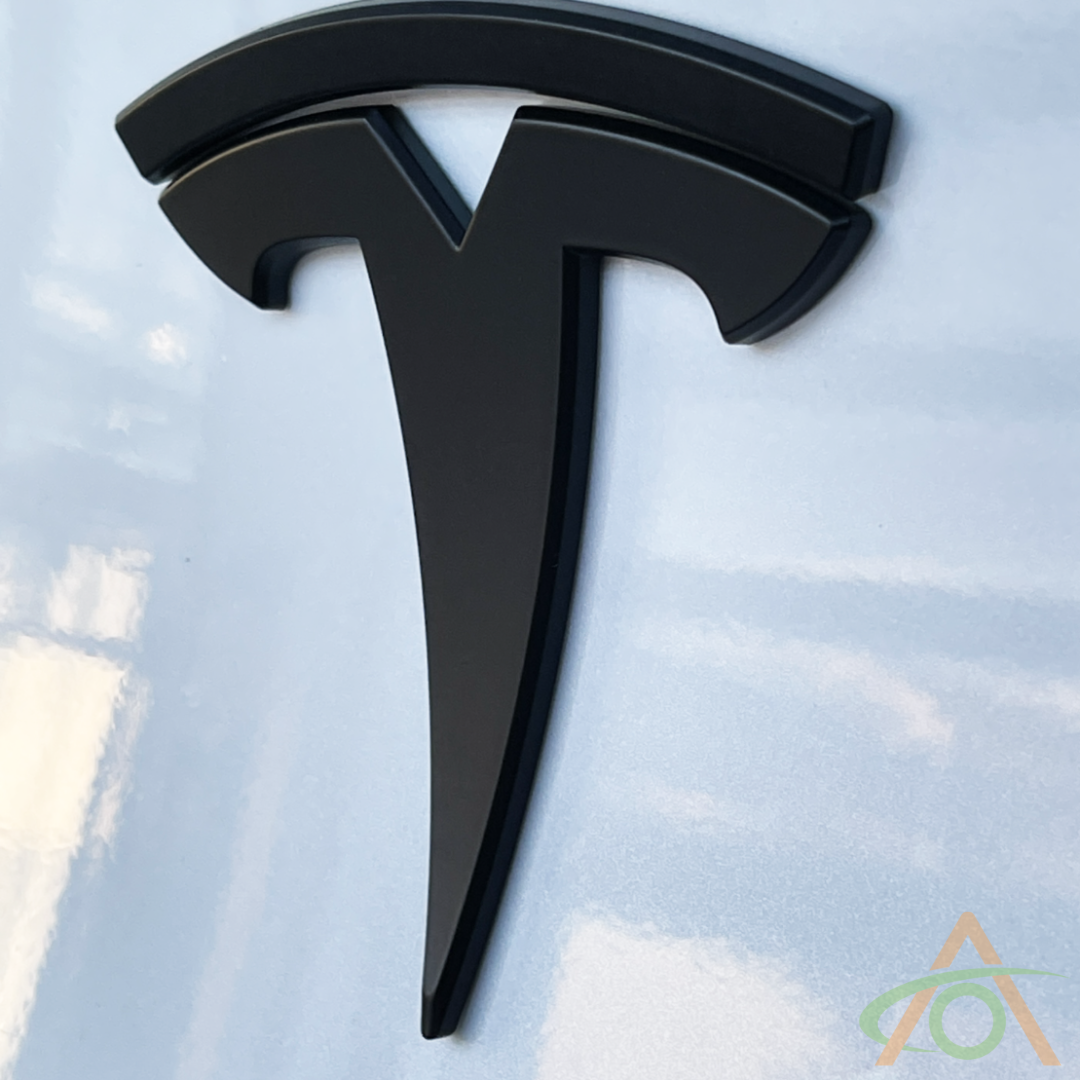
Taking delivery of new MY this week and already doing the obligatory accessories shopping, as I did with the M3. Hoping the likes of my centre console trays fit the MY, can’t see why not but what I do want to do is blackout out the chrome Tesla badges front and rear. Obviously there’s an abundance of badge covers out there on the likes of Amazon etc and I’ve also looked at getting 3M vinyl and wrapping them but that means taking a blade near the car and I’m naturally nervous and reluctant about that.
Anyone used the badge covers? If so, do they stay put, which ones have you used?