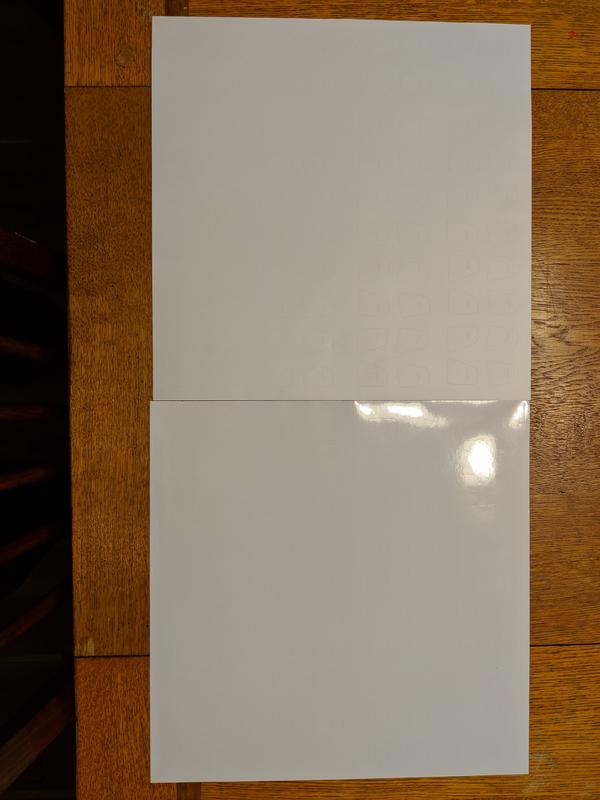
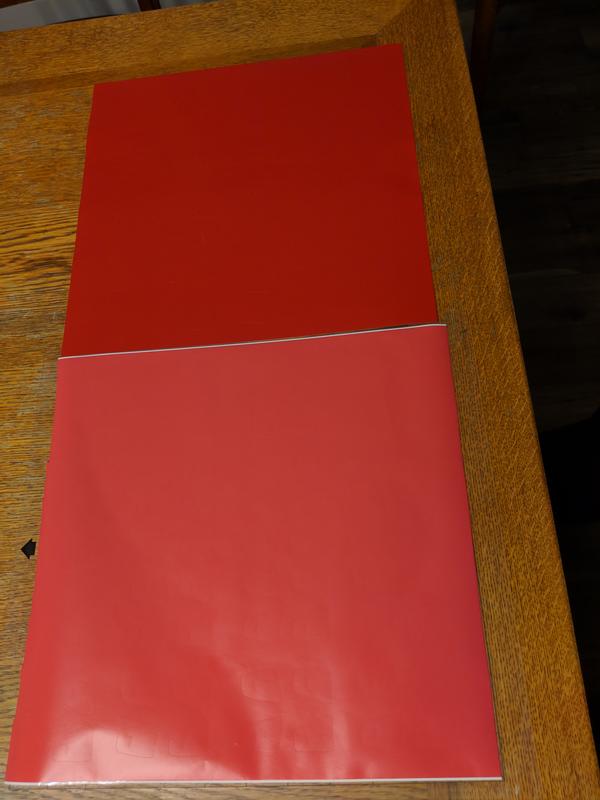
So, I downloaded the template for the door panel switches to use with my vinyl cutter. I originally used some scrap vinyl I had laying around (the light, matte red color below), but after doing that as a test run, I've now cut matte white, glossy white, and the red in this install (which is more red and more glossy).
Matte white vs Glossy white (installed pics to come later)
"Scrap" red vs glossier, true red
Here's the best way I found to install it:
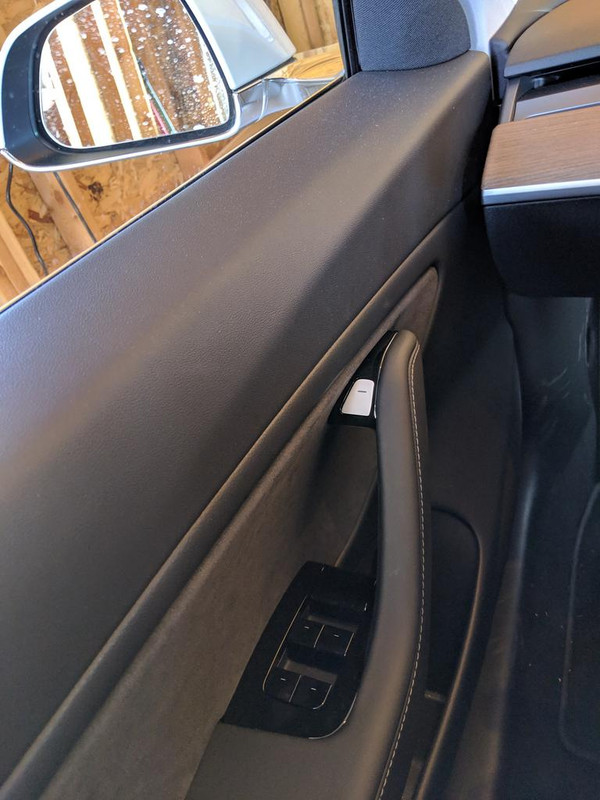
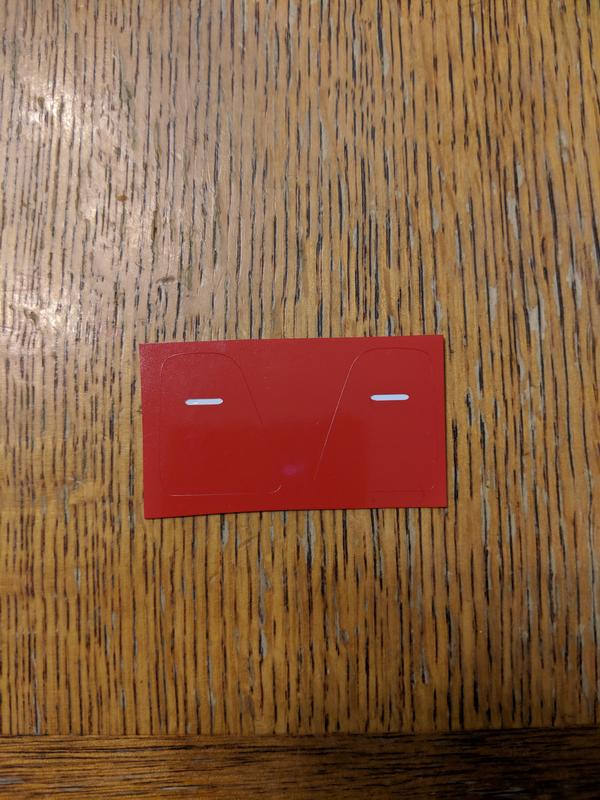
Cut out your door switches (this picture was before I removed the extra material from around the switches):
Cut a piece of transfer paper big enough to cover the whole button, with a little extra on the non-angled side of the button. You can get transfer paper at your local craft store. It should be near the vinyl cutters (or vinyl for the cutters).
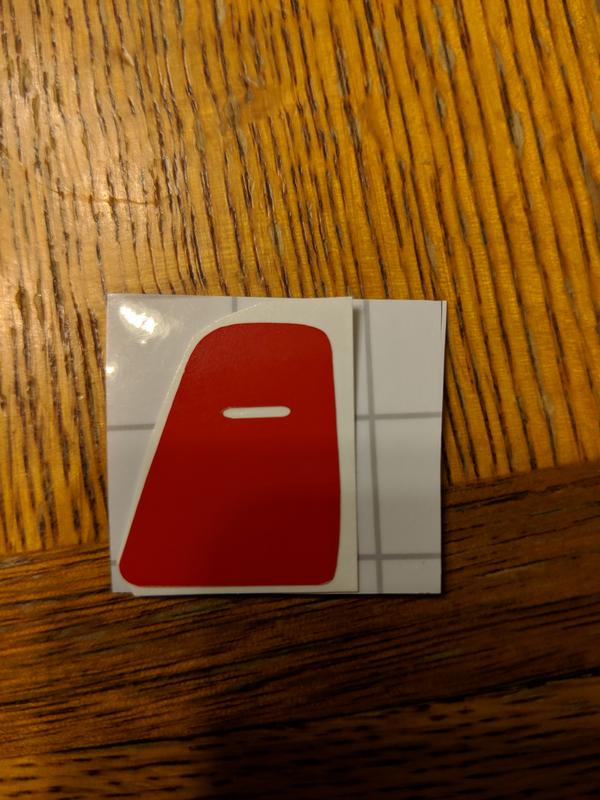
Peel the transfer paper off its backing and stick it to the face of the button. Press down on the button part firmly. This is what will get your vinyl button piece off of its backing. Trim both pieces close to the angled side, top, and bottom. Leave the straighter side longer (see pic below). Go ahead and clean off your door button now in case there are oils from your fingers or whatever on it.

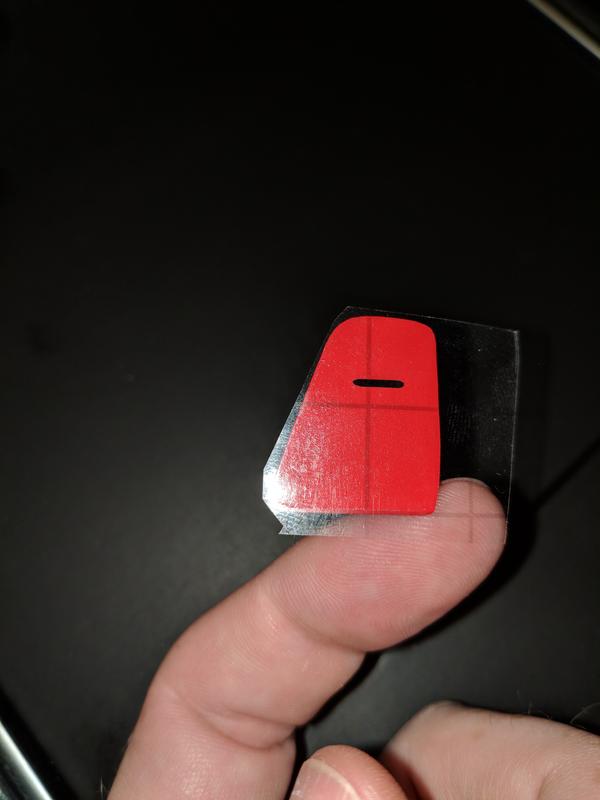
Slowly lift up on the transfer paper to remove the vinyl from its backing
The last step is to hold onto the extra transfer paper part to line up the button. This is where leaving the transfer paper longer on the one side really helps. Using the cutout helps you line it up.
Once you are lined up, press down firmly on your door button several times to stick the vinyl to the door button. SLOWLY peel the transfer paper off. You may need to peel up a corner of the transfer paper and hold down the vinyl piece with your fingernail as you remove the transfer paper since it really doesn't like to let go sometimes.
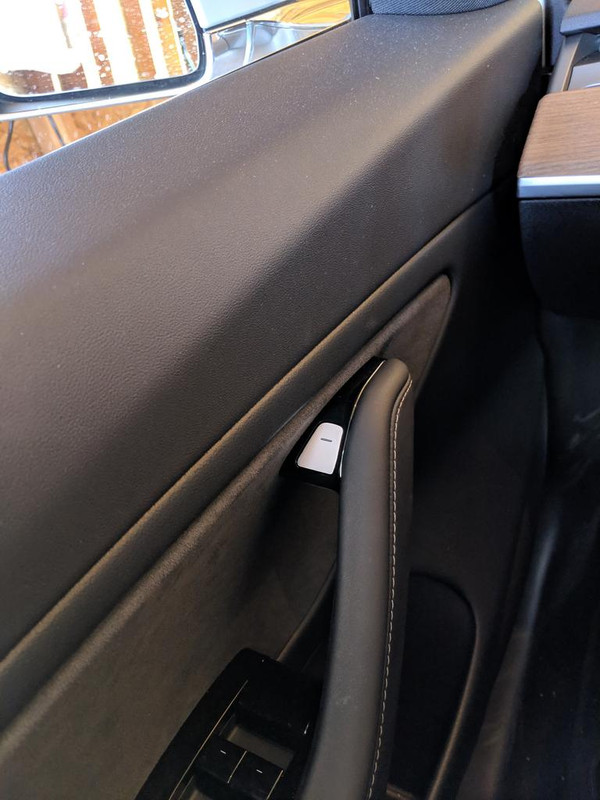
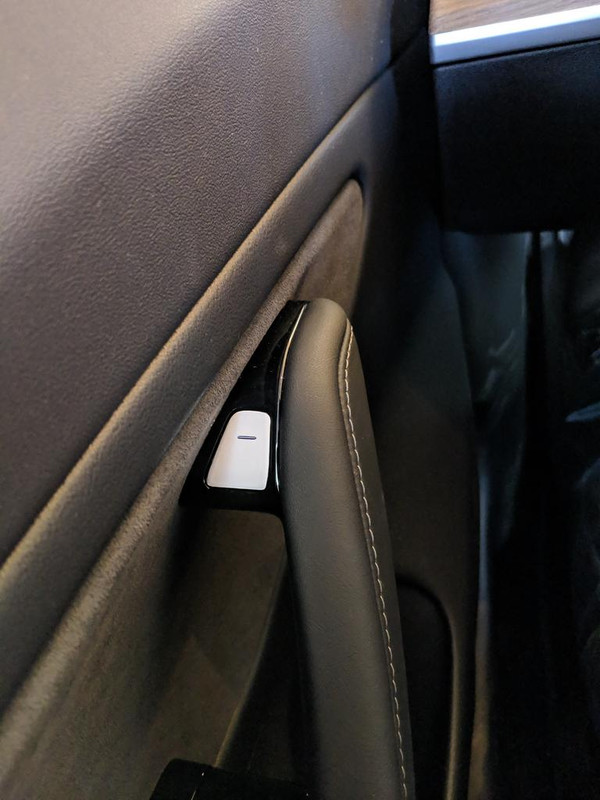
Once done, it looks like this:
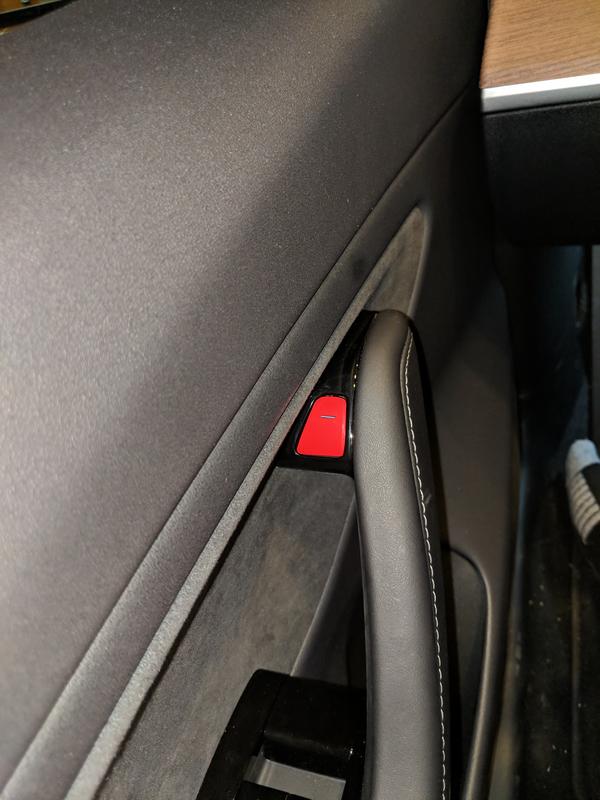
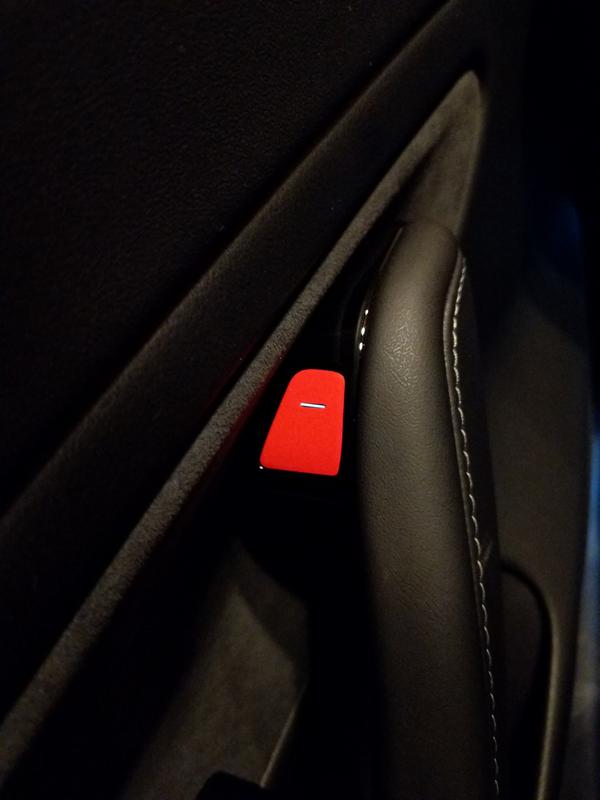
I really like this red color better than the first piece I cut (using the scrap, matte red). I've already cut the matte white and glossy white ones, but haven't done an install on those ones yet to see which color stays on my car, so pics later!
Matte white vs Glossy white (installed pics to come later)
"Scrap" red vs glossier, true red
Here's the best way I found to install it:
Cut out your door switches (this picture was before I removed the extra material from around the switches):
Cut a piece of transfer paper big enough to cover the whole button, with a little extra on the non-angled side of the button. You can get transfer paper at your local craft store. It should be near the vinyl cutters (or vinyl for the cutters).
Peel the transfer paper off its backing and stick it to the face of the button. Press down on the button part firmly. This is what will get your vinyl button piece off of its backing. Trim both pieces close to the angled side, top, and bottom. Leave the straighter side longer (see pic below). Go ahead and clean off your door button now in case there are oils from your fingers or whatever on it.
Slowly lift up on the transfer paper to remove the vinyl from its backing
The last step is to hold onto the extra transfer paper part to line up the button. This is where leaving the transfer paper longer on the one side really helps. Using the cutout helps you line it up.
Once you are lined up, press down firmly on your door button several times to stick the vinyl to the door button. SLOWLY peel the transfer paper off. You may need to peel up a corner of the transfer paper and hold down the vinyl piece with your fingernail as you remove the transfer paper since it really doesn't like to let go sometimes.
Once done, it looks like this:
I really like this red color better than the first piece I cut (using the scrap, matte red). I've already cut the matte white and glossy white ones, but haven't done an install on those ones yet to see which color stays on my car, so pics later!