In the spirit of sharing I thought I would talk about my install like @GreenHokie has been but from a different perspective. Rather than talk about the installation of the light strips specifically I am going to show you how I hid all the extra wire leads and the control box etc. so it is all completely invisible even from inside the centre console. After I installed the lights I was really unhappy with the amount of wires that were visible going into the back half of the centre console and also when you opened it up seeing the rats nest of wires in there that made it pretty much useless for anything else.
So I set about rectifying that. Just a few points before I start. I have installed the Nestor version. It was enough of a hassle getting that one to me here in Australia having to get my mate in the US to forward it to me etc. that I was happy to just go with it and not try the SUMK version @GreenHokie recommended.
Also as I am in Australia I have a right hand drive car so if the photos look flipped or I refer below to the passenger side and it looks like it's the left side of the car you know why. If you are following these instructions in a left hand drive country just reverse everything accordingly.
So the short version is that I hid everything in the underside back of the centre console down where the OBD port and rear air vents are.
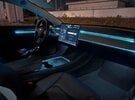
This image was taken after I installed everything. It's all in there and as you can see there are no visible wires coming up the sides or in the bottom or from behind the trim.
View attachment 746518
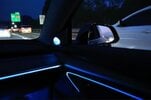
This photo is of the inside of the console where the 12v plug is. This is the only visible wire and hole.
View attachment 746519
If I was to do anything different I would drill that hole down further so it was below the liner. I just wasn't sure if I could get to the back of it if it was lower but I later found out I could.
So how did I do it? Let's start with the footwell lights. The wires for them run under the trim that goes on either side of the console. That is as per normal installation instructions but rather than run the ends up around the back of the console and over the top into the console compartment I drilled holes here (Look at the image below) so the wires could run into the back underside of the console where I put everything else. When the trim is locked back into place you can't see anything from the outside at all. Note for this section is that you have to disconnect the wires from the LED footwell lights and feed them from the back side of that hole out, and then run them under the trim to the front and reconnect them. Otherwise there is no way to get it through such a small hole.
View attachment 746520
Here is a photo of the other side. This one has the passenger side footwell light wire and also the light strip that goes around the console going through it. That way the entire silver light emitter for that strip is also hidden inside the rear of the console. The light strip is sagging a bit in this photo but that is just because I have pulled the trim out to show you. When the trim is locked in place the light strip sits up where it should. All the ends have been heat shrink wrapped as per @GreenHokie suggestion to prevent light leakage.
View attachment 746521
So now onto the light strips from the dash and around the seat backs.
The dash strip wire goes behind the trim on the side like @GreenHokie has already shown in previous posts. This is my side view here but it was taken after I put the trim back on.
View attachment 746524
The light emitter is hidden behind there and the wire goes under the door trim all the way down and along the bottom to come out where the carpet break is under the seat. I don't have an image of that but there is a factory split/overlap in the carpet around the centre point of the seat rail. The wire can go out from under the door trim and under the carpet, under the seat rail without being visible at all from any angle.
The seat back light strips go around from the outside in so both light emitters are on the inside closest to the console. I ran the wires and placed the emitters down this part here.
View attachment 746530
That way no wires were visible from behind or beside the seats. Extra fibre optic tube was once again covered in black heat shrink to stop light from overflowing. One thing I did do though was position the emitters in such a way that the light that comes out from the clear locking screws shone up the side of the seatbelt buckles. That way at night there is a subtle glow to help you see where the buckle is.
So the wires from the seats and dashboard are all now under the seats. I bundled up any excess wire and hid it under the carpet. The ends then went under the rail and carpet around the bottom of the console and in down where the OBD port is. Pictured below:
View attachment 746537
So make sure the wires go under the seat rails, not over them, and then lift up this bit of carpet and you can tuck the wires under that and into the OBD port hole. Do the same on the other side.
This next photo is of the back of the console with the trim and vents taken off and with all the wires stowed away.
Above the air vent hole is the excess wire and light emitter from the console light strip, the wires from the foot well lights, and the control box and wiring harness. All that is routed there from the holes in the sides under the trim and the power wire hole from inside the console you will remember. By the way I have had no issues at all connecting to it with my phone even though the control box is stowed away in here.
View attachment 746544
Down the bottom under the OBD connector you can see (it's a bit out of focus I know) where the wires from the dash and seat back light strips come up from under the carpet and around the side of the air vent to the control box above.
That's it. Once the trim is put back on for this section it looks like the first photo in this post. You would never know that all that wire was tucked away in there and the rear well of the console compartments is still perfectly usable for regular storage with no unsightly rats nest of wires in there.
I'm really happy with the way it all turned out. The only thing you may need to think about to suit your installation is how the wires disconnect from each other. In the Nestor kit the power cord disconnects from the main control box, the light strip cords all have connectors you can undo at the control box end and the footwell lights all disconnect from the LED lights. This way I was able to route the wires through the small holes I drilled as they all disconnected.
If you have any questions I'd be happy to try and answer them.
Well done, mate! Looks great!! Nice & clean…
Not sure if an armrest tray is supplied on the 2021-2022 Model 3’s. If not and you want something that will cover up that hole/wire underneath your armrest, then you may want to look at the attached armrest storage organizer/tray linked below. The unique thing about this tray is, it has a cut-out/hole which allows cables to be run from the tray to the vehicle’s cigarette power socket. In your situation, a side benefit of this cut-out is the tip of your Nestour cigarette adapter will line up with the cut-out in the tray, thus eliminating any possible contact with the Nestour adapter and perhaps more importantly provide a nice finished look to your armrest storage area. I’m guessing the bottom of this tray may touch the wiring that you ran in the armrest compartment for the Nestour kit. However, I don’t think the tray will put enough pressure on or pinch it to a point that will cause any concern. Worth a look…
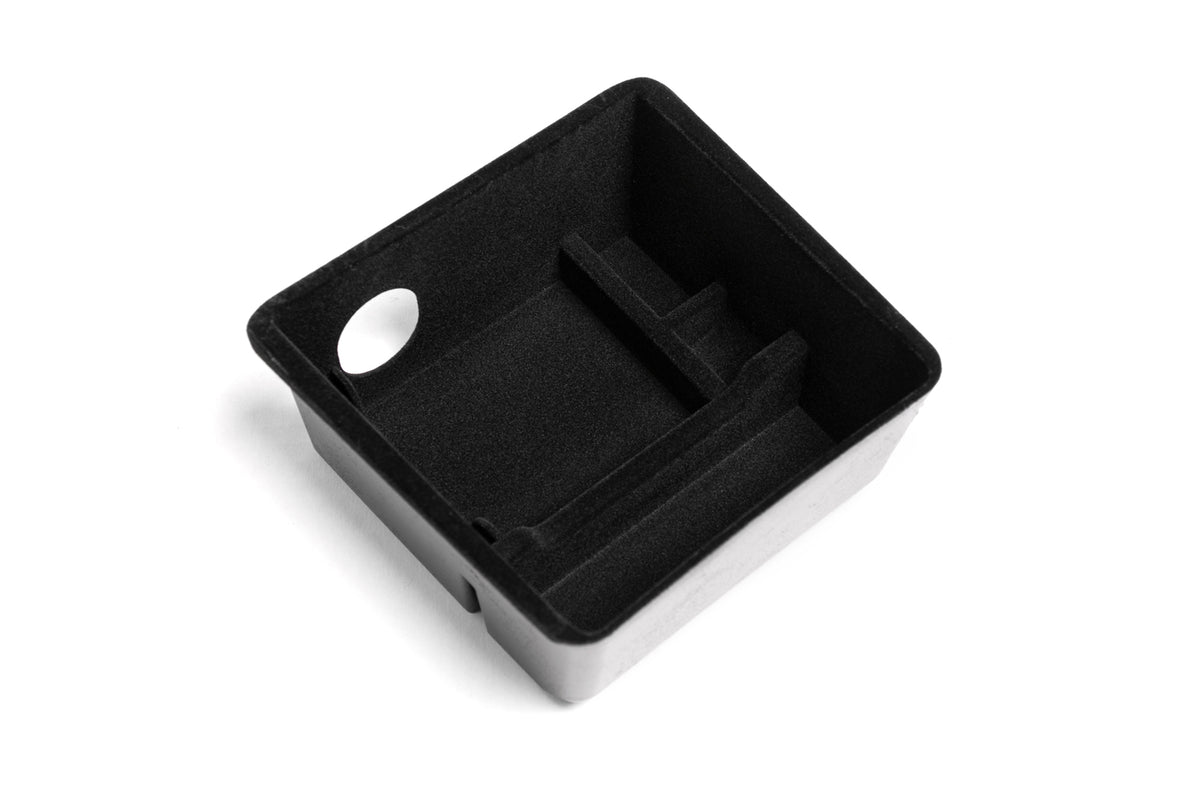
Armrest Storage Organizer for Tesla Model 3 and Model Y
The Tesla Model 3 or Y center console armrest storage organizer helps to better organize small items that are stored under the armrest. Shop now.
evannex.com