@jebinc
Forum would not let me edit my prior post, like I could on the "other" forum, hint hint.
So some of this is a repeat but it's complete, with install.
I noticed TapTES had the same MudFlaps as the ones seen on Ebay for like $10 more ($36 shipped), but I could get them from TapTES in a week and return them if I didn't like them.
Mud Flaps for Tesla Model 3
They look great, I hope to install them tonight. Done, see photos.
When I went to go look for the link above, I noticed TapTES DOUBLE the price !! I guess they realized these are gonna be hot
View attachment 436307
FYI, someone found the same mudflaps/mudguards now on Amazon (Prime Reseller, $39)
Not sure why embedded link doesn't work.
www.amazon.com/Tesla-Model-Flaps-Splash-Guards/dp/B07V36S77Y or search for Model 3 Tesla Mud Flaps
I installed them completely as designed.
Probably took all of 30 minutes.
Only drilled 2 pilot holes for self tapping screws that go into the PLASTIC front wheel well. Every thing else used existing Rivet and bolts.
I abandoned using 3M tape. The part that touched the body only touches on the visible edge. It tapers away from the body.
Note, everything in the rear is plastic. There is no risk for rot from collected sand (which is possible).
Using 3M tape to the wheel well just won't hold long term. The two holes were so modest and safe, I just went ahead and drilled it.
If for some reason I remove I could plug the tiny hole with silicon or the screw.
Only big question is impact on efficiency. They look like the perfect size. Large enough to protect but not to large impact efficiency (much, I hope).
They are mostly behind the tires.
They are on very solid. Removed 6 OEM Rivets and used 6 supplied ones. The OEM ones are just to short. Removed two OEM bolts and replaced with same both in the rear.
Drilled two pilot holes at the top for fronts.
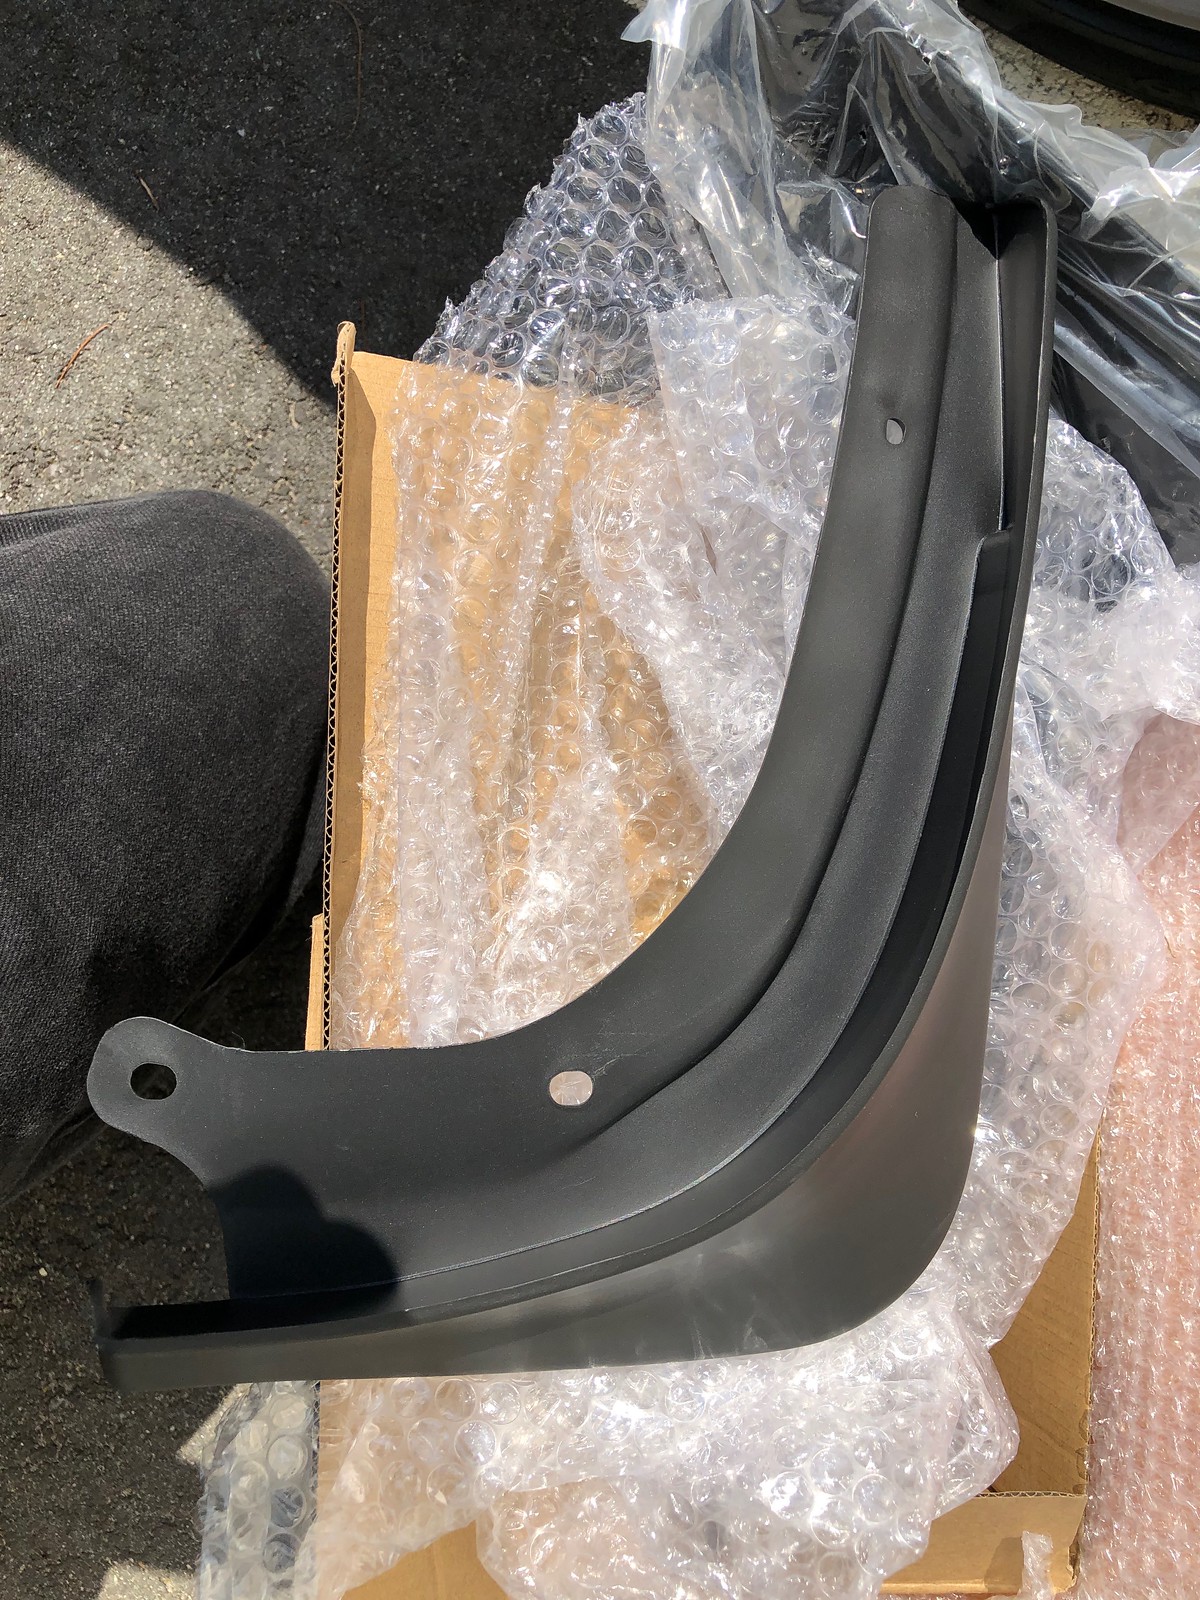
Back of Front Flap
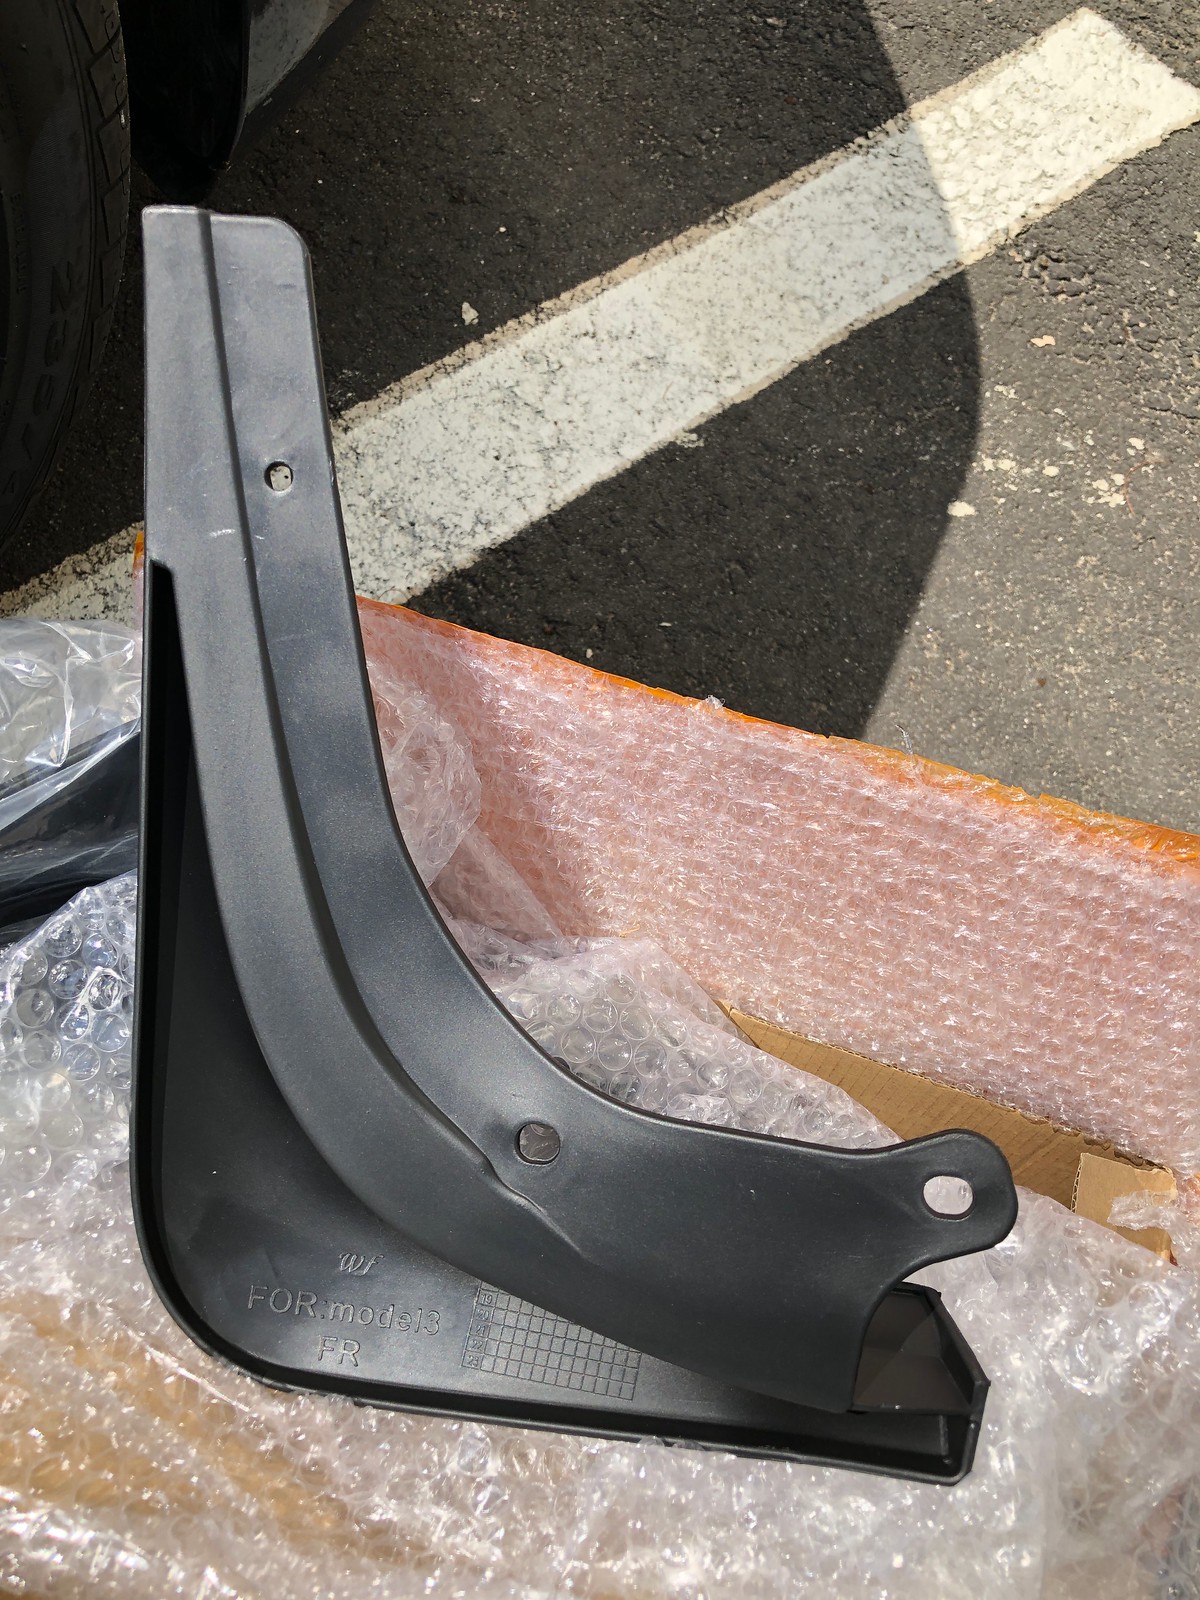
Front of Front Flap
Front of Rear Flap
Back of Back flap
Front view of Front flap installed
Rear View Front Flap installed
Rear view of Rear flap installed
Front view of rear flap installed
Rear View of Rear Flap installed (that is not a gap, just a reflection).
Rear flap from bottom installed using existing bolt
Front flap while installing showing the one pilot hole (into plastic wheel well). You could use 3M tape to wheel well, I chose not to.
Rear view installed both.
Don't blink you might not notice them on Midnight Silver
Front View both installed
View to show how much they stick out.
Another view showing how much they stick out
In my opinion they make the car look beefier/wider looking stance from the rear.
This picture shows precise they fit, incredible.