Last week, I damaged my rear diffuser and it went out of place.  So I went to the service center to pick up a diffuser. Then I remembered that I saw a black diffuser on a 70D when it came out. I managed to take a pic of it when I was charging at the Mothership (Fremont Charging Station) a while back. (Pic 1) Tesla told me that they assembled the diffuser on earlier MS models. And you've guessed it, that's what I bought.
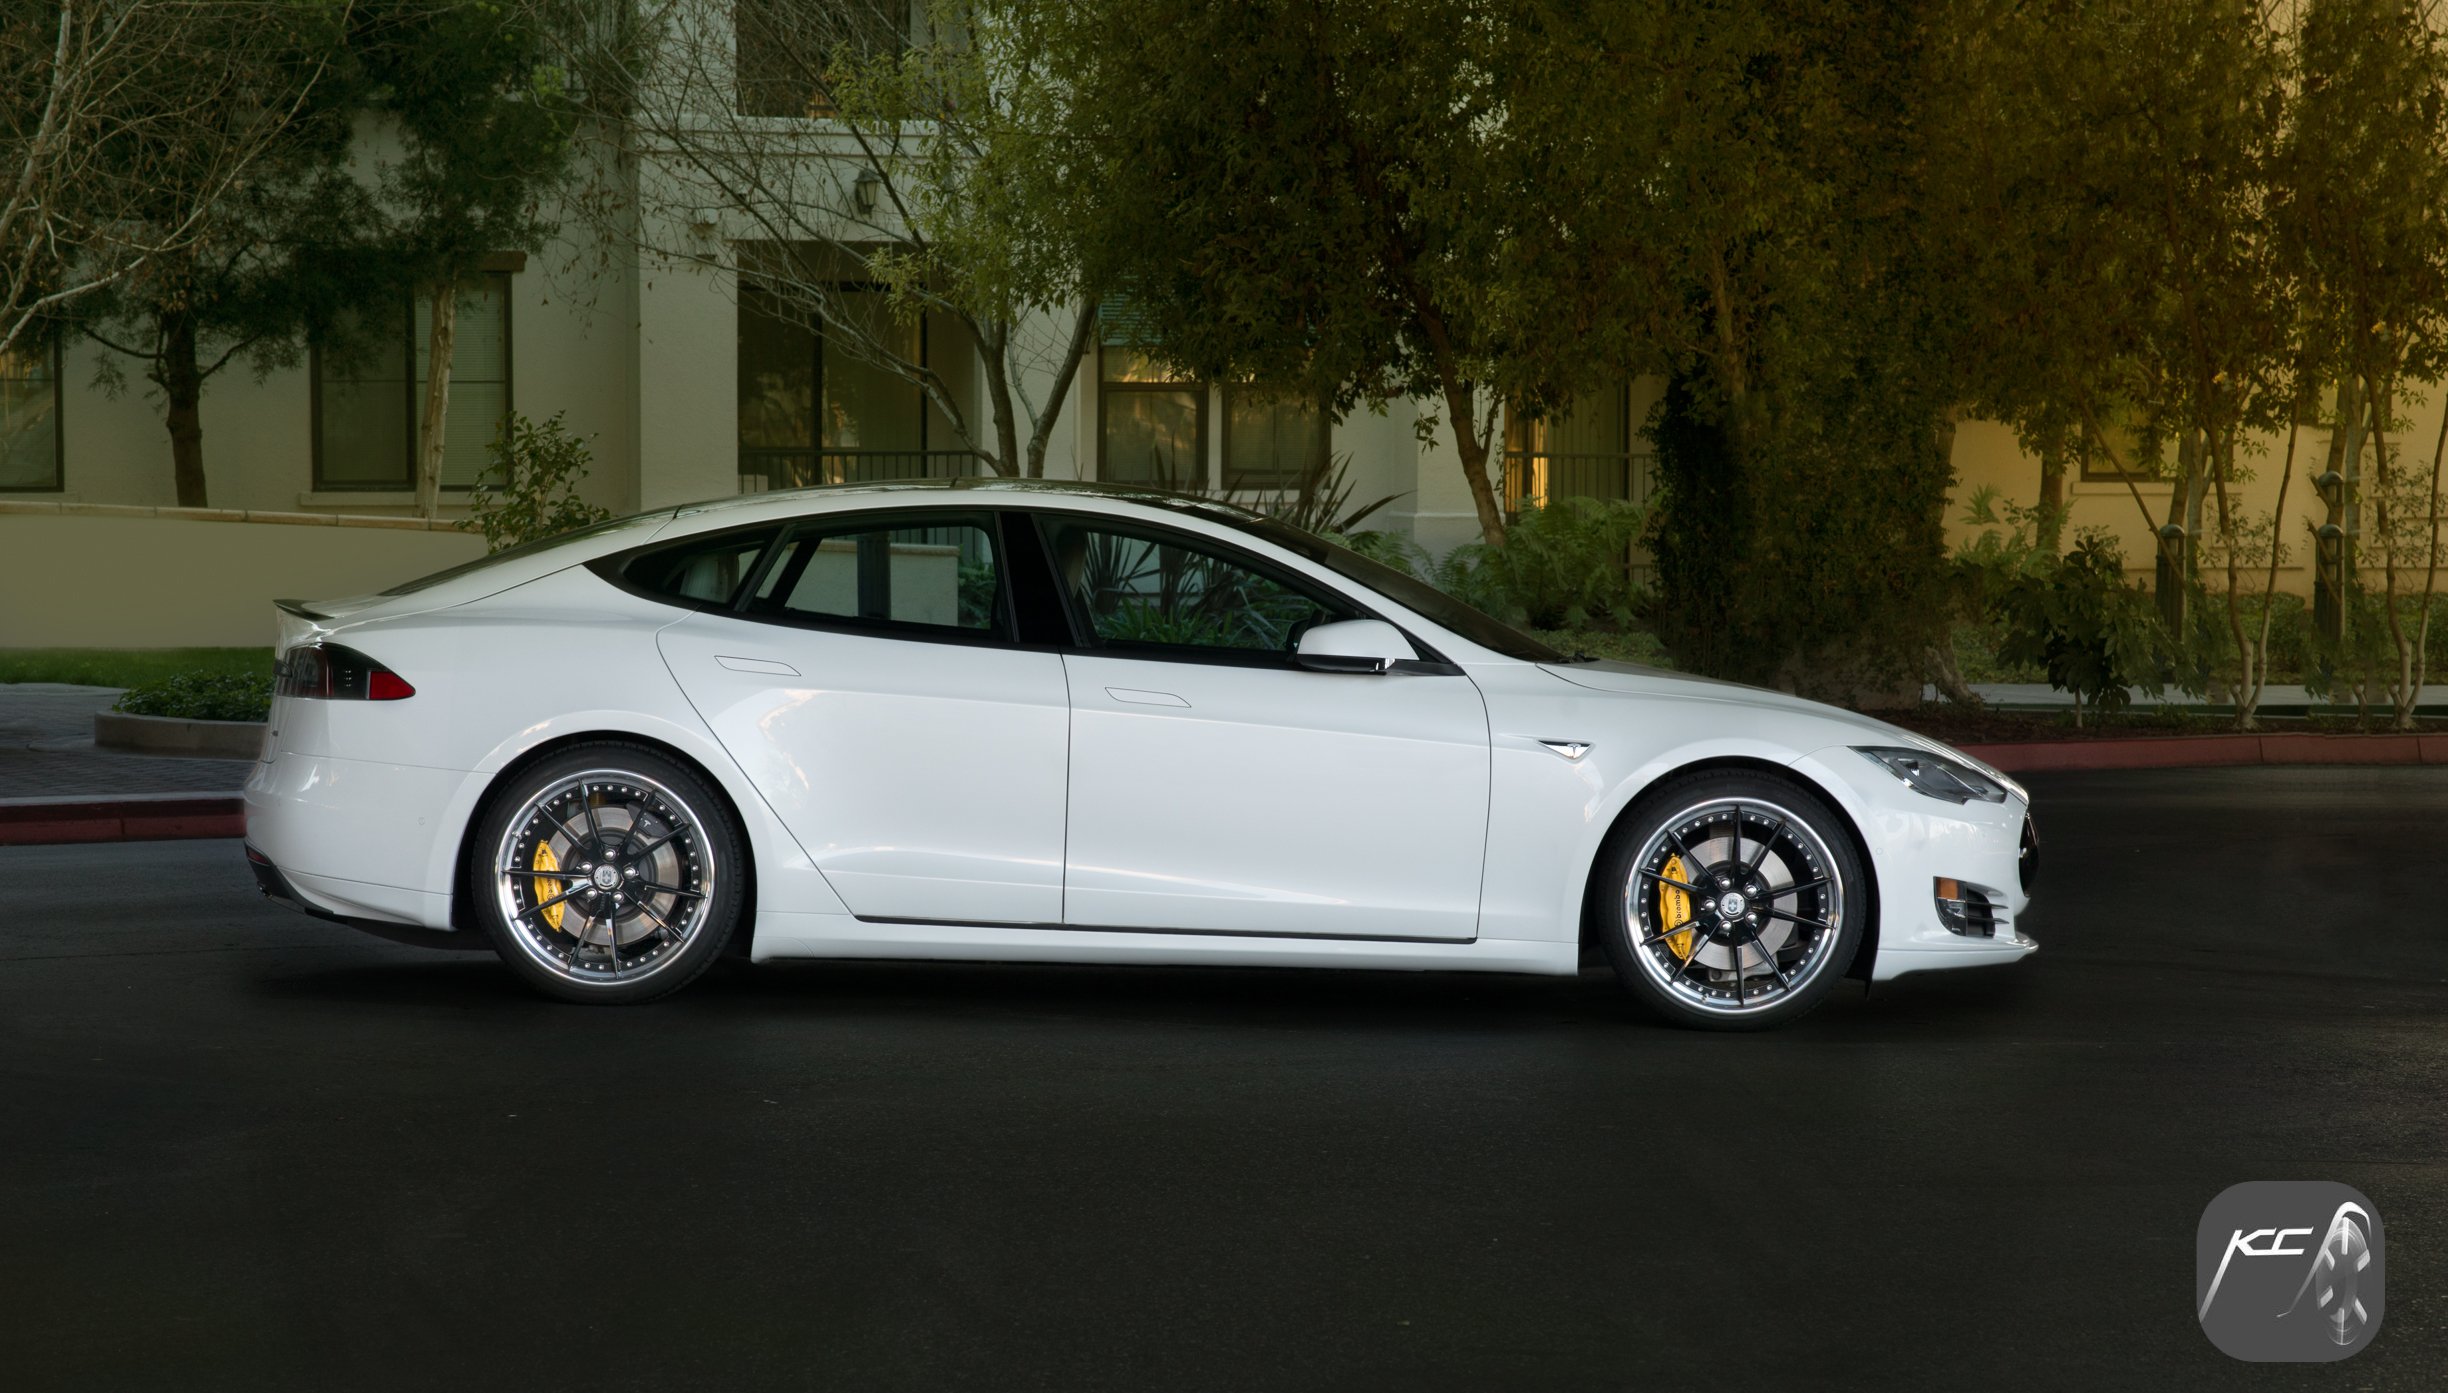
I'm a newbie at working on cars but I didn't want to pay for labor ($150+ or so per hour) so I said to myself, I'll take a stab at it. Worst case scenario, they can tow my car to the service center and I'll pay less because most likely, I would have disassembled they stuff that they needed to disassembled anyway. So I washed my car first (Pic 2) before I started working on it. I know, I'm weird like that.
Pic 3 is the one that broke. As you can see from Pic 4, you'll see the black diffuser and the out-of-place chrome diffuser. Pic 5, the chrome is now off (after 4 + hours of figuring out how to disassemble) Pic 6 was the most difficult part. This is where I almost called the service center to tow my car. The old diffuser was screwed to the plastic bumper and I only have a small clearance to unscrew it. Somehow, someway, I was able to unscrew it.
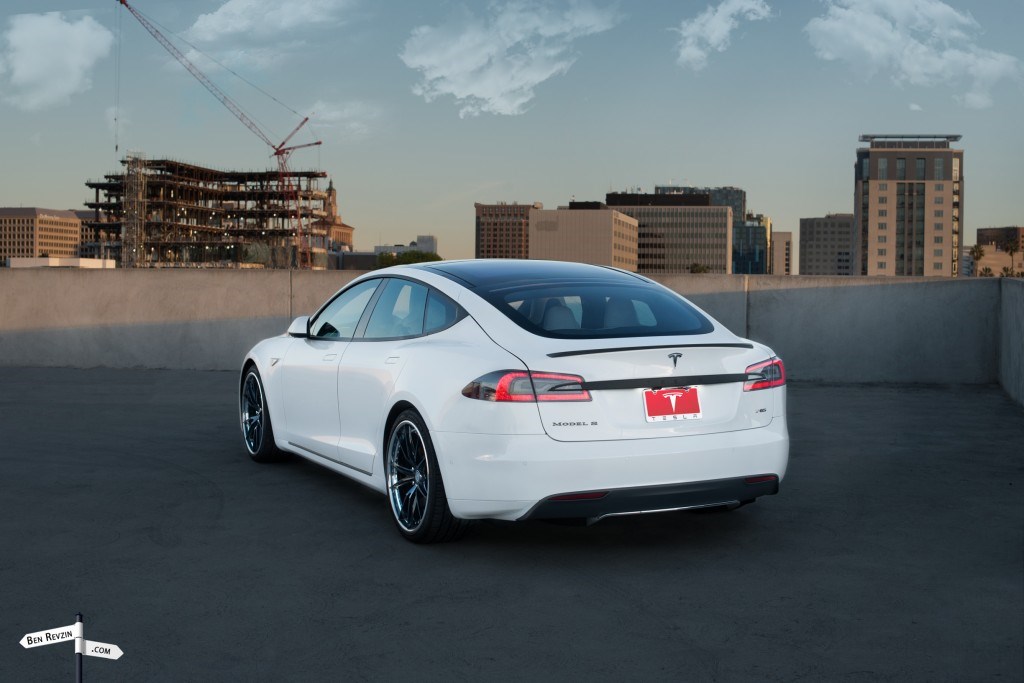
Pic 7: The finished product! I'm loving my new set up. It matches my chrome delete.
Pic 1:
.jpg")
Pic 2:

Pic 3:

Pic 4:

Pic 5:

Pic 6:

Pic 7:

So I went to the service center to pick up a diffuser. Then I remembered that I saw a black diffuser on a 70D when it came out. I managed to take a pic of it when I was charging at the Mothership (Fremont Charging Station) a while back. (Pic 1) Tesla told me that they assembled the diffuser on earlier MS models. And you've guessed it, that's what I bought.I'm a newbie at working on cars but I didn't want to pay for labor ($150+ or so per hour) so I said to myself, I'll take a stab at it. Worst case scenario, they can tow my car to the service center and I'll pay less because most likely, I would have disassembled they stuff that they needed to disassembled anyway. So I washed my car first (Pic 2) before I started working on it. I know, I'm weird like that.
Pic 3 is the one that broke. As you can see from Pic 4, you'll see the black diffuser and the out-of-place chrome diffuser. Pic 5, the chrome is now off (after 4 + hours of figuring out how to disassemble) Pic 6 was the most difficult part. This is where I almost called the service center to tow my car. The old diffuser was screwed to the plastic bumper and I only have a small clearance to unscrew it. Somehow, someway, I was able to unscrew it.
Pic 7: The finished product! I'm loving my new set up. It matches my chrome delete.
Pic 1:
Pic 2:
Pic 3:
Pic 4:
Pic 5:
Pic 6:
Pic 7: