@dude7 if you want to update your pdf, it is a T8 to remove the radio from the mounting bracket. Of course I had multiple Torx bit/sockets all T10 and larger. So I had to run to Home Depot.
If you want to include this picture to show where the tabs are, the two trim pieces are lined up:
View attachment 985367
There is only 1 harness to unsnap to remove the lower trim piece, it is the white harness in the middle of this picture:
View attachment 985368
I ran the antenna wire along the already existing wire loom on the passenger side. For now, I stuck the magnetic antenna to the trunk lid frame up to the driver’s side of the brake light:
View attachment 985369
View attachment 985370
I ran it to this place incase I want to follow your lead and stick it to the window. I will only have to remove the upper trim piece in order to do this.
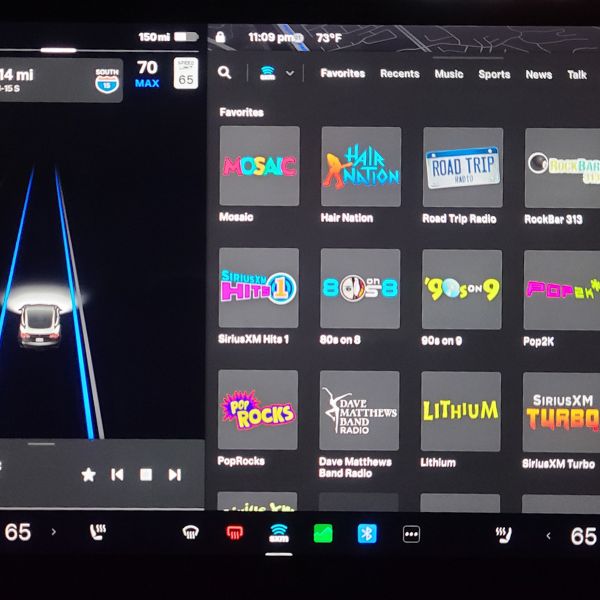
After restarting by pressing both steering wheel buttons SiriusXM showed right up. I called and moved my lifetime account, within 5 minutes I had all the channels.
View attachment 985371
It was a very easy install, as you and
@crackers8199 said. Thanks for both of your hard work on this. If you have an extra 3D printed mount, I’d be happy to give you money for your materials, shipping, and time.
3 things for others:
1. to remove the latch trim, you slide a flathead screwdriver between the plastic cover and the inside, this will lift a lip on the cover that locks it in place. Fit it between the latch itself and the trim piece.
2. I used this video to identify where to to pull the trim pieces, just note he missed showing the inside of the trim piece from 1. where you are lifting the lip.
3. Make sure all the plastic trim snap pieces come off when you pull the 2 trim pieces. 2 of mine didn’t. Use a plastic trim removal tool to get them out, and snap them back in place on the trim (this is common if you have ever worked on trim pieces).