CapnOMatic
Member
@CapnOMatic i have a question.
Did you tape any areas off so they wouldn’t get coated? I’m thinking about things like door handles, door trim and Tesla emblems.
That and possibly needing to do this in cooler temps are my primary concerns right now.
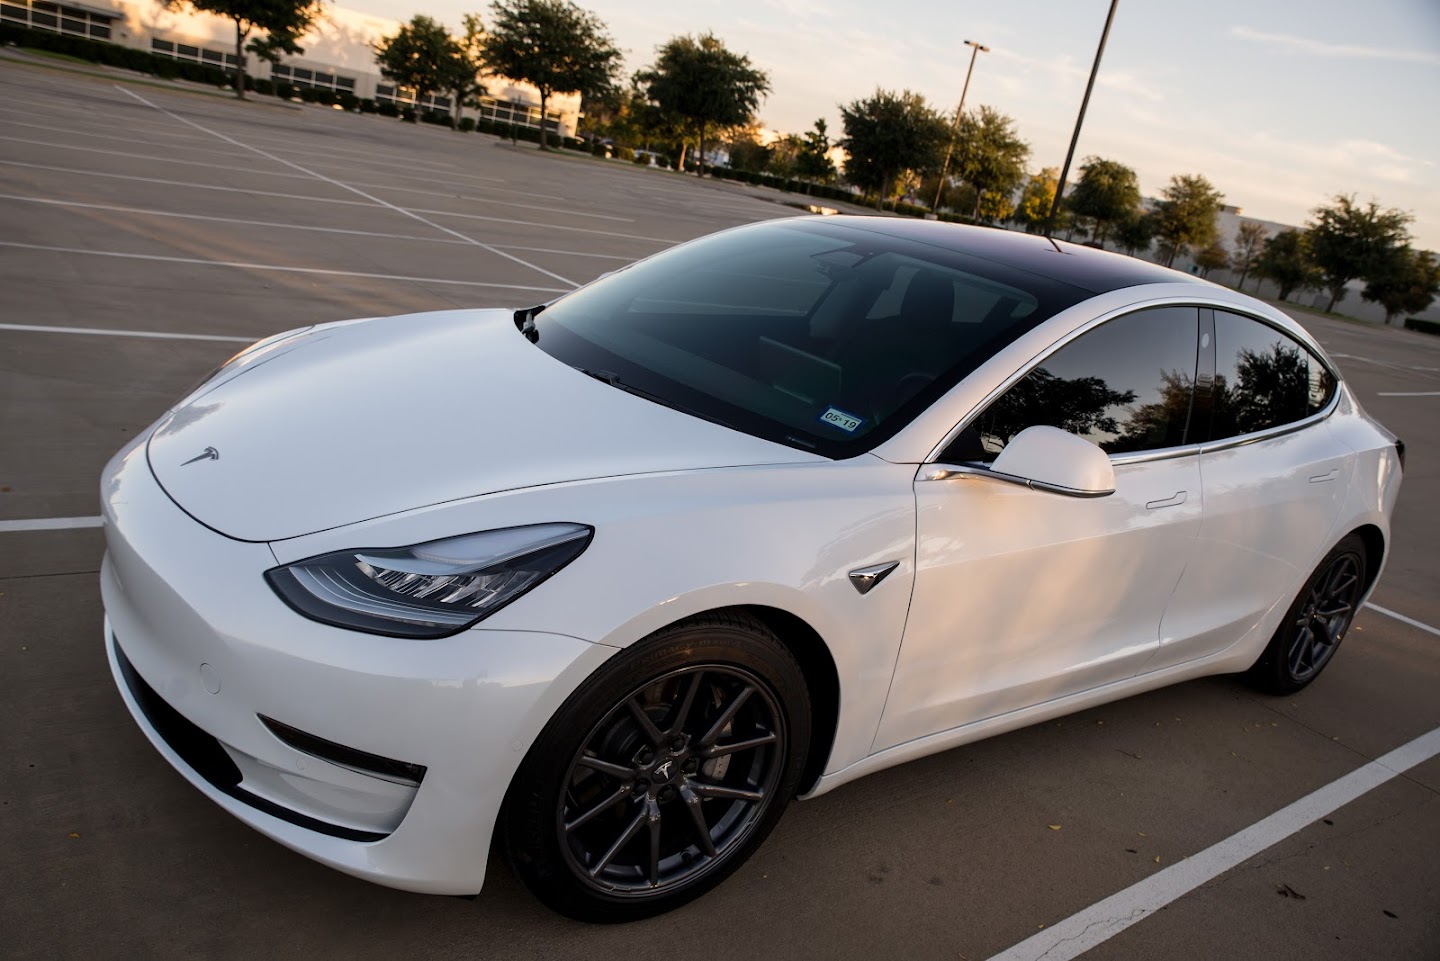
I did not tape any areas off. I did coat these areas:
1. Door handles
2. Front and rear Tesla emblems because I didn't see why not..lol
3. Driver and passenger side mirror enclosures - The metallic gray parts and little black plastic piece (you will see that when you wash the car).
4. Front and rear light enclosures. - It was easy to just swipe over them like all the metal areas.
I did not coat the small housings for the cameras on the side or the glass on the B2 pillars where the cameras were. Also I did not coat anywhere where there was any glass. I did not worry too much about the metallic trim to much either. If it got some coating, then fine, but I didn't stress over it getting touched or smudged by the coating because it generally wiped smooth like all the rest of the areas. The glass I also did not coat because glass is shiny enough and easy to clean and doesn't need a coating, plus not recommended anyway.
Once you get to applying the actual coating you will realize that this is truly the easy part of the whole endeavor and wish it only consisted of this and not the other stuff
")
If you are going to tape anything off I would recommend doing your taping before the polishing phase to prevent polish from getting inside your panel gaps. This is especially true for the rear lighting enclosure gaps because there is no way to open the doors or hood to clean the gap out. If you go over your panel gaps you will see what I mean. It's the rear windows, front headlights and rear lighting enclosures. This of course I found out the hard way. If you didn't do this, no biggie, I had to find some small pieces of cardboard (The mothers clay box) where I could slide it in and pull out the excess. Its better to leave a small line unpolished than have to fuss with getting polish out of a small gap crack.