It just snaps really easy. Maybe 30 mins a door, if it snaps a couple times. I ended up needing three pieces.
I will still buy another roll of 3/8” backer rod to do the rear doors (since I’ve gone this far anyway).
I put a EPDM seal across off the top of the windshield and some silicone tubing behind the vertical seals in the b and c pillars as well.
The backer rod in the hatch seal and 36mm long PETG hatch stops.
I also have a lot of CLD, CCF, and MLV around the rear quarters and sub trunk.
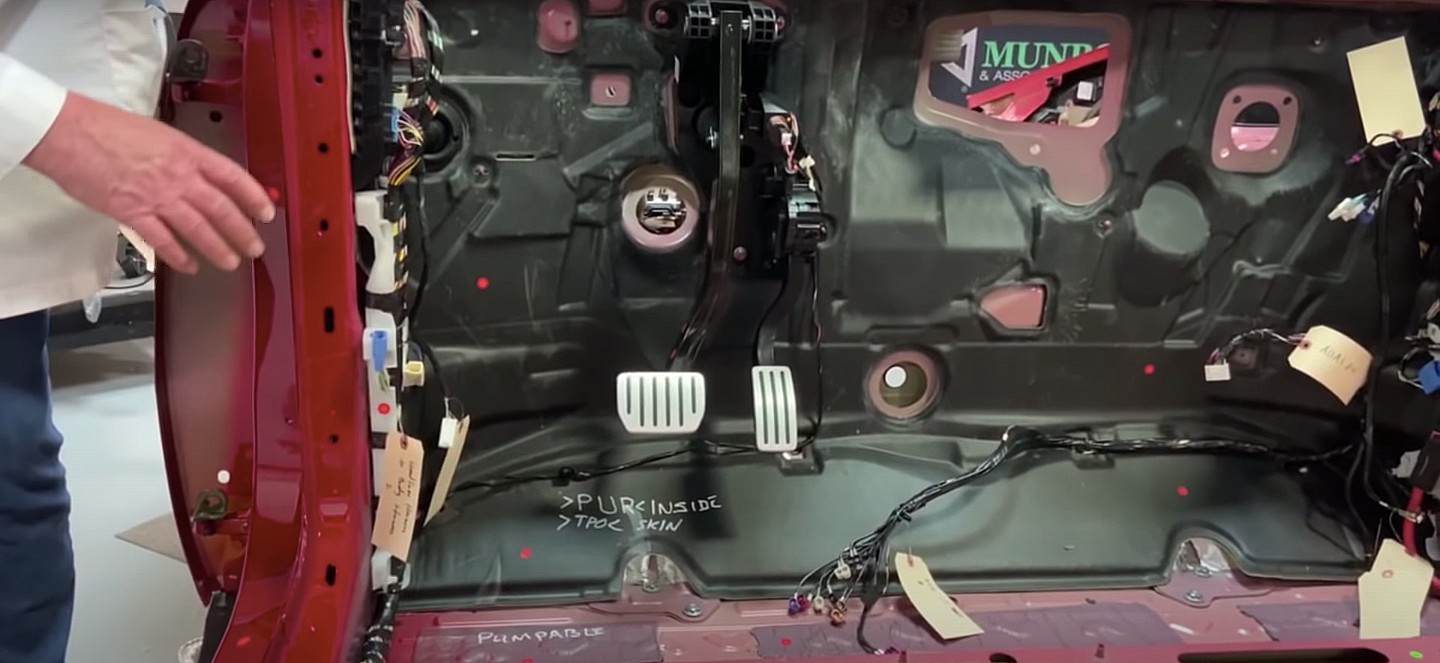
Firewall is next for CCF/MLV.
No door seal kits. Maybe one day.
Only pics I took.
View attachment 906162View attachment 906163