Welcome to Tesla Motors Club
Discuss Tesla's Model S, Model 3, Model X, Model Y, Cybertruck, Roadster and More.
Register
This site may earn commission on affiliate links.
I was thinking about this over coffee. Anybody who is considering spending $400 for the Macsboost kit could DIY this for next to nothing. I need somebody to confirm the relationship between the spacer thickness and the camber, but I don't have a refresh X. If anybody is in the Bay area I'd be down to shim and measure the camber and toe values so we can share the data freely.

Some notes:
- Another member has already confirmed the $400 shims are off the shelf 2.9mm (approx 1/8").
- Factory hardware appears to be M12

a98aeaa6d8c4732c843503177200dedb.png


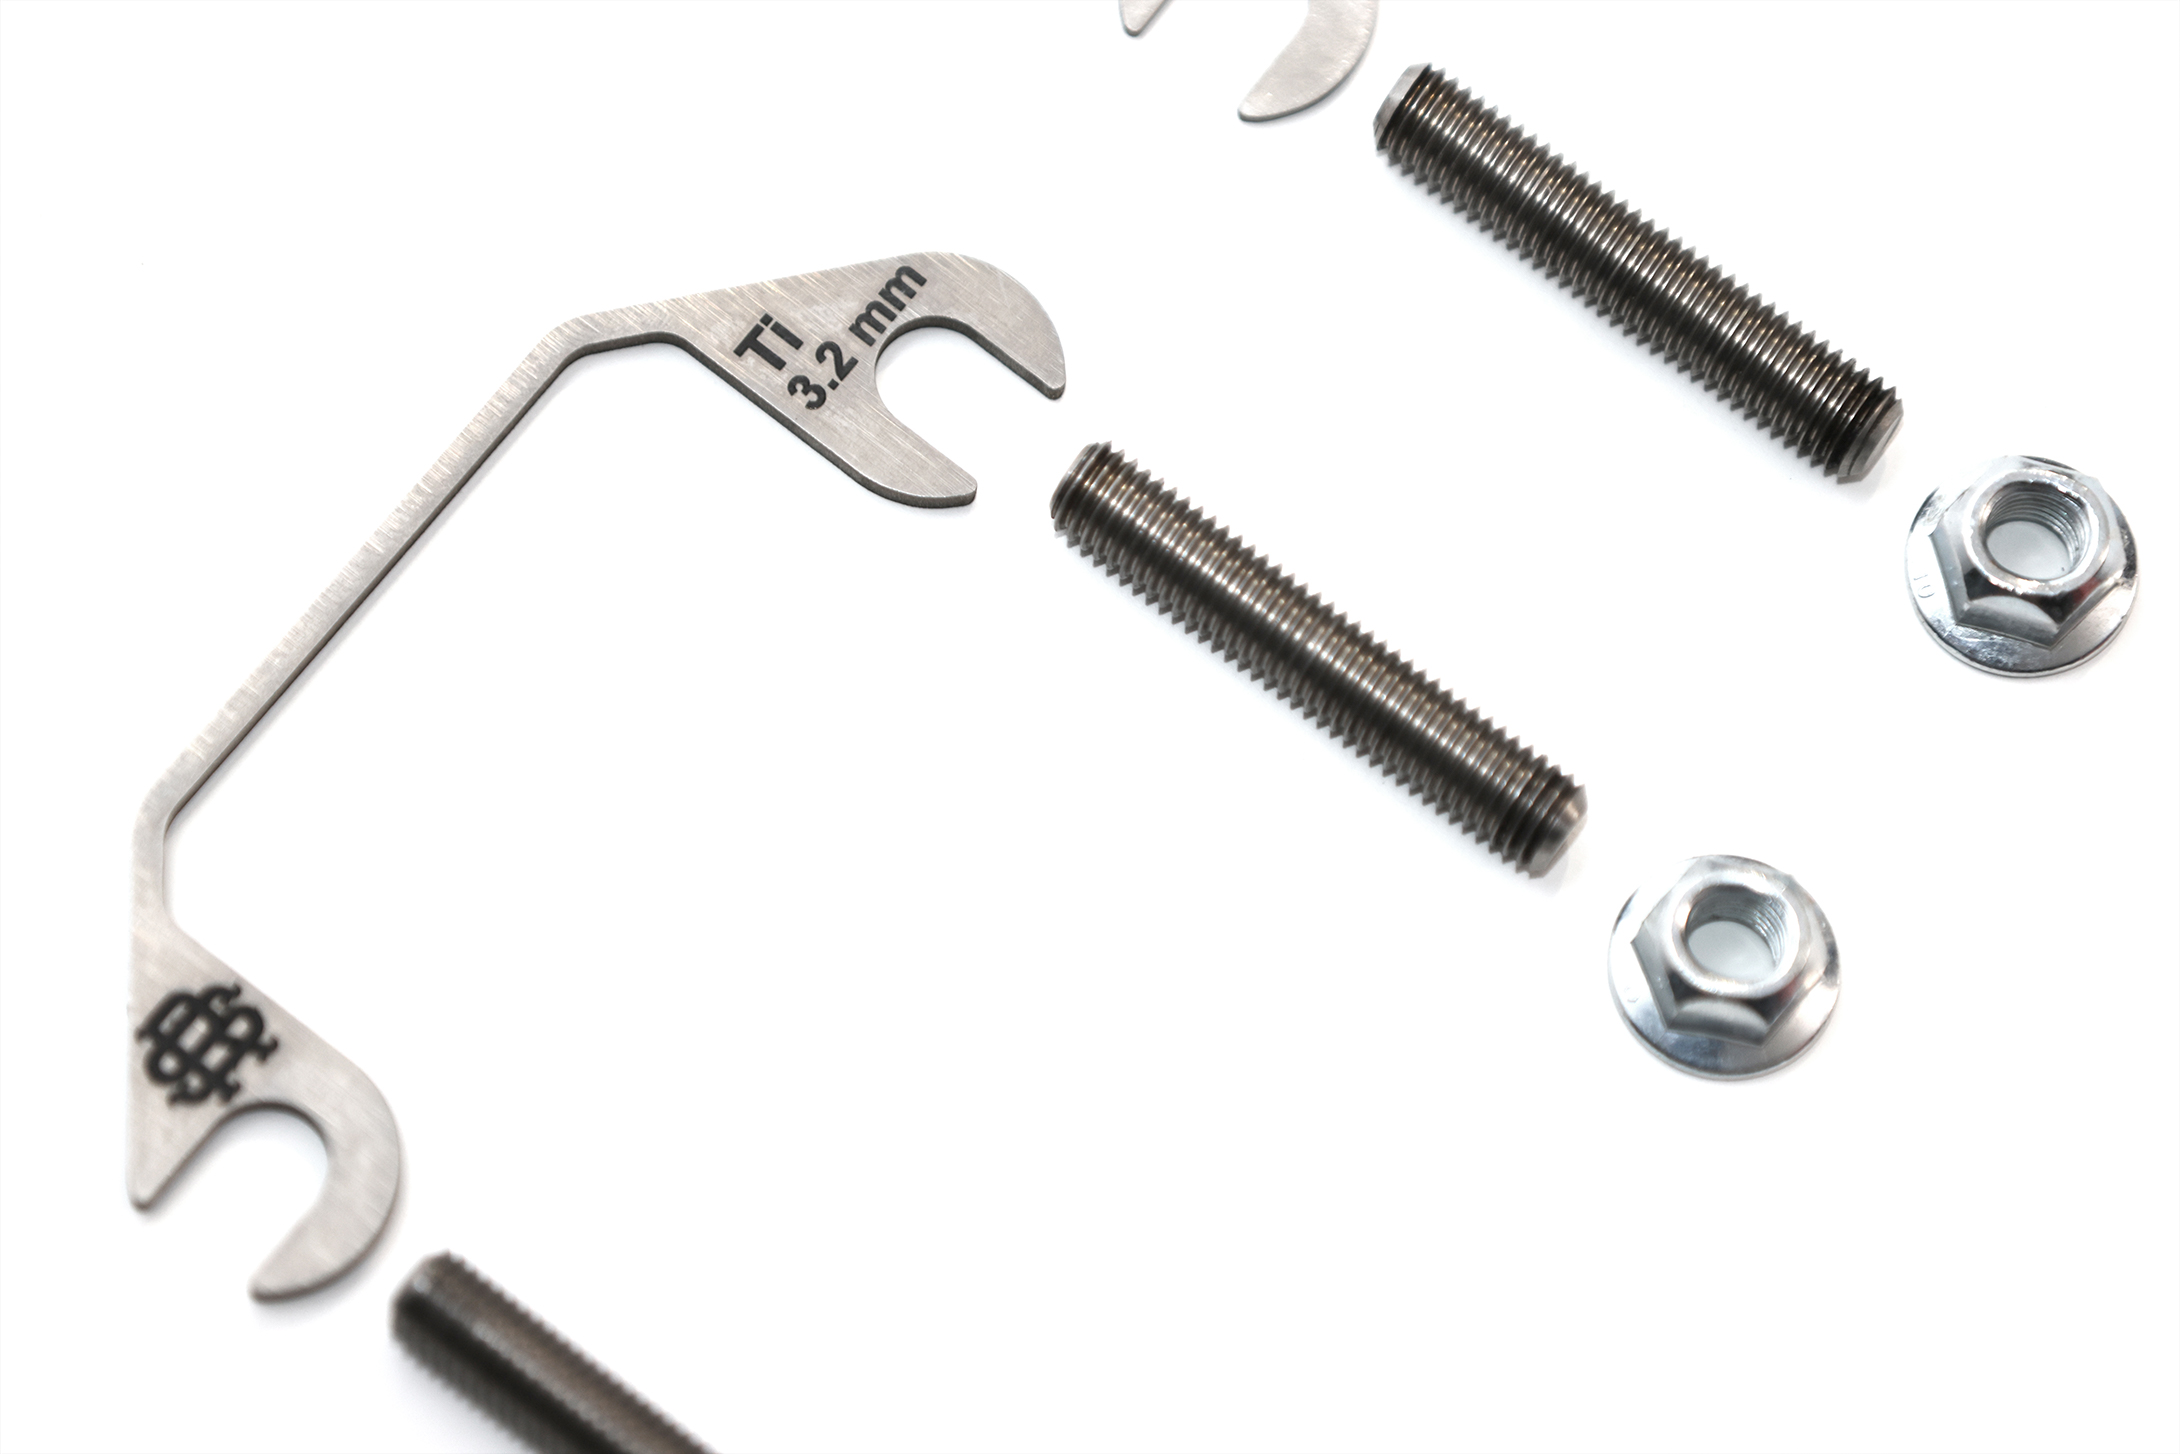
To do this at home you will need four M12 (metric, so the nominal diameter is 12mm) washers, approx thickness of 3mm; 1/8" is a close standard equivalent. A correctly sized washer will work in pinch.

If we can measure the factory arm's flange, I can draw a simple square part that others can customize for their desired thickness, if they want to hit a target alignment. There are plenty of shops that will mill these for you

426054ebfc7a1e7465d46e9e5d0e1d03.png


IMG_4916-markup.jpeg


Quick mock up with a non-standard thickness that I priced through Xometry. I quoted laser cut 6061 below but other materials are available for an additional cost. Grade 5 Titanium will double the price...to a whopping $11.

If you are happy with the alignment from the 1/8" thickness there is no reason to have a spacer machined.

f63a8fcbb82e764162d37c7bed5db0a0.png


f90aeef6d43beda7719d95e2e51b17d8.png


59e9d5441f7009b65fc60ea2def20a78.png


Of course, the cost goes way down with volume and we can do cool things like anodize or powdercoat. There are also other manufacturing options available with volume.

If none of these options speak to you grab some 1/8" stock, a hacksaw, and a drill!
 
You can order the correct hardware from McMaster.

Sure, if I can't reach the same specs on my own without spraining my fingers on these forums. /s And if I can find him.

I do apprecetiate that McMaster's price is more reasonable than the others, but I would prefer a no frills $20-30 kit delivered. How much can 30g of stainless steel cost?
 
Sure, if I can't reach the same specs on my own without spraining my fingers on these forums. /s And if I can find him.

I do apprecetiate that McMaster's price is more reasonable than the others, but I would prefer a no frills $20-30 kit delivered. How much can 30g of stainless steel cost?

I have the prints posted in this thread so you can have the parts made to your specifications. Nobody is making a it for $20-30 for you. Sorry, it'll require some effort on your part.

But, given the fact you are asking about using an angle grinder to cut down a bolt and are unaware of hardware grades is concerning. Not to mention you think the weight of a stainless steel bolt (hint: the hardware is not stainless) is what determines the cost makes me think you should not be doing this yourself.
 
  • Like
Reactions: GWord
But, given the fact you are asking about using an angle grinder to cut down a bolt and are unaware of hardware grades is concerning. Not to mention you think the weight of a stainless steel bolt (hint: the hardware is not stainless) is what determines the cost makes me think you should not be doing this yourself.

Yes, this is how interrogation works on social media. Works like oil pulling.
 
Edit: I found a local place that has 50mm 10.9 M12 yellow zinc bolts for $1.73, so I'll probably try those if they're in stock and the 4.83mm shims.

Are these being bolted into an aluminium chassis?

• Zinc: It can cause galvanic corrosion when in contact with aluminum under aggressive conditions in certain environments, especially where moisture or electrolytes are present, using yellow zinc plated fasteners with aluminum could lead to corrosion.
 
  • Like
Reactions: towndrunk
Are these being bolted into an aluminium chassis?

• Zinc: It can cause galvanic corrosion when in contact with aluminum under aggressive conditions in certain environments, especially where moisture or electrolytes are present, using yellow zinc plated fasteners with aluminum could lead to corrosion.
Zinc and aluminum are similar in galvanic potential and should not be an issue; galvanic compatibility charts show aluminum and zinc alloys as compatible. No matter what, it's a steel (non-stainless and not aluminum) bolt to be grade 10.9, so it is going to be a dissimilar metal. The only options appear to be black phosphate coated or plain steel, which aren't meant for wet environments and are less compatible, or zinc coated.

I'm not sure where you got that quote. Searching for it only brings up this thread. There is plenty of info showing that zinc plating is the best option for a high strength application. Lots of restorations use yellow coated hardware. Aluminum or stainless hardware would be better if possible, but they are not strong enough for this application.

If the zinc plating is bad, then what is better? What bolts do you think the shim vendors or tesla use? The stock bolt looks to be stamped 10.9 with a plain zinc chromate coating.
 
So what's the consensus for DIY install of shims/rear-toe-arms/lowering-links without help? Can one person do it?
  • The lowering links seem pretty easy.
  • From what I've gathered, the shims work better if the rear sway arm is loosened (not so easy) and both rear sides raised evenly so there's no twisting.
  • I'm not sure how easy the toe arm install would be, but I have the red shims so might run out of toe adjustment without them, which is why I ordered them.
I'm about 75% recovered from throwing out my low back and we have about foot of snow coming next week so seriously considering farming this out to a local shop.

Is this about 2 hours of work for a shop? I know this would take me closer to most of a weekend.

I have a reputable shop in mind that did my last alignment (Toyota RAV4 years ago), but feel it could be expensive to have them do the whole thing and give them generic instructions like lowering the front 1" and the rear to match the front. But maybe they've done similar jobs (but not Teslas), where I have basic hand tools and a rough idea of what to do and may have to drive it for a few days before the alignment. (I have a 2 year auto mech degree from the 70's, but never worked in the industry.) Oh yeah, then there's having to educate them how to drive and properly lift an EV... :rolleyes:
I have an alignment appointment in 2 weeks, so I'm going to do this next weekend and will post how it goes. I have a lift, but this looks pretty easy. For the lowering links, you just have to take the wheels off. For the shims, you just loosen the 6 control / toe arms bolts and it shouldn't be too bad, hopefully. I'm not planning on toe arms, so hopefully I don't run out of toe, but once you're that far you just have to unbolt the other side of the arm. I don't expect the whole process to take more than a couple hours. Having to take wheels on/off to adjust ride height would probably be the longest part.

I'm going to measure the camber with an angle gauge on the wheel and will at least eyeball toe with a level along the wheel and make sure I can get some positive toe.
 
Would be intere
So what's the consensus for DIY install of shims/rear-toe-arms/lowering-links without help? Can one person do it?

For the shims, there is a quite good step-by-step instruction if you are into these kinds of things and have the necessary tools.

I would like to see people post how it looks at default ride height (rear-end profile photo?) after installing either the thinner or the thicker shims. Such photos would help getting a good visual understanding of what is the difference of these shims. Wouldn't hurt to see photos in different ride heights too, but at least the defaults.
 
Why don't they fit?
All I can assume is that the Plaid suspension is different from non-Plaid. My (very knowledgeable) alignment guy got the car up on the rack, looked the parts over and looked over the rear suspension and said they weren't correct for my suspension. So I bought Unplugged Performance adjustable arms and had my alignment guy install them and do an alignment. Started off at about 2.9 degrees negative camber in low and was able to get it down substantially with those UP parts...As it turned out, I'm glad they didn't fit because even if they did, I needed much more correction at the low setting.
 
All I can assume is that the Plaid suspension is different from non-Plaid. My (very knowledgeable) alignment guy got the car up on the rack, looked the parts over and looked over the rear suspension and said they weren't correct for my suspension. So I bought Unplugged Performance adjustable arms and had my alignment guy install them and do an alignment. Started off at about 2.9 degrees negative camber in low and was able to get it down substantially with those UP parts...As it turned out, I'm glad they didn't fit because even if they did, I needed much more correction at the low setting.

I have a '24 PX with red shims, but the weather hasn't been warm enough to do any more than front mud flaps. There's so much camber it's clearly visible from the rear. Also have adjustable toe arms and lowering links, but first things first.
 
All I can assume is that the Plaid suspension is different from non-Plaid. My (very knowledgeable) alignment guy got the car up on the rack, looked the parts over and looked over the rear suspension and said they weren't correct for my suspension. So I bought Unplugged Performance adjustable arms and had my alignment guy install them and do an alignment. Started off at about 2.9 degrees negative camber in low and was able to get it down substantially with those UP parts...As it turned out, I'm glad they didn't fit because even if they did, I needed much more correction at the low setting.

Post a picture of your suspension. I could have sent you a set of my spacers.

Did you also buy parts to correct toe?
 
Post a picture of your suspension. I could have sent you a set of my spacers.

Did you also buy parts to correct toe?

I only bought the UP rear camber arms and had them installed and adjusted while in the low position. Here is a readout of the final alignment numbers. I blanked out the initial numbers because they aren't accurate and I didn't want to distract from the discussion.


ModelXAlignment.jpg
 
I only bought the UP rear camber arms and had them installed and adjusted while in the low position. Here is a readout of the final alignment numbers. I blanked out the initial numbers because they aren't accurate and I didn't want to distract from the discussion.


View attachment 1032516

Thanks. I was thinking last night about asking you for that.

I like your alignment guy. Great numbers.
 
Thanks. I was thinking last night about asking you for that.

I like your alignment guy. Great numbers.
Thanks...Paul, the owner of the shop, worked on my car. He was trained by his Dad and has been in the car repair / alignment business for many years. My GF is a cousin. They invited us back so I could see him make the final adjustments after ther camber arms were installed. Very interesting, I could see the digital readouts change on the parameters as he tweaked things with his wrench. He really knows what he's doing and dialed it in...D&E Alignment in Escondido CA in case anyone wants to know...I'm going to have him scope out the alignment on the Cybertruck when I take delivery to see what it looks like from the factory...
 
Slightly off-topic.. :) But for people complaining about the macsboost shim price, here's a similar product for McLaren:

 
Slightly off-topic.. :) But for people complaining about the macsboost shim price, here's a similar product for McLaren:


Good heavens, makes even the $70 one look reasonable.
 
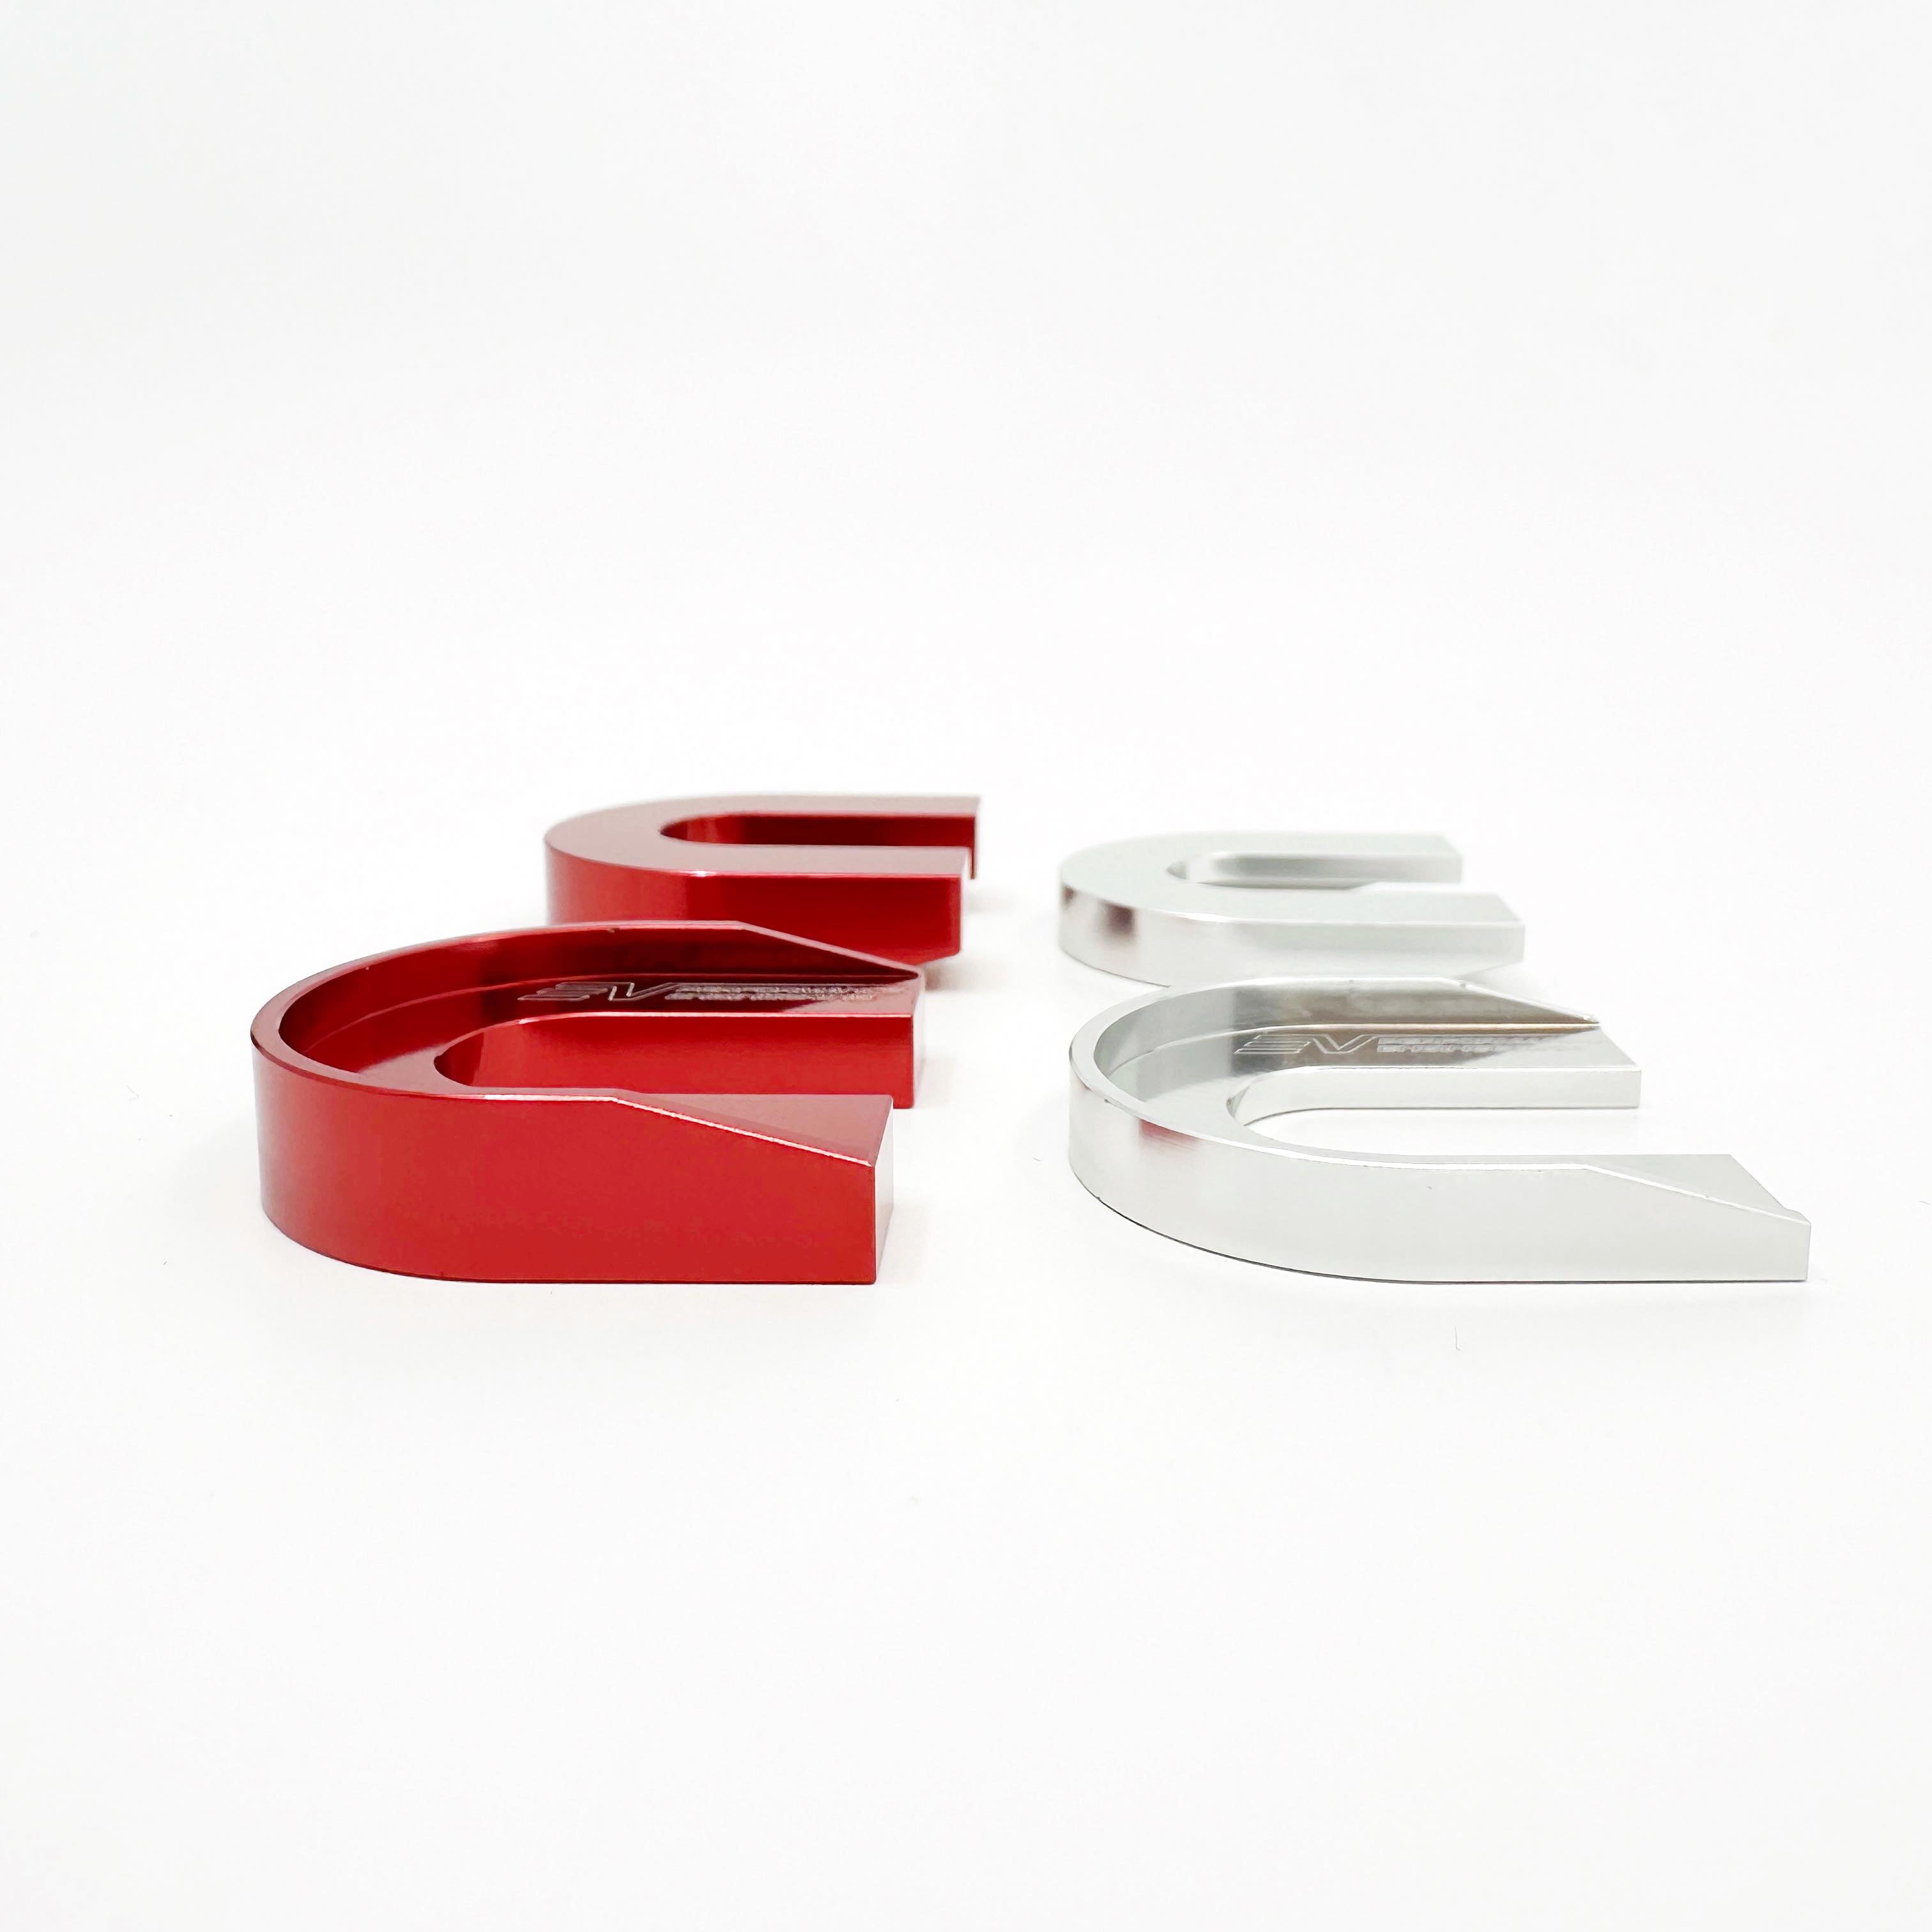
EVPE shims installed on the Model S Plaid. :)


432896544_399272576175515_5544818452603778724_n.jpg

432907801_10168433789615641_3169649380644523060_n.jpg