


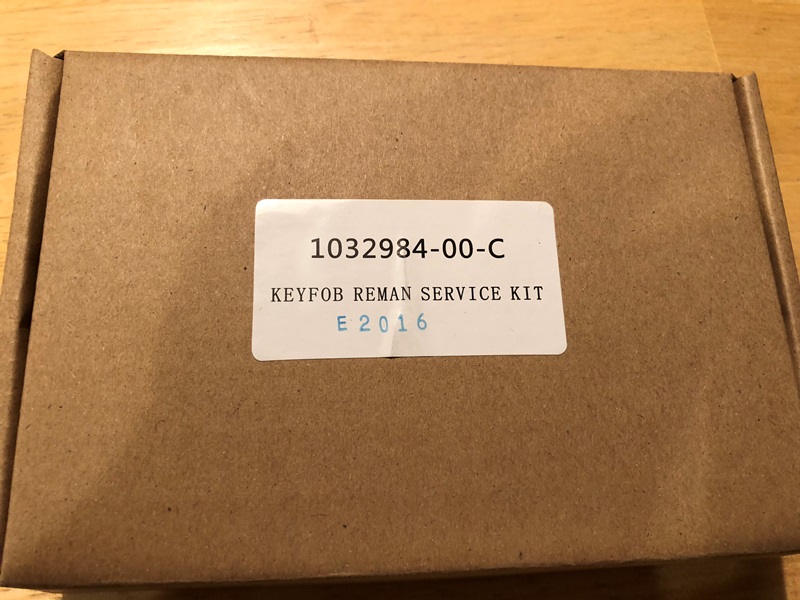
My key fob was starting to look a bit shabby so I picked up a referb kit from my local service center. The part number is 1032984-00-C and they are only $10. The only tool you will need is a small flat blade screwdriver.
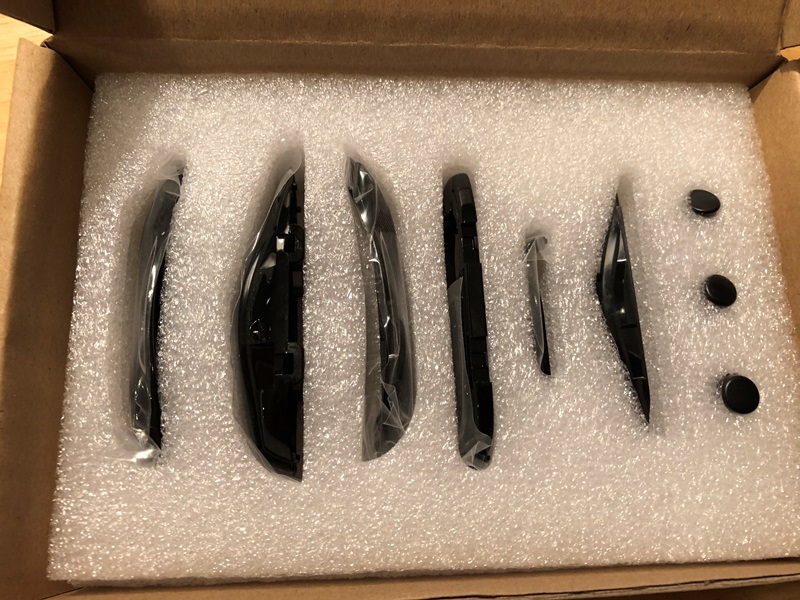
The kit contains all the plastic pieces for the fob in a nice little box.
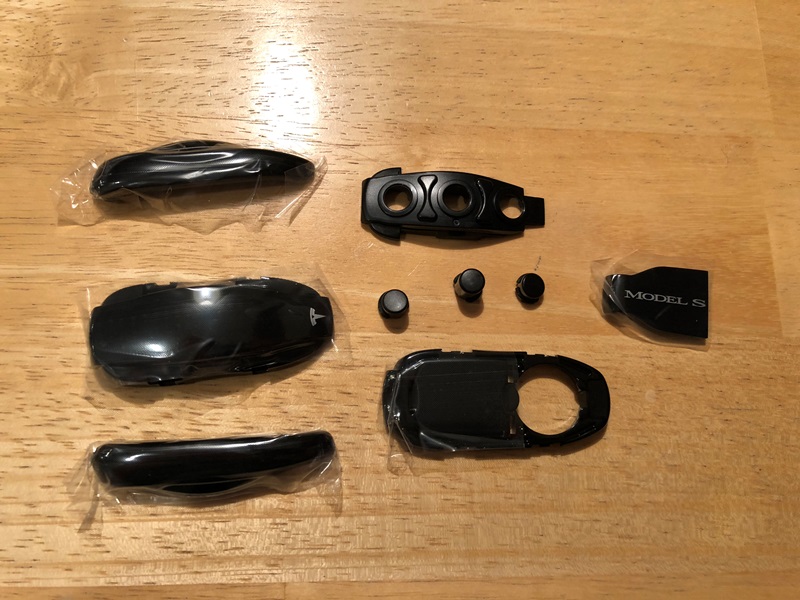
Here are all the parts all laid out.
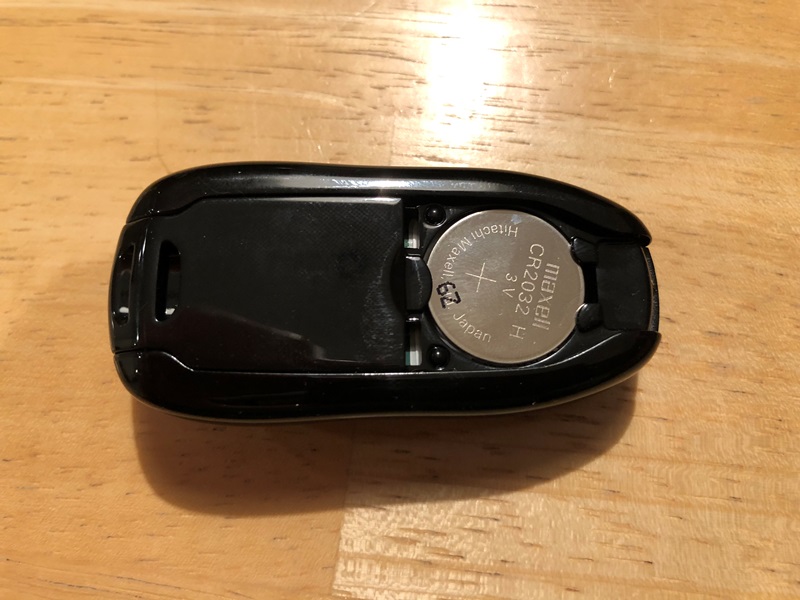
Now on to the fun part. First remove the battery door and the battery.
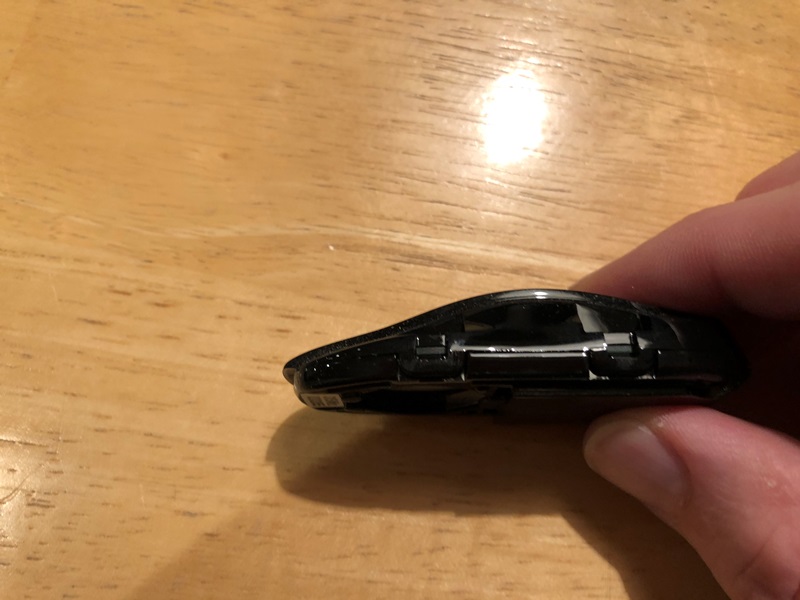
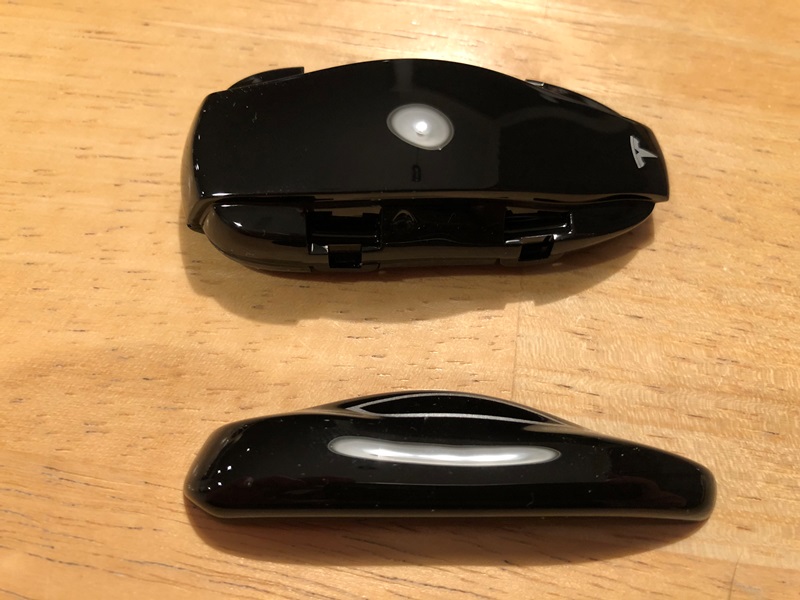
Next, pop the sides off the fob. This can be done with a small screwdriver starting at the front edge.
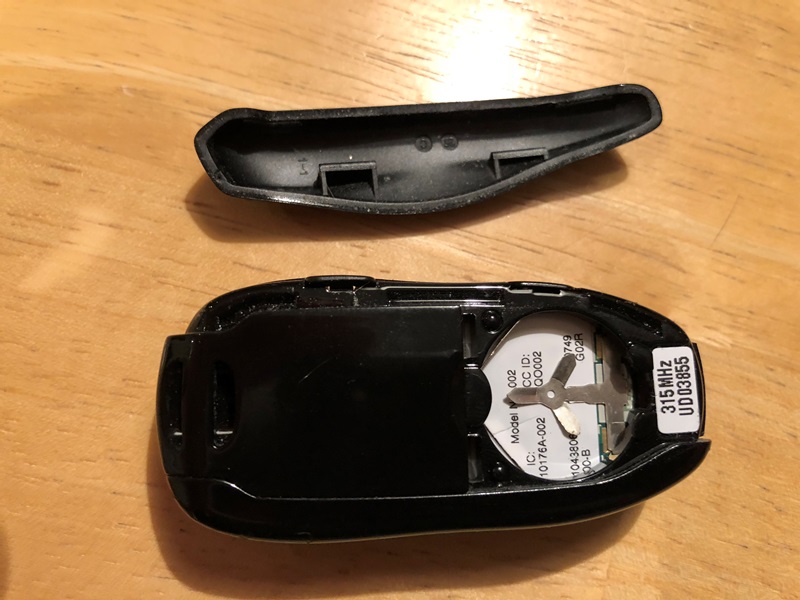

Once both sides are removed, you can then lift the tabs that hold the top and bottom of the shell together.
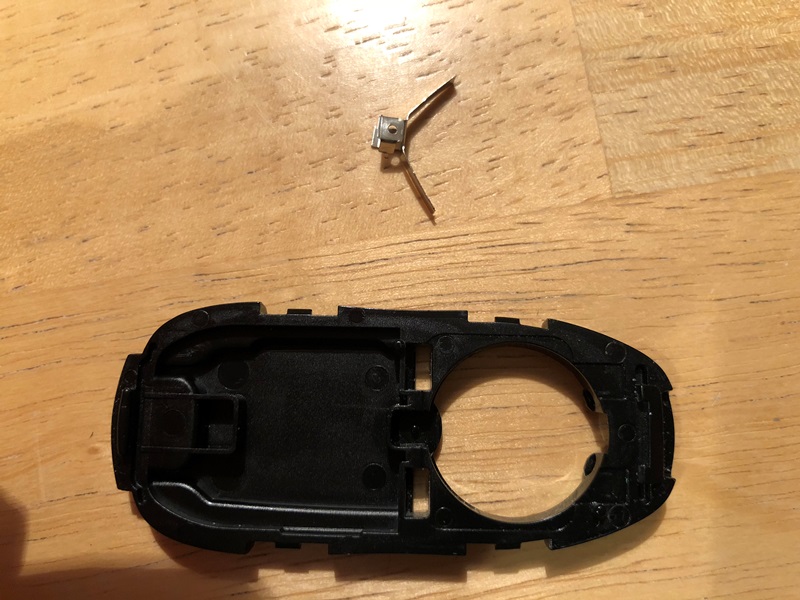
With the top and bottom separated, you can then finish the work needed on the bottom shell.
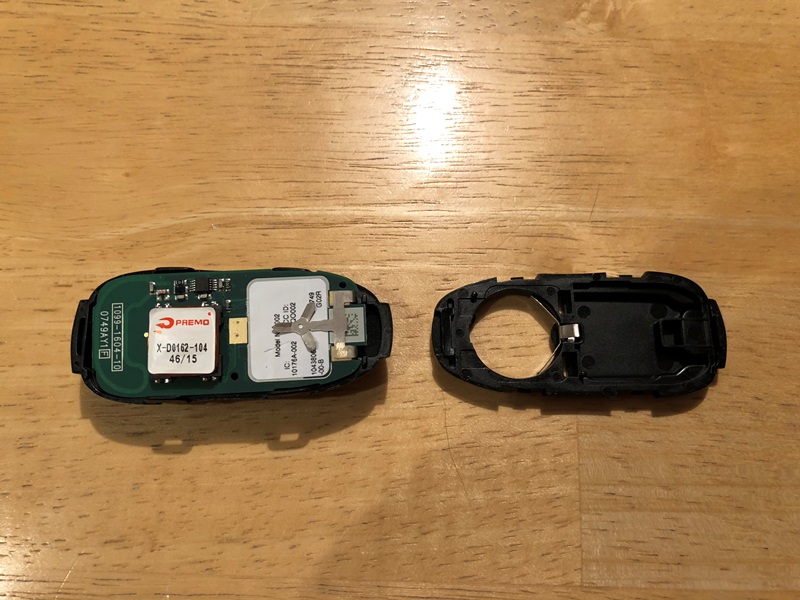
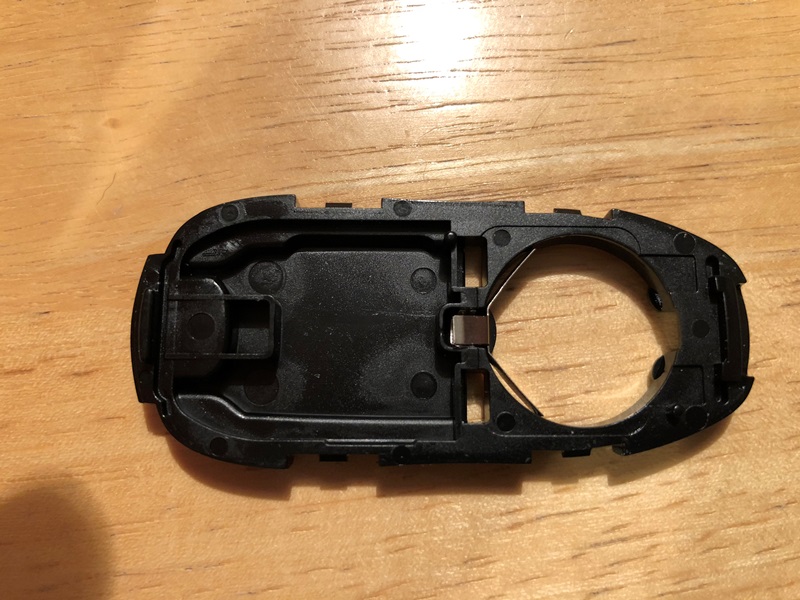
You will need to remove the metal battery contact from the bottom shell.
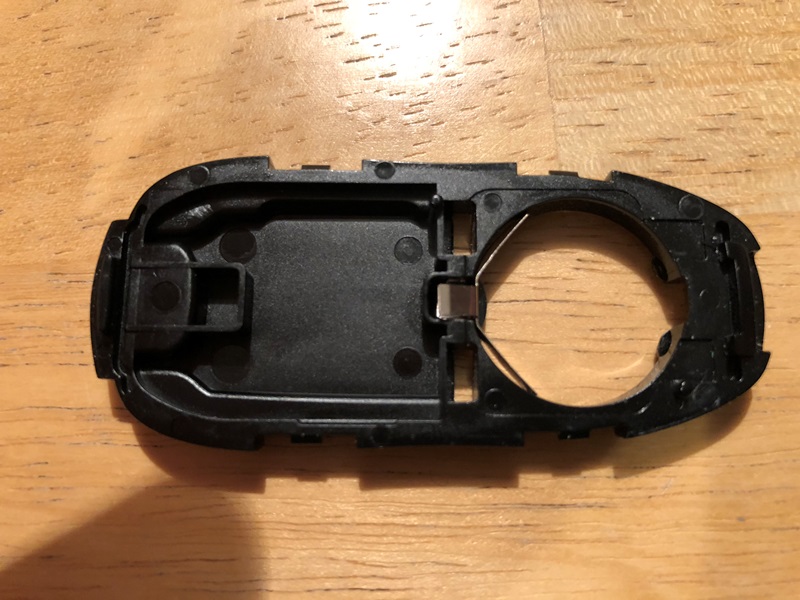
Using your small screwdriver, carefully pop the battery contact out of the old shell.
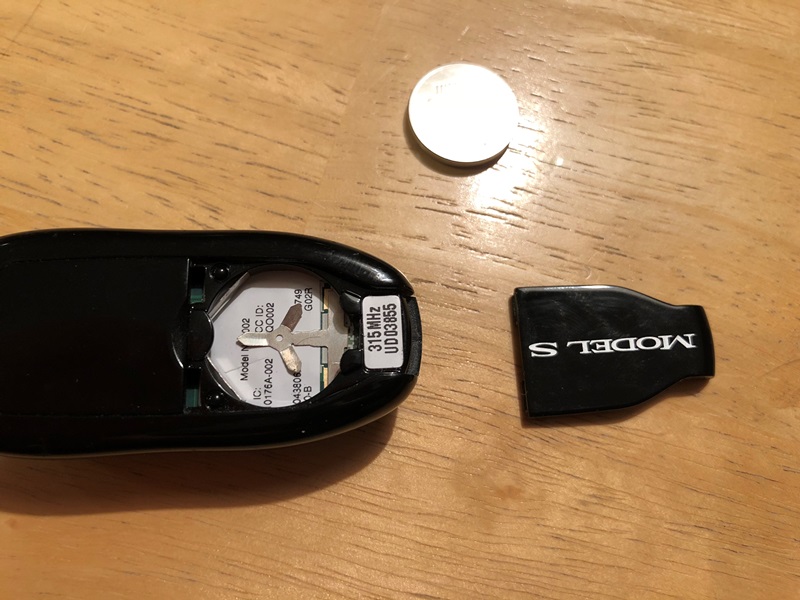
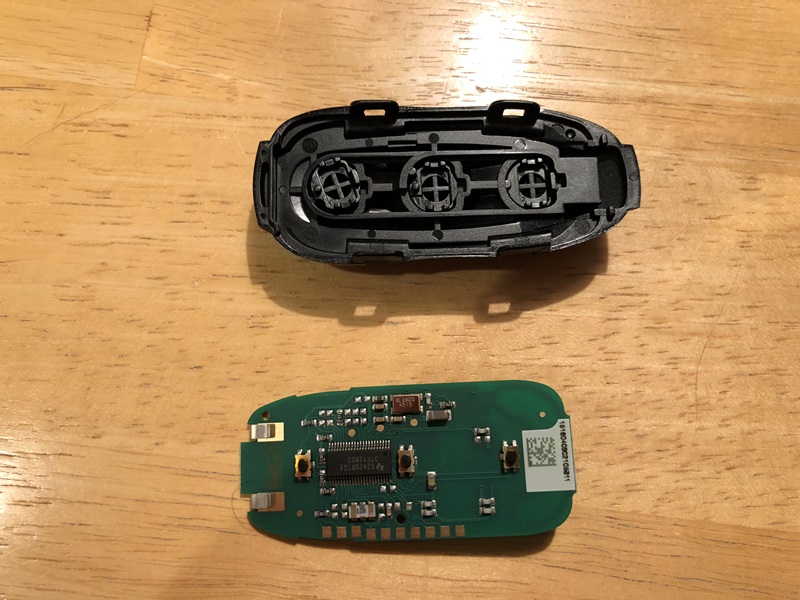
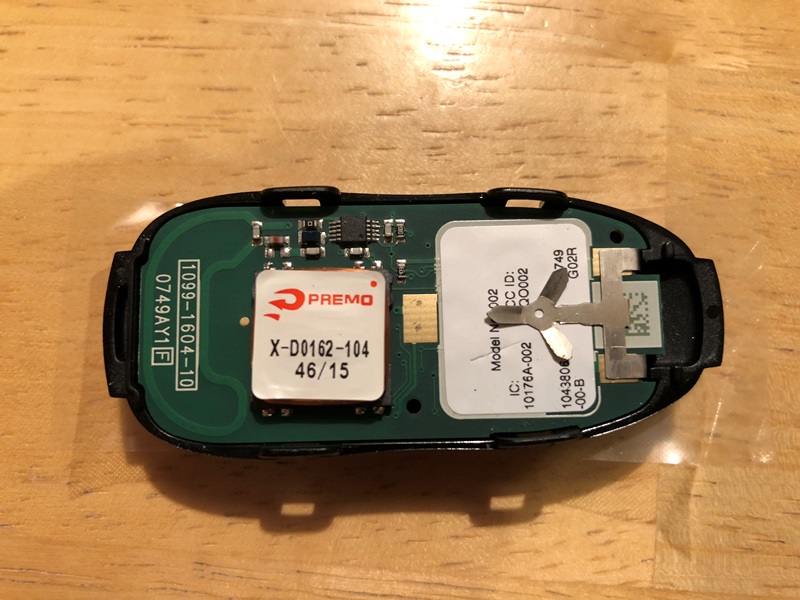
Back to the upper shell. Lift out the circuit board and clean any fuzz or dirt that may have accumulated. You do not need to reuse any of the upper shell plastic parts.
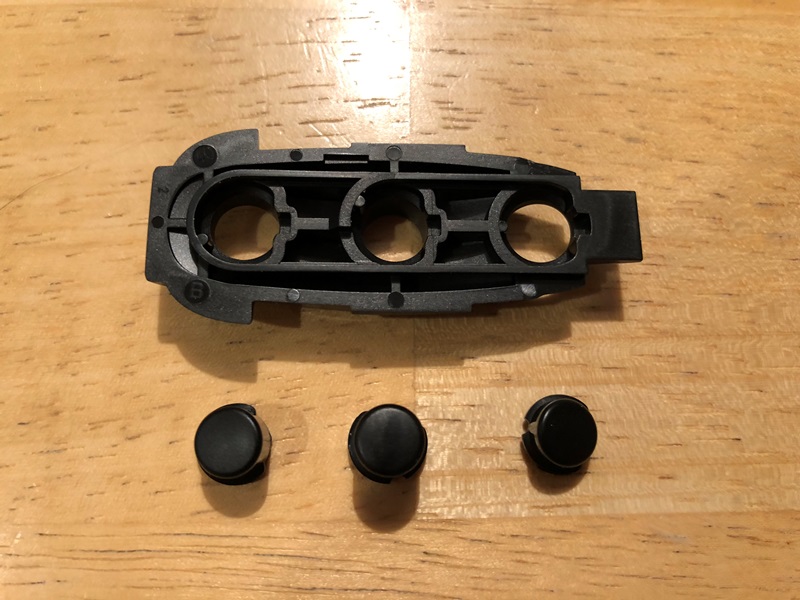
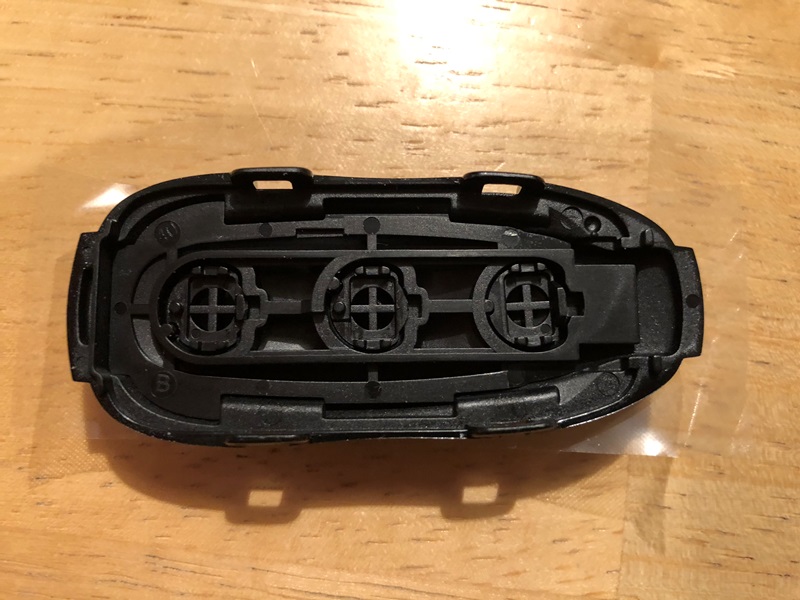
From your new shell kit, take out the button retainer and the buttons. The short button goes in the front, the tall button goes in the middle, and the medium sized button goes in the back. The buttons are keyed so they will only fit in one way and only fit in their respective holes.
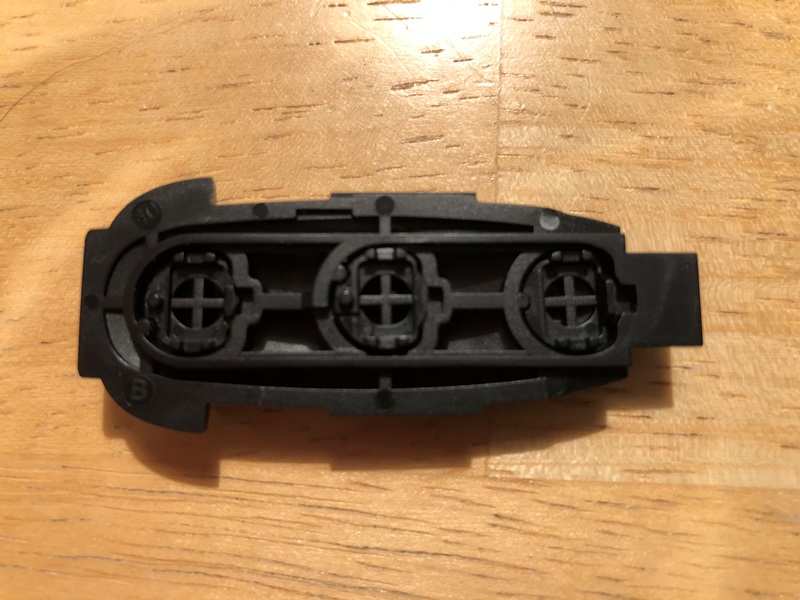
The button assembly drops into the upper shell and the circuit board sits on top of that.
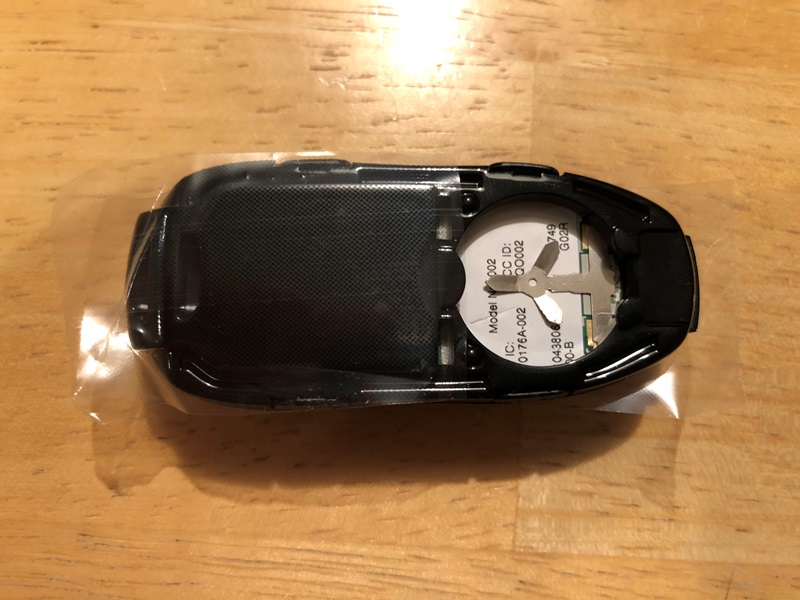
Press the battery clip that you removed from the old lower shell on to the peg on the new lower shell.
Now you can snap the new lower shell on to the assembled upper shell/circuit board.
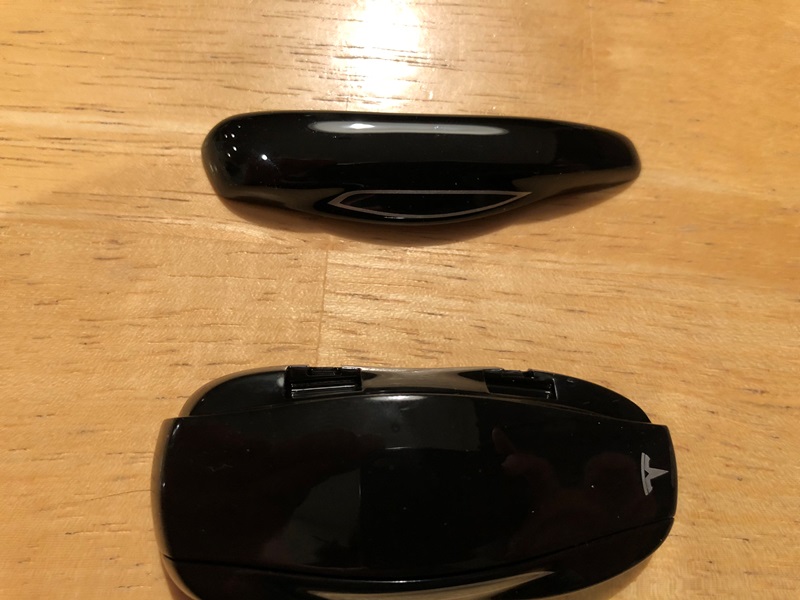
Now would be a good time to remove the protective plastic. Snap one of the side pieces on. The top of the side goes on first and the bottom snaps in place.
And then repeat on the other side.
Now put the battery back in and then the battery door.
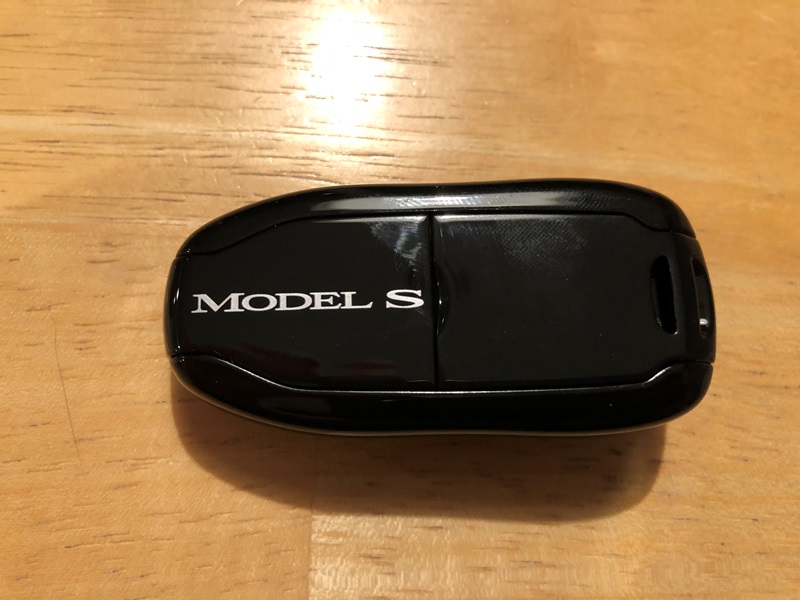
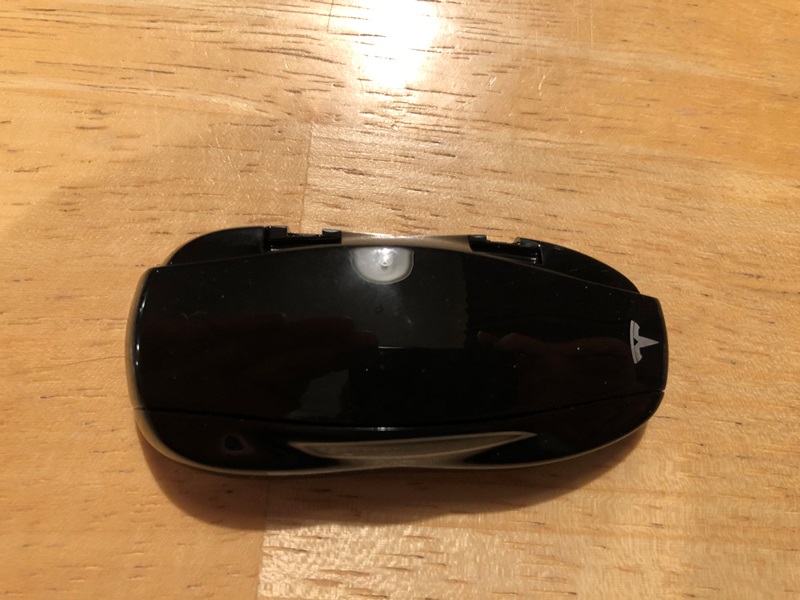
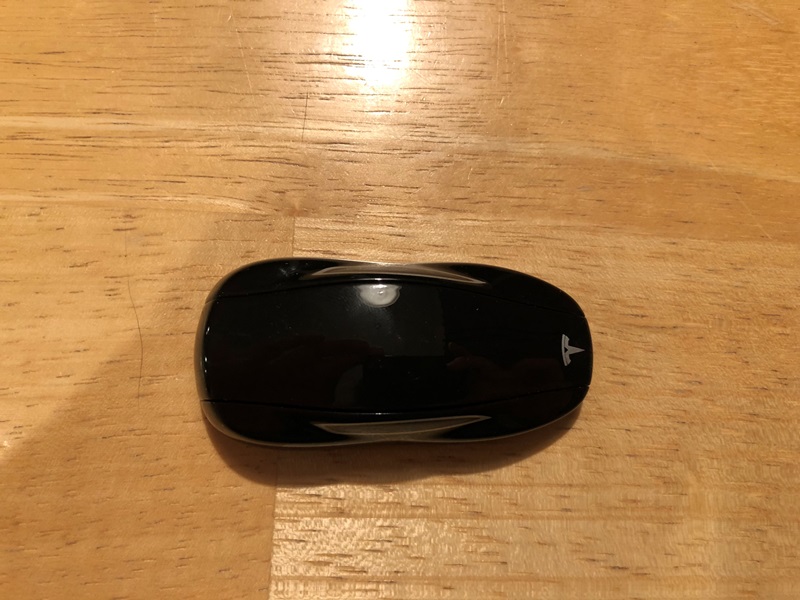
Your fob now should look as good as new now!
The kit contains all the plastic pieces for the fob in a nice little box.
Here are all the parts all laid out.
Now on to the fun part. First remove the battery door and the battery.
Next, pop the sides off the fob. This can be done with a small screwdriver starting at the front edge.
Once both sides are removed, you can then lift the tabs that hold the top and bottom of the shell together.
With the top and bottom separated, you can then finish the work needed on the bottom shell.
You will need to remove the metal battery contact from the bottom shell.
Using your small screwdriver, carefully pop the battery contact out of the old shell.
Back to the upper shell. Lift out the circuit board and clean any fuzz or dirt that may have accumulated. You do not need to reuse any of the upper shell plastic parts.
From your new shell kit, take out the button retainer and the buttons. The short button goes in the front, the tall button goes in the middle, and the medium sized button goes in the back. The buttons are keyed so they will only fit in one way and only fit in their respective holes.
The button assembly drops into the upper shell and the circuit board sits on top of that.
Press the battery clip that you removed from the old lower shell on to the peg on the new lower shell.
Now you can snap the new lower shell on to the assembled upper shell/circuit board.
Now would be a good time to remove the protective plastic. Snap one of the side pieces on. The top of the side goes on first and the bottom snaps in place.
And then repeat on the other side.
Now put the battery back in and then the battery door.
Your fob now should look as good as new now!
