I got most of my info on how those plastic housing pieces are attached from a few dash cam threads.
When I started the project, I didn't have any of the plastic pry tools mentioned by others in the dash cam install threads, so I tried removing that bottom portion of the trim (in front of the rear view mirror) by hand with no success. I was going to order a set of the plastic pry tools, but decided to give one of the mini hooks I already had a try (
Mini Pick and Hook Set 4 Pc) I took the curved one and placed the hook in the seam between that piece and the piece above on one of the front corners and pulled down ... I heard a 'click' and noticed that corner had come loose.
You can see the corner I'm talking about in
@halg 's video at about the 2:30 mark, see post #1 in this thread:
Model X Dash Cam Unboxing and Installation
I did the other corner then worked the rest of it off by hand. It worked well - No broken tabs! The problem was getting the first of the 'tabs' to unlock from the other piece - once one was free, the rest went pretty easily. It took a bit of force to get the first one free, though - it felt like I was on the verge of breaking a tab off, but it worked out fine.
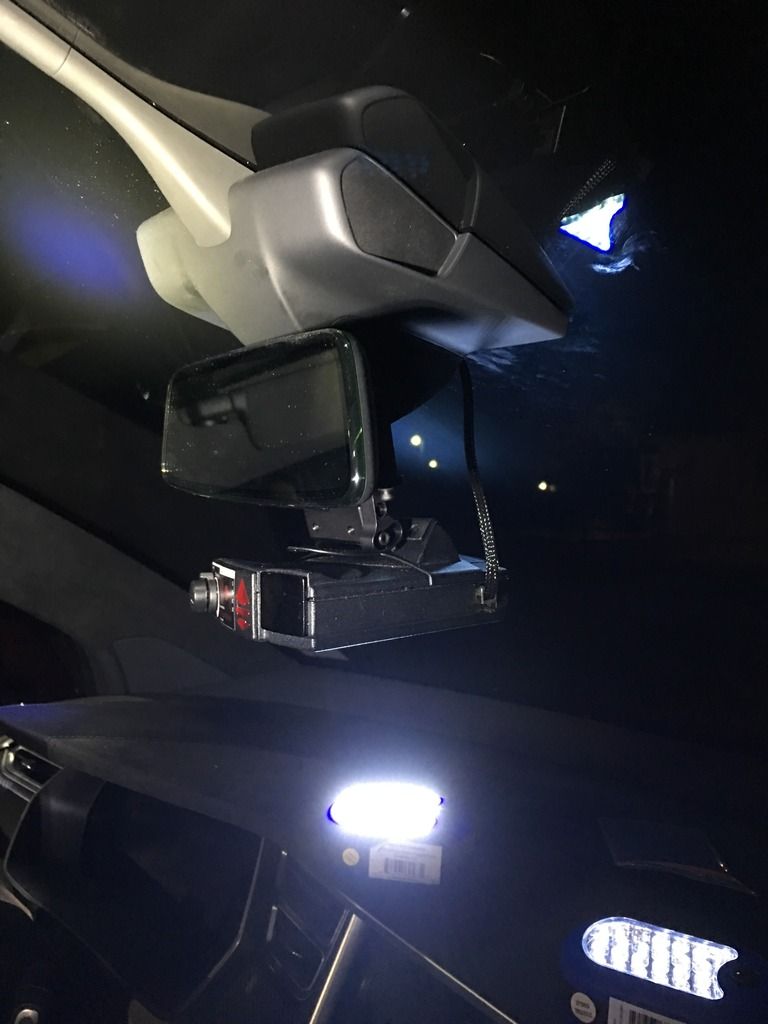
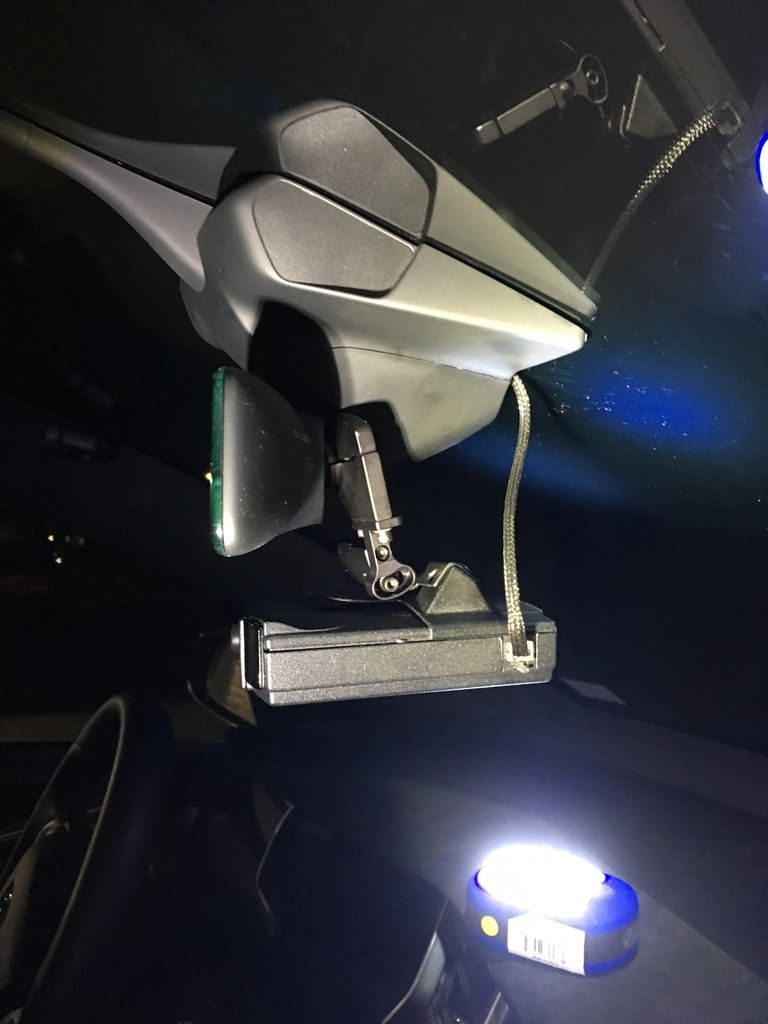
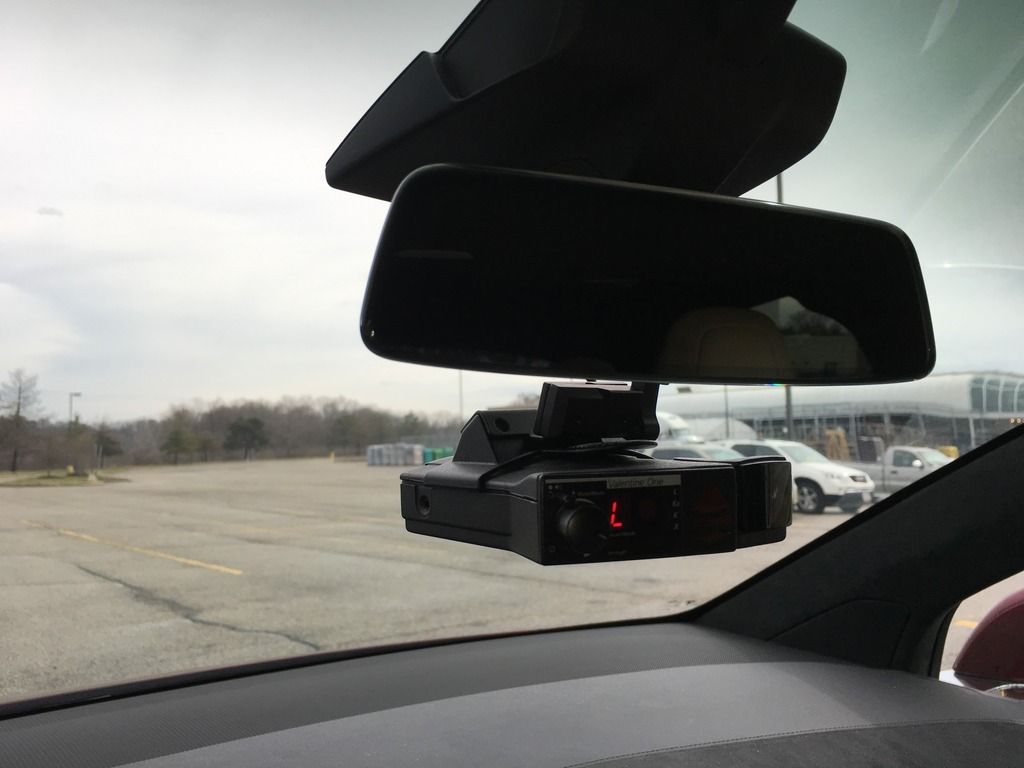
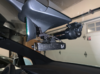
I didn't have to remove the larger plastic housing that's closer to the windshield which covers the camera. However, I chose to run my power wire between that piece and the windshield in the front, so while I had the smaller cover off, it was easy to pull down on that larger housing along the front and create a small gap that was large enough to pass the portion of my power wire between that larger housing and the windshield. I think that larger piece is easy to remove, though, I think there are only 2 clips - one on each side toward the rear. But I just decided to snake the wire through the front and not remove it. After getting the wire through, I looked at it through the front of the windshield and noticed part of the wire was visible in the area of the camera, so I adjusted it to fix that and applied a little upward pressure on front of that large housing piece (pressing it onto the windshield) to make the gap created by the wire was small as possible - turned out nice, I don't even notice a gap after the install.
I chose to run the wire between the windshield and the plastic housing instead of cutting a hole/notch in the smaller housing so I could un-install everything and put it back to original if I needed to - so I didn't want to modify any of the parts.
Hope that helps!