


Welcome to Tesla Motors Club
Discuss Tesla's Model S, Model 3, Model X, Model Y, Cybertruck, Roadster and More.
Register
Install the app
How to install the app on iOS
You can install our site as a web app on your iOS device by utilizing the Add to Home Screen feature in Safari. Please see this thread for more details on this.
Note: This feature may not be available in some browsers.
-
Want to remove ads? Register an account and login to see fewer ads, and become a Supporting Member to remove almost all ads.
You are using an out of date browser. It may not display this or other websites correctly.
You should upgrade or use an alternative browser.
You should upgrade or use an alternative browser.
Cabin Air Filter
- Thread starter ramanv
- Start date
Flybyglass
Member
You can also try one of these for easier access.
 abstractocean.com
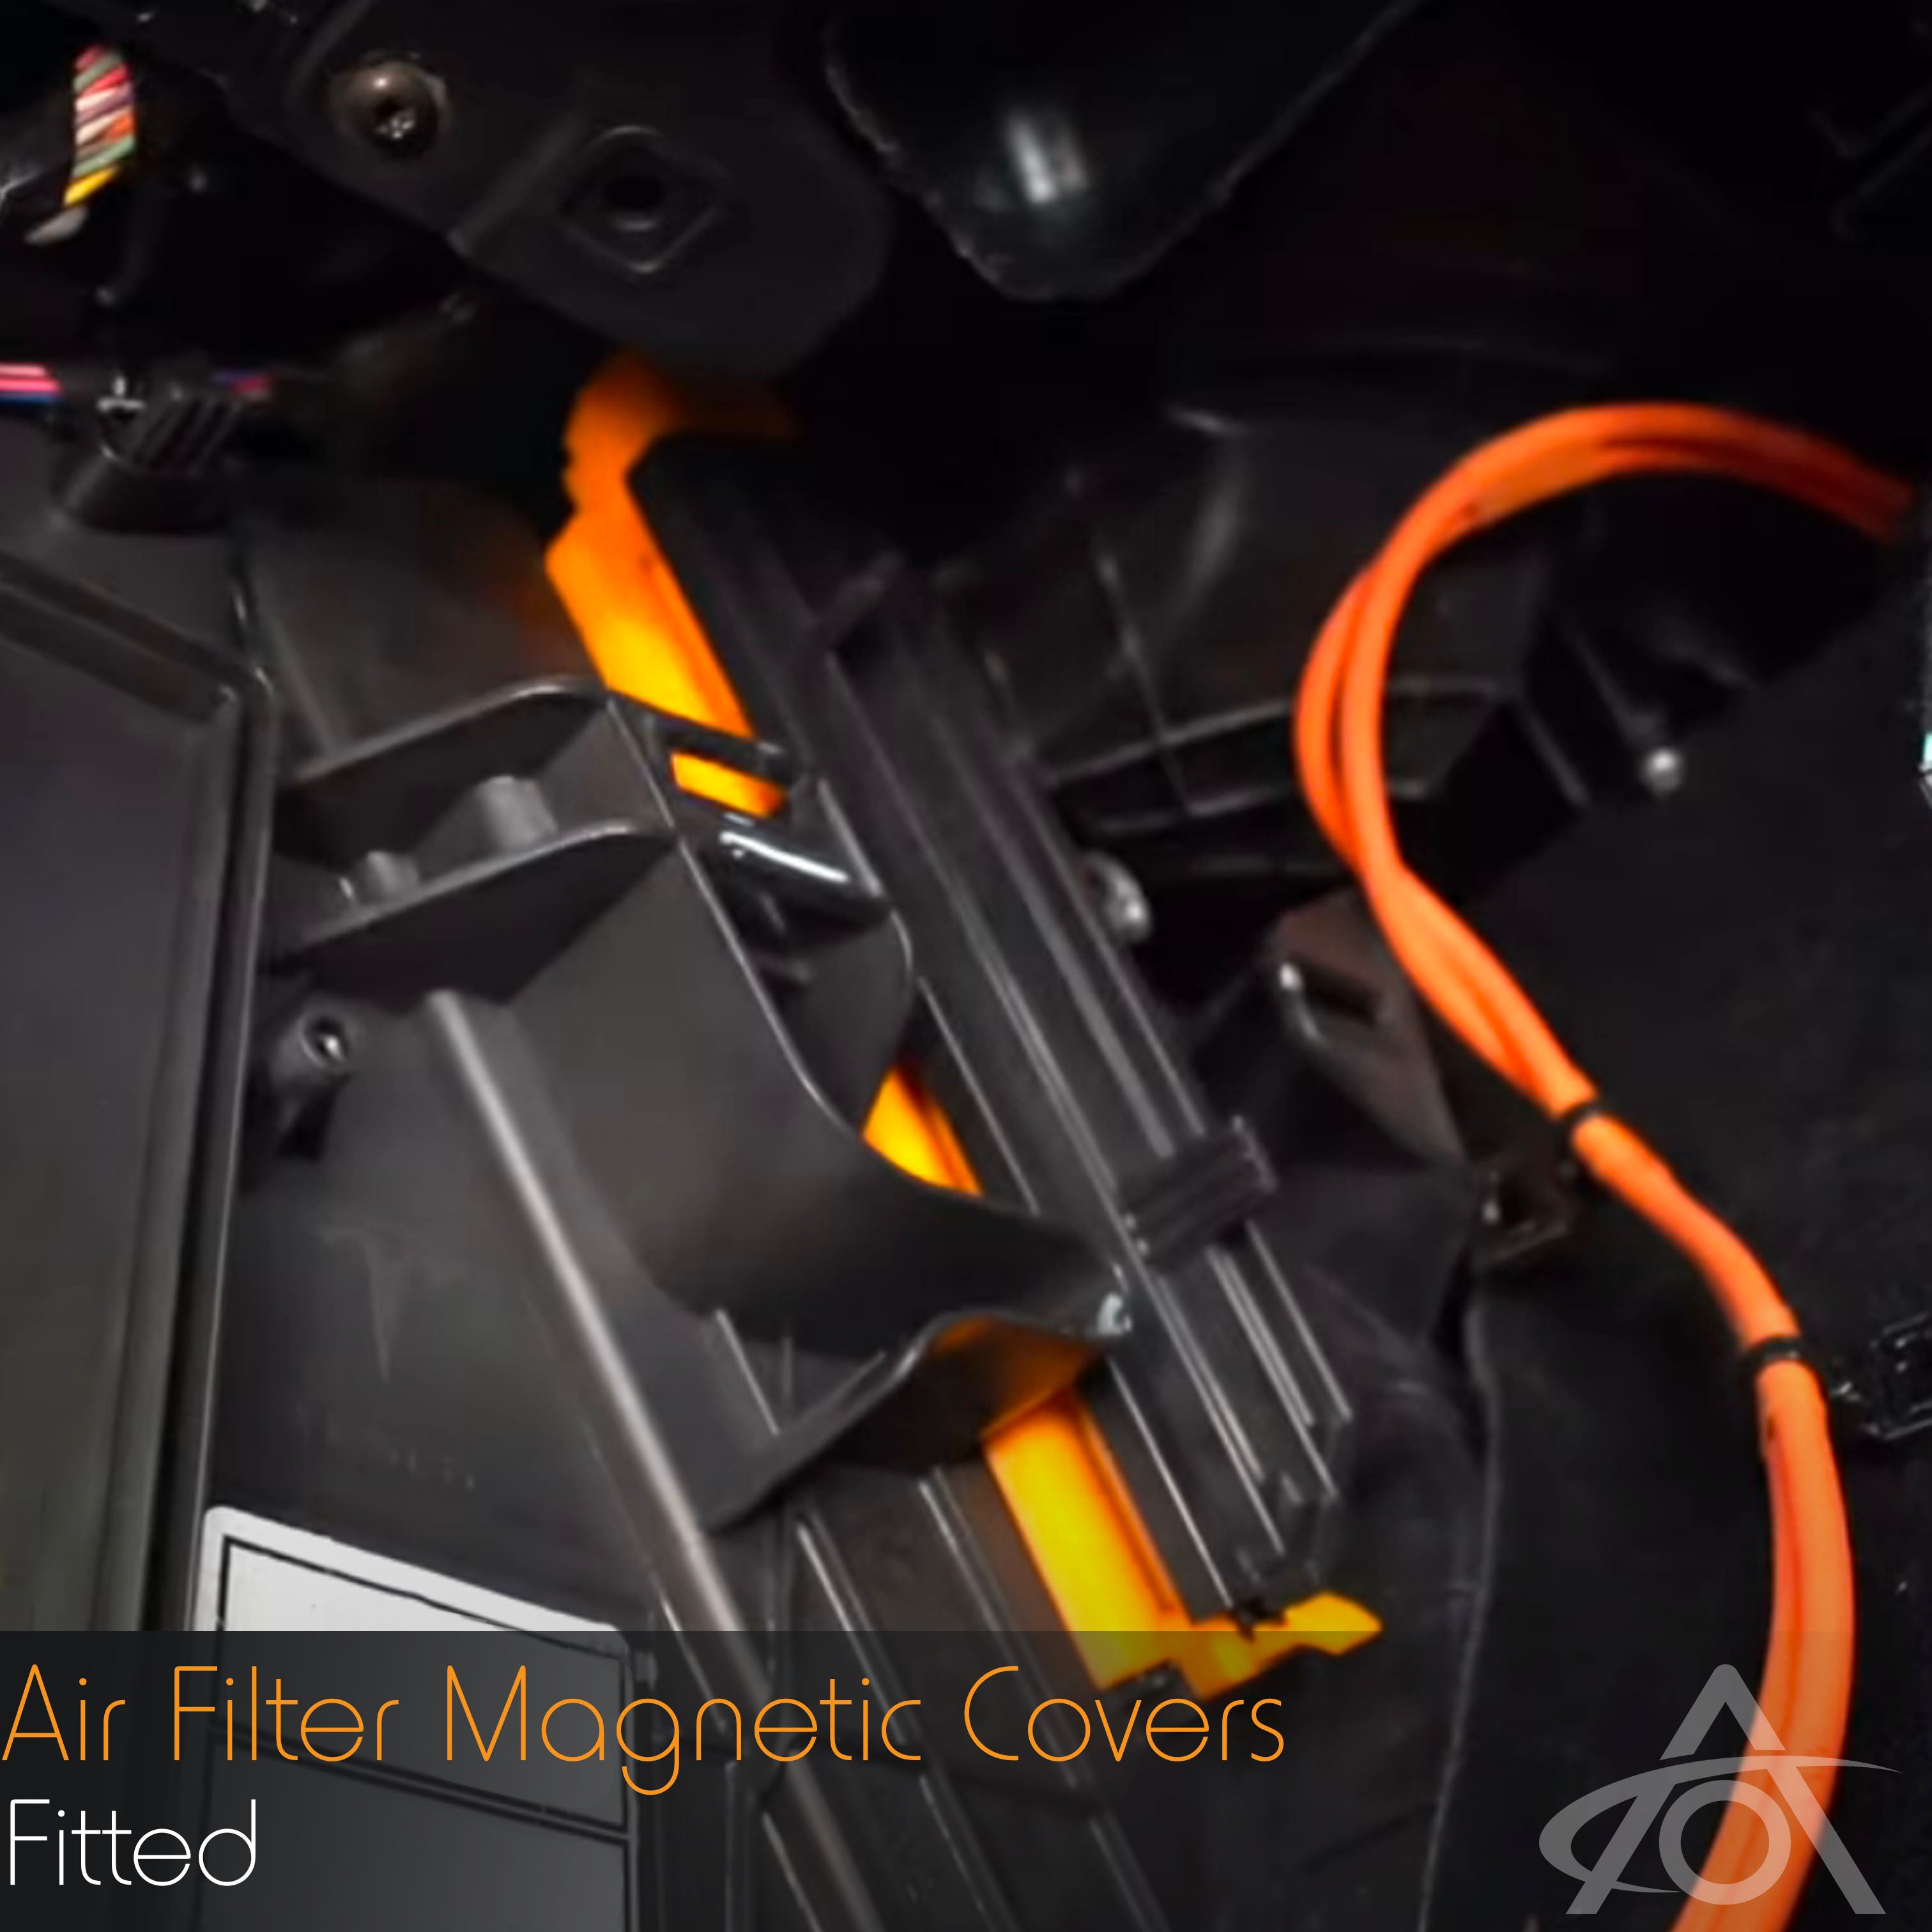
Air Filter Magnetic Cover
The Air Mag Cover is a USA-designed Cabin Air Filter Magnetic Cover for the Tesla Model 3.
abstractocean.com
Upvote
0
Everyone should own one of these mini kits:
I bought one from Lowes and it has been a life saver. And I have another set from Vessel (Japanese hand tools that I wanted to try). Having a set for household fixes has been great.
If you are a tool snob there are plenty of amazing kits from Wera and Wiha to name a few.
Someone linked this filter on TMC and I bought it. Haven't installed it yet, the current filter is only 15 months old.
Upvote
0
beachsideev
Member
Tesla only charges about $50 to do the replacement.
Mobile service is on the way to my house and should have my Model 3 and Model Y completed shortly.
When I bought the filters at the service center they offered to install them for free. I had someplace I had to get to so I didn't take them up on their offer.
ymmv.
Upvote
0
Skidmark
Member
I bought an $8 replacement filter set from Amazon and did it myself. I found the hardest part was removing the console panel. I had 4 or 5 of the plastic clips that stayed in the holes in the console, and had to remove those carefully so they wouldn't fall inside the console and be lost forever. I have a 2019 Model 3 so the screw was on top, but I found that a torx bit in a screwdriver handle that takes those 1/4" bits worked fine to reach the screw.
Upvote
0
surfrasch
Member
hey folks, I have a late 2018 Model 3, changed my cabin air filter two years ago and recall it wasn't easy but didn't take long. I'm replacing again, and now when I look at the self service Tesla video that HVAC cover on the side looks totally different in the video. Okay, I read here they changed it....good move. But, it doesn't help me. I can't recall how I did it before, just that the screw was a bitch. Does anyone have a picture or clip or anything, to help me find the right screw to undo, in order to pull the cover on the older models?
Upvote
0
Flybyglass
Member
The Tesla DIY video shows how. It is a T-20 for the screw. A small wrench helpshey folks, I have a late 2018 Model 3, changed my cabin air filter two years ago and recall it wasn't easy but didn't take long. I'm replacing again, and now when I look at the self service Tesla video that HVAC cover on the side looks totally different in the video. Okay, I read here they changed it....good move. But, it doesn't help me. I can't recall how I did it before, just that the screw was a bitch. Does anyone have a picture or clip or anything, to help me find the right screw to undo, in order to pull the cover on the older models?
Upvote
0
Flybyglass
Member
The only change for the model 3 is the screw is on the bottom of the cover rather than the top. Same cover just reversed.the video used to show directions for my early year model, now it shows for later models....it's changed.
YouTube has many videos. This one is an earlier Model 3:
You can also go to ElectrifedGarage.com They moved to Northern MA and can do it. They are Tesla specialists.
Upvote
0
Yeah, I will have to call BS on that claim.They changed the filter cover screw location in the 2021+ cars and it's pretty easy to change filters in the newer cars. I've done it a few times now, could probably do it in about 5 minutes.
Step 1: unfasten clips and remove lower glove compartment cover, detach the light and speaker wires.
Step 2: unclip ~dozen fasteners to remove center console carpet panel. Now collect and re-install the white paper clips back onto the panel so that you can reinstall it later. Fish them out from inside the center console if any fell it (else they will rattle later).
Step 3: remove stupidly placed T20 Torx screw and remove plastic cover panel
Step 4: move seat as far back as possible, slide you upper body into foot well and legs up over the back of the seat. Now you have reach and leverage to remove the 2 old filters from the airbox, and finagle 2 news ones back into it.
Step 5: repeat steps 3-1 in reverse order. Search YouTube if you need visual aids.
Step 6: have a beer.
This may take you 10 minutes if you have Cirque Du Soleil on your resume.
Otherwise, figure at least 30-45 mins, assuming you are limber enough to execute #4, and have all tools, supplies, and beer on hand.
MY21+ cars make step 3 a bit easier, but that's about the only difference.
HTH,
a
P.S.: I did HVAC filter replacements on all my cars in March. Tesla Model 3 had the WORST in terms of being engineered-for-service. By far.
P.P.S.: BMW was mid-point. Honda was the best, be far: open the glove box, unclip two push buttons to let it drop lower, unclasp the air filter cover knob, open/replace, done. Zero tools required, truly a 5 minute job the first time around (more like 2 mins the second time around). That's what a well though-through and well engineered solution should look like! Bravo Honda!
P.P.P.S.: Tesla HVAC Team - massive fail!
Upvote
0
android04
Active Member
For me, Step 3 is to remove the thumb screw that I replaced the T20 Torx screw with. No need to use tools, I just reach in there and twist it off with my fingers.Yeah, I will have to call BS on that claim.
Step 1: unfasten clips and remove lower glove compartment cover, detach the light and speaker wires.
Step 2: unclip ~dozen fasteners to remove center console carpet panel. Now collect and re-install the white paper clips back onto the panel so that you can reinstall it later. Fish them out from inside the center console if any fell it (else they will rattle later).
Step 3: remove stupidly placed T20 Torx screw and remove plastic cover panel
Step 4: move seat as far back as possible, slide you upper body into foot well and legs up over the back of the seat. Now you have reach and leverage to remove the 2 old filters from the airbox, and finagle 2 news ones back into it.
Step 5: repeat steps 3-1 in reverse order. Search YouTube if you need visual aids.
Step 6: have a beer.
This may take you 10 minutes if you have Cirque Du Soleil on your resume.
Otherwise, figure at least 30-45 mins, assuming you are limber enough to execute #4, and have all tools, supplies, and beer on hand.
MY21+ cars make step 3 a bit easier, but that's about the only difference.
HTH,
a
P.S.: I did HVAC filter replacements on all my cars in March. Tesla Model 3 had the WORST in terms of being engineered-for-service. By far.
P.P.S.: BMW was mid-point. Honda was the best, be far: open the glove box, unclip two push buttons to let it drop lower, unclasp the air filter cover knob, open/replace, done. Zero tools required, truly a 5 minute job the first time around (more like 2 mins the second time around). That's what a well though-through and well engineered solution should look like! Bravo Honda!
P.P.P.S.: Tesla HVAC Team - massive fail!
Also for me, Step 4 is to kneel on the ground right outside the door and bend over into the passenger footwell so I can do the replacement. I find this easy to do and don't know how people can do what you describe
.
Upvote
0
Stanwood Steve
2018 Performance Model 3
I went with this option last time and it eliminates having to deal with the screw holding the cover on, which in my opinion is the worst part of doing the filter change. The magnet seemed strong enough to hold the cover in place just fine.You can also try one of these for easier access.
Air Filter Magnetic Cover
The Air Mag Cover is a USA-designed Cabin Air Filter Magnetic Cover for the Tesla Model 3.
Upvote
0
SalisburySam
Active Member
Not having any yoga-like flexibility nor any urges to disassemble any part of anything, I’ve had Tesla replace my cabin air filters on my 2018 M3LR biannually and I’m due next month. It has always been done in my driveway by a mobile ranger for about $65, includes two new Tesla filters, and about 12 minutes. In my case, that’s money well spent. I do not experience the nasty HVAC odor some people do. For those folks, Tesla will also clean and spray the affected areas with the filters out to remediate the problem but that ups the costs to about $175, again a mobile service.
Upvote
0
surfrasch
Member
hey thanks, that's the ticket....got it done in like 15min once I found the correct screw and cover.The only change for the model 3 is the screw is on the bottom of the cover rather than the top. Same cover just reversed.
YouTube has many videos. This one is an earlier Model 3:
correct, I do it the same way, kneel outside the car and bend up, can't imagine doing it on my back.Also for me, Step 4 is to kneel on the ground right outside the door and bend over into the passenger footwell so I can do the replacement. I find this easy to do and don't know how people can do what you describe
Anyhow, thanks for all the suggestions, got it done, will forget what I did next time in two years!
Upvote
0
Rtmpaul
Member
I just did it for the first time by mostly kneeling outside the car. I also sat kind of sideways on the door sill part of the time. Btw, at least on my '21 3LR the T20 torx screw also had a 6mm hex head which was much easier to deal with. I used unscented DWD2 foaming evaporator coil cleaner. Between that and new filters, the awful vinegar smell is gone.
Fwiw: I have found that even with both 'auto' off and AC off when the car was last used, the AC -will- come on when you turn on climate from the app. I proved this by setting the temp to 62 in the app when the car was at the same temp as the garage (upper 70s). Then later when I checked the car it was definitely cold inside. This is quite tricky, as when you get back in the car both 'auto' and AC will still be off as expected. And it means that the AC might run when you wouldn't necessarily expect it to. It also means that you can't count on making just the fan run to dry the evaporator coil by turning on climate from the app.
Fwiw: I have found that even with both 'auto' off and AC off when the car was last used, the AC -will- come on when you turn on climate from the app. I proved this by setting the temp to 62 in the app when the car was at the same temp as the garage (upper 70s). Then later when I checked the car it was definitely cold inside. This is quite tricky, as when you get back in the car both 'auto' and AC will still be off as expected. And it means that the AC might run when you wouldn't necessarily expect it to. It also means that you can't count on making just the fan run to dry the evaporator coil by turning on climate from the app.
Upvote
0
beachsideev
Member
I agree 5 minutes is a stretch. I also just kneel on the ground outside the car. It can be done in 15 minutes, but that depends on how many of the little white clips end up falling into center console abyss. Removing the screw with a stubby ratcheting screwdriver handle and a short torx bit is easy. But it is a terribly design. You shouldn't need tools to replace a user serviceable part that sometimes needs replacing every 6 months.
My last few cars ( 1 nissan, 3 chryslers) had the filter behind the glove box. Just unclip the little wires and open the panel behind it. All toolless and took <5 minutes.
My last few cars ( 1 nissan, 3 chryslers) had the filter behind the glove box. Just unclip the little wires and open the panel behind it. All toolless and took <5 minutes.
Upvote
0
pikeman
Member
My Tesla buddy is a 2018 guy and said he’d walk me through the change. He arrived with a little screw gun, two universals, and two extensions. He was happy to discover my screw on the bottom. I bought two of the knurled screws, and he is happily looking forward to a more simple process on his car.hey folks, I have a late 2018 Model 3, changed my cabin air filter two years ago and recall it wasn't easy but didn't take long. I'm replacing again, and now when I look at the self service Tesla video that HVAC cover on the side looks totally different in the video. Okay, I read here they changed it....good move. But, it doesn't help me. I can't recall how I did it before, just that the screw was a bitch. Does anyone have a picture or clip or anything, to help me find the right screw to undo, in order to pull the cover on the older models?
Upvote
0
BigNick
Infamous Fat Sweaty Guy
Considering the filters themselves are $34, so only $31 extra for mobile service seems like a no-brainer, knee/back saver for me. But I shouldn't need the service for a while with just over 3K on the odo.Not having any yoga-like flexibility nor any urges to disassemble any part of anything, I’ve had Tesla replace my cabin air filters on my 2018 M3LR biannually and I’m due next month. It has always been done in my driveway by a mobile ranger for about $65, includes two new Tesla filters, and about 12 minutes. In my case, that’s money well spent. I do not experience the nasty HVAC odor some people do. For those folks, Tesla will also clean and spray the affected areas with the filters out to remediate the problem but that ups the costs to about $175, again a mobile service.
Upvote
0
For me, Step 3 is to remove the thumb screw that I replaced the T20 Torx screw with. No need to use tools, I just reach in there and twist it off with my fingers.
Also for me, Step 4 is to kneel on the ground right outside the door and bend over into the passenger footwell so I can do the replacement. I find this easy to do and don't know how people can do what you describe
 This
This 2019 with the horrible filter door screw placement here. After the 3rd filter change and realizing I will probably be doing this & cursing Tesla at least 2-3x a year, I got this:

Tesla Model 3/Y Cabin Air Filter Access Panel Screw Replacement | eBay
Find many great new & used options and get the best deals for Tesla Model 3/Y Cabin Air Filter Access Panel Screw Replacement at the best online prices at eBay! Free shipping for many products!
www.ebay.com
and this:

Foam Kneeling Pad
Amazing deals on this Foam Kneeling Pad at Harbor Freight. Quality tools & low prices.
 www.harborfreight.com
Although it's much easier on the wife's '21 Y, I still bought one for hers as well. I can replace the filters in no time at all, no more sweating or swearing - except at the dimwit that designed the system... "Uh.... how 'bout we place a paper & fabric filter right up against an evaporator coil and at the bottom of the fresh air inlet?"

Upvote
0
Similar threads
- Replies
- 65
- Views
- 15K
- Replies
- 14
- Views
- 586
- Replies
- 0
- Views
- 764
- Marketplace listing
- Replies
- 14
- Views
- 1K