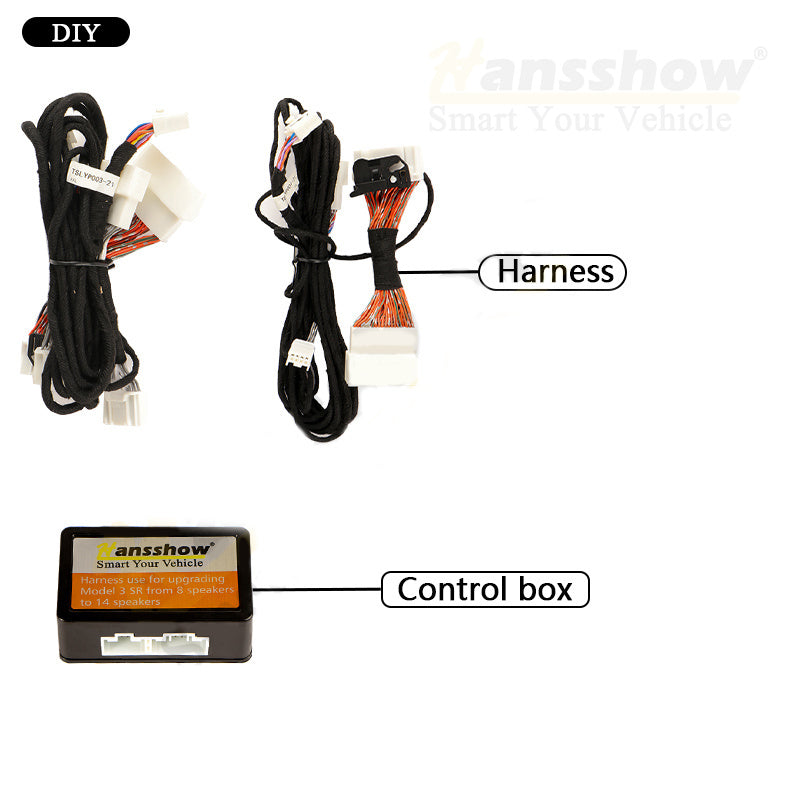
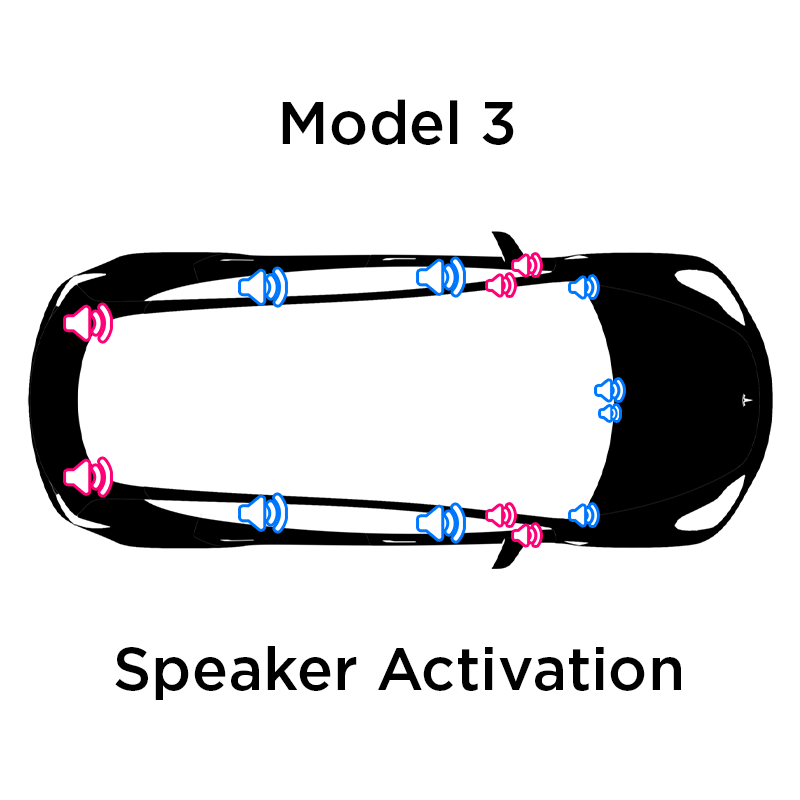
I installed the Hansshow DIY for AMD Ryzen Version Left Hand Drive. My car is a mid 2022 M3 RWD Fremont build. Apparently the computer is always on the passenger side regardless if the car is RHD or LHD. But the connection near the B pillar is always on the right side of the car. On LHD cars the connector on the side of the computer is on the right side and a pain in the butt to get that connection made. That was the hardest part for me. Also since I'm pushing 60, contorting myself in the footwell and resting my left ribcage on the door sill left me with some bruises. If I were to do it again I'd lay a towel over the door sill. I took a video of the sound before and after. And listening to the car after, it does make a difference. Not a huge difference but it sounds better. It was worth the cost and expense.
I did power down the touch screen and disconnected the 12V battery. I also (thought) I disconnected the main battery under the rear seat by flipping that handle on the connector but not removing the connector. Halfway through when I mated the connection at the B pillar the car powered up and the A/C came on. So that did not actually disconnect the battery (you need to remove the under seat connector, not just disengage the latch). But apparently I didn't have it disconnected and the install went fine. However after I reconnected the 12V battery and the panel re-started, the car didn't know where it was and it forgot my Premium Connectivity. I took it outside the garage and had to re-boot the panel by holding down both scroll wheels to get the premium connectivity back.
Here are some pictures...
- Four trim pins to remove to take the far side of the panel (the darker on the two) under the passenger side down...
Only two connections to remove on this car. Set this panel aside.
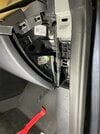
Removed the trim on the side of the dashboard and A pillar to get to that trim pin holding the sill trim in place. These just pull off. The dash trim is stubborn and I'm not sure it had to come off.
Remove that trim pin and pull the sill trim off. It comes off pretty easily. Also remove the rubber weather seal. It just pulls off the metal seam. Next remove the black connector on the side of the computer. On LHD cars that right side of the computer is hard to get to. It is against the right side of the car. I removed the bottom white connector to get better access. You don't need to remove this white connector, just the black one. There is a tab to depress to get it out.
The new harness connects to the black connector and then the new white connector goes into the computer in the slot vacated by the black connector. There is very tight access and I had trouble getting my fingers back in there. And I have medium size hands. If you have large hands good luck. I replaced the white connector after I got the black one inserted.
Next there is another connection nearby. That connector has a pull down latch. The latch is held in place by a small plastic tab that you can undo with a screw driver. Then the latch pulls down. The new harness connects between the existing cable and socket.
Lastly on to the B-pillar connection. There is a lot of extra cable here if you have a LHD car. The connector you want is the blue one. It is under a white connector. Undo the white connector (there is a tab to depress) and undo the blue (another tab).
Insert the new harness in the blue connector, insert the blue connector into the new harness. Replace the white connectors.
Can't attach any more pictures. I'll post a few more in the next posting.


 www.hautopart.com


 . It’s not the connections, they are secure and I’ve checked multiple times. My sisters car is the Intel 2022 version. That install manual without the module box is newer than the one that was around with the other kit. I may have to purchase an updated kit without the module box and trying that. Appreciate the info.