After reading numerous thread regarding the PPF install and related fees and hassle, I have decided to tackle and practice since I am quite handy when it comes to DIY/hands on type tasks.
I have done partial PPF installs on my previous vehicles, but this full front end and doors/lower rocker panels will be challenging and exciting at the same time.
I've gathered the following materials:
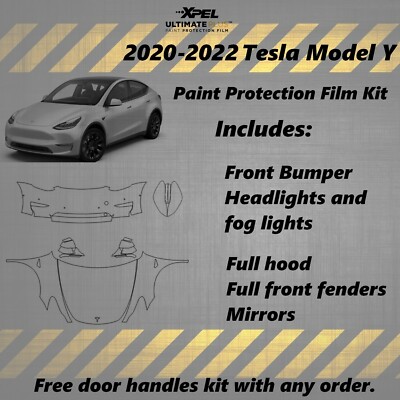
1. XPEL Ultimate PPF Precut, Full Front end kits from Canadian dealer on eBay $600 after tax and shipping
2. TPU Squeegee and pressure sprayer
3. Baby shampoo/bodywash and distilled water
4. 90% alcohol
we will see how that goes, and I will report back!
I have done partial PPF installs on my previous vehicles, but this full front end and doors/lower rocker panels will be challenging and exciting at the same time.
I've gathered the following materials:
1. XPEL Ultimate PPF Precut, Full Front end kits from Canadian dealer on eBay $600 after tax and shipping
2. TPU Squeegee and pressure sprayer
3. Baby shampoo/bodywash and distilled water
4. 90% alcohol
we will see how that goes, and I will report back!